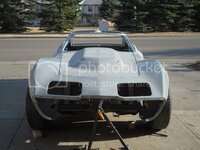
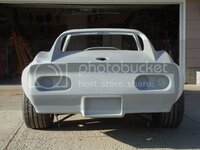
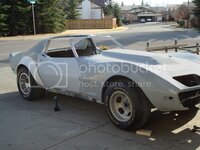
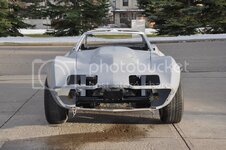
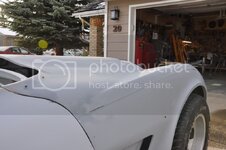
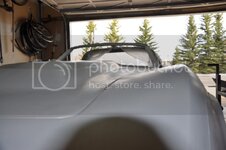
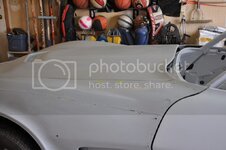
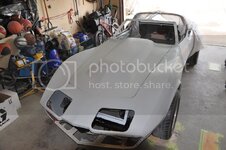
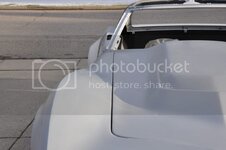
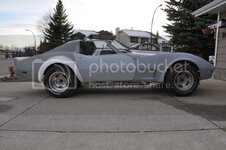
Rookie's First Restoration Attempt...

VetteMod - Corvette Restoration, Modding & Performance Forum

Help Support VetteMod Forum:

Keep in mind that the brighter colours, while they look great, tend to attract un-wanted attention. With that in mind, nowdays I try to fly under the radar..........

Yep. The HARDEST color to look good is black. With all the time and attention you have given that car, black is THE color of choice for it.
When the body is so so, black really shows it up. BUT, when the body is perfect, black is outstanding.
Of course, it's a matter of personal choice. Paint it any color you want that turns your crank.

I didn't want to go with black because it never stays clean. Regardless of the color I will be going with, the body will be absolutely perfect, I can assure you of that.
 
Keep in mind that the brighter colours, while they look great, tend to attract un-wanted attention. With that in mind, nowdays I try to fly under the radar..........

Yep. The HARDEST color to look good is black. With all the time and attention you have given that car, black is THE color of choice for it.
When the body is so so, black really shows it up. BUT, when the body is perfect, black is outstanding.
Of course, it's a matter of personal choice. Paint it any color you want that turns your crank.

I didn't want to go with black because it never stays clean. Regardless of the color I will be going with, the body will be absolutely perfect, I can assure you of that.

UNTIL the first SOB parking lots your car....that WILL happen you know, unless you stick it in a museum....

:hissyfit::clobbered::censored:
 
Mike ordered the cam for the engine the other day. He is ordering the rest of the parts early next week, then the block goes down to his shop for some assembly. He sounded really excited about the engine build. He's put a neat combination together for me which will create a lot of power and torque.

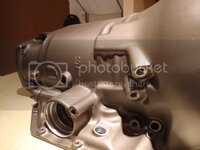
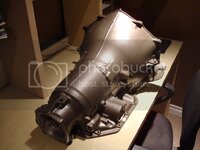
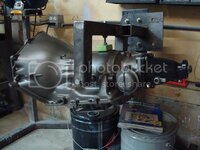
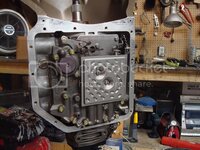
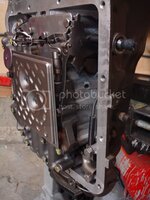
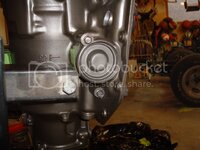
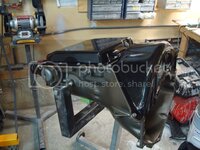
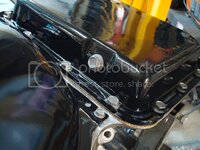
In the meantime, I took a break from the fiberglass and picked up the wrenches again. It was cheaper for me to get a new housing than it was to get two helicoil kits from the parts store to fix all my boogered threads (yeah, I know, its messed up) and other problems with the old housing.

I picked it up yesterday morning. Went to the gym, then headed to work. Then on my lunch break (yes, my lunch break :_dupe:) I went to the car wash to clean the crap out of it. Headed back to work, where my shift ended at 10:30 pm. Then I headed home, where I worked on the housing all friggen night till 4:00 am with an angle grinder and wire wheel. Got 4 hours of sleep, then hit the local princess auto to get some things I needed to finish it up. Done - painted by 3:00 PM today.

DSC07097.jpg

DSC07096.jpg

Damn that was a good feeling, getting all that work done that quick, even while I still worked out and worked a full shift the day before. But my god - I have never been this exhausted before in my entire life.

I prepped it like I prep all other parts - stripped all the old crusty paint off, then made it surgically clean. You should have seen how ugly this thing was when I picked it up...2 previous bubba paint jobs, and 30 years of grease and crap. I didn't take a before picture. Mike told me to spray it with high heat engine enamel.

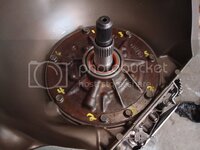
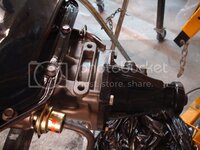
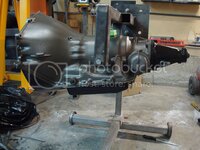
I have already assembled all the parts in the other housing. I just need to swap everything over to the new housing. I will post a bunch of photos documenting the assembly of the transmission in the next few days. A huge thank you to TimAT and Mike Dyer for helping me assemble and build this thing over the phone. I can't thank you guys enough - the manuals are good to have, but there is nothing better than having a teacher tell you how to do things. Night:sleep:
 
Yeh, 4 sure, TimAT helped me a goodly bit over the phone on this 700 I built for the Clamper project....only took me a week to put it together..:surrender:

I know, I"m kinda slo.....:smash:
 
I didn't want to go with black because it never stays clean. Regardless of the color I will be going with, the body will be absolutely perfect, I can assure you of that.

With the energy you have, I would think you'd wash it twice a day anyhow.:smash:
 
I didn't want to go with black because it never stays clean. Regardless of the color I will be going with, the body will be absolutely perfect, I can assure you of that.

With the energy you have, I would think you'd wash it twice a day anyhow.:smash:

Hows' come all the kids got the energy?? should have heard that b'day party for that 15 y/o kid across the street.....

one of Linda's grandkids got a S10/Ranger size pick em up truck for his 16th b'day yesterday....

so much better than driving the family car....
 
As an Amazon Associate we earn from qualifying purchases. Product prices and availability are accurate as of the date/time indicated and are subject to change.
DSC07117.jpg

DSC07119.jpg

DSC07120.jpg

DSC07122.jpg]

DSC07121.jpg

I just need to finish up a few little things, but for the most part, she is done. Now I gotta get ready for work:willy:
 
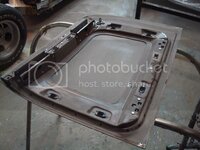
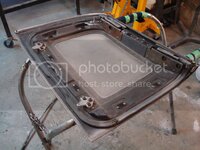
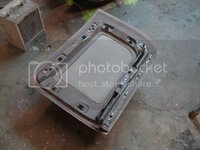
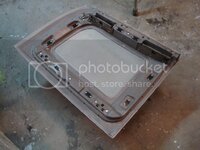
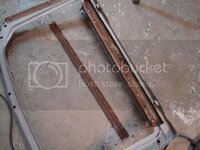
More paint stripping. I bet you guys have never seen a t-top roof panel this clean before:rofl: I removed everything.

DSC07129.jpg

DSC07130.jpg

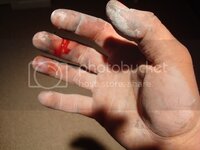
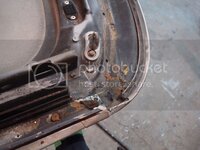
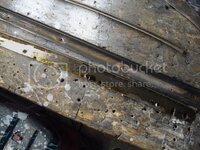
And another nasty wound to add to the list.

DSC07126.jpg

Now, just imagine how bad my hands looked after I stripped all the other panels, including the underbody/undercoat...all with paint stripper, a scotchbite pad, a bucket of thinner. It is not fun, but it does no damage to the original panel - it is the best way to strip a vette in my opinion. My hands are just beat up from this project. I still can't believe how ridiculously clean this car is (and neither could the appraiser the other day:rofl:).

By the way, the cam for the engine is being installed at the machine shop this week. Then Mike gets to go on a shopping spree with my money and pickup the heads, intake, valve covers, and the rest of the goodies for the engine build.
 
Sting, on thing you may well notice, if you keep doing heavy work is that as you get older you cut your hands and you never feel it, you only know from the flow of blood....I have been that way for years now....i'ts gotta be really BAD before I feel any pain....:bonkers::flash:

I have several friends with the same observation over the years too....

:cry::hi:
 
Sting, on thing you may well notice, if you keep doing heavy work is that as you get older you cut your hands and you never feel it, you only know from the flow of blood....I have been that way for years now....i'ts gotta be really BAD before I feel any pain....:bonkers::flash:

I have several friends with the same observation over the years too....

:cry::hi:

Oh trust me, when you get a cut, then get lacquer thinner on it, you know RIGHT AWAY that you have an open wound! I didn't even notice it until I got the massive stinging pain from the thinner...

But you are right. The older you get, the more your hand turns into a giant callus.
 
Yeh, ya gotta stop workin' to plug the leak when everything gets all slippery. Had to do that the other nite.....
 
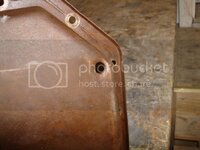
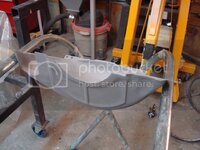
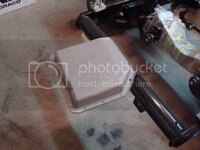
I went to the local pick 'n pull today to get the rest of the parts to finish the transmisison. I needed an oil pan (mine was dented pretty bad), and a torque converter dust shield. Luckily I found both. However, the oil pan had a hole in it. I guess that's how they drain the oil before they put them on the lot for picking (this one didn't have a real drain plug, so I needed to install one). Here is the hole that they drove a spike through...

DSC07137.jpg

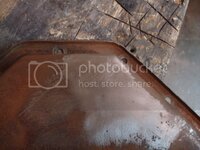
Here it is welded up, and hammer/dollied back into shape.

DSC07144.jpg

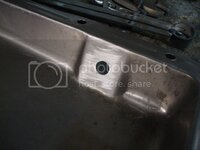
Then I drilled a hole for a real drain plug. Mike told me to weld a nut on the inside of the pan, then steal my drain plug from my spare engine oil pan.

DSC07141.jpg

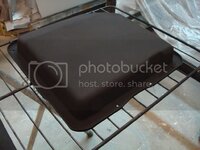
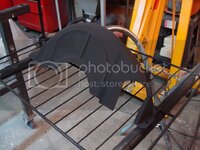
Sandblasted and powdercoated the two parts...

DSC07159.jpg

DSC07155.jpg

DSC07161.jpg

DSC07162.jpg

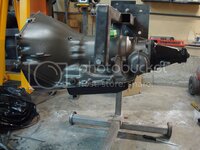
And voila, my transmission is done. Mike, where's my motor:D?

DSC07164.jpg

DSC07167.jpg

DSC07168.jpg

DSC07171.jpg
 
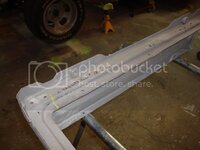
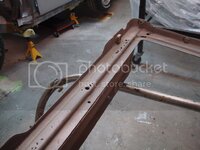
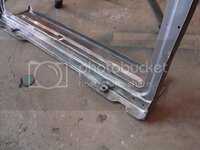
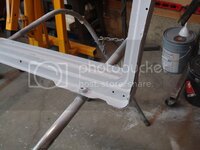
I finished stripping the last panel on the car today. I have officially removed EVERY coating GM applied. What a feat.


Before

DSC07173.jpg

DSC07175.jpg

DSC07176.jpg

After

DSC07189.jpg

DSC07190.jpg

DSC07191.jpg
 
You doing a awesome job, but if you go to this amount of detail to do this as a profession you'll go broke.
 
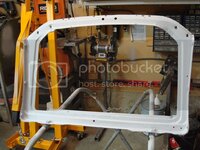
I primed the radiator support tonight. I just need to topcoat it now. I know you guys love pics...so here are some more.

DSC07212.jpg

DSC07215.jpg
 
My old rad support was toasted worse than yours, so in went a new one, and I drilled drain holes in the lower/back flange area for drainage, and sprayed some cheep spray paint in there letting it roll around inside for some protection....had it out for the electric fans about a decade later and it was fine....

:cool::clap:
 
DOn't forget to put a vent in that hole just behind the bell- it'll squirt juice all over when it gets hot. Looks the same as a rear end vent- press in white plastic thing with a green cap.

Hey Tim!

I don't remember pulling any vents out of any holes during the tear-down. You got any pics?
 
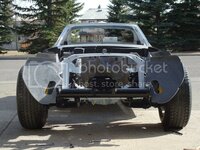
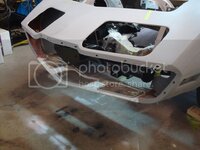
I did the first test fit with the inner fenders and core support today.

DSC07216.jpg

DSC07218.jpg

DSC07219.jpg

DSC07221.jpg

DSC07224.jpg

DSC07223.jpg

DSC07228.jpg

DSC07225.jpg

DSC07227.jpg

Its getting closer.
 
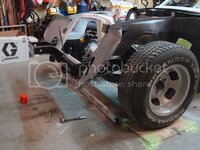
When I put the body on the frame, the first thing I did was level the ground. I marked 4 spots on the floor, where each tire would sit. I used a line level and string to make each point level. You may have noticed that the left side of the car has a board underneath the front and back tires. I made sure the rim/tire height to ground was the same on my old tires at the time. I set the car back on these 4 points with all thread front and rear in the suspension, with the car at ride height. The frame was level to the new four points on the ground.

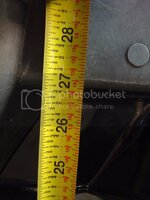
The reason this all matters is because I am now able to use a "levelled" 4 foot level on the ground to measure various points on the car. Granted this is not a 100% perfect system, its pretty damn close. Throughout the entire rebuild I have been taking measurements to either a levelled level, or to the 4 points the tires are sitting on, and it has been working awesome. Here is an example. I needed to get the fender lip on the flares exactly the same distance to the ground on both sides. So I measured to the newly shimmed points the tires were sitting on, and they are both dead on, both in looks, and on the measuring tape.

I scrubbed all the panels with scotchbrite/thinner, then with soap/water, before I started any of this. My god did that take a LONG ASS time. I was beat by the end of the day from that "little" project. This removes all the mold release from the gelcoat.

Anyways, I "levelled" a level and measured from the hood reinforcements to the top of the level. I made adjustments to the rad support until they were equal side to side - this way the front end and hood will sit dead level. Mike said to take lots of measurements.
DSC07232.jpg

DSC07235.jpg

DSC07236.jpg

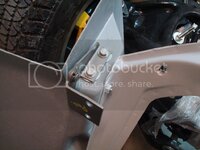
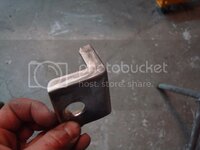
I lost one of the rad support brackets, so I had to fab one up...
DSC07229.jpg

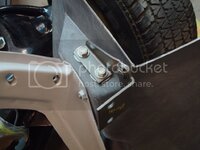
Hood hinges mounted. I sandblasted and painted these a while back.
DSC07242.jpg

DSC07241.jpg

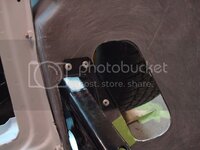
Inner fender reinforcements riveted back into place. I powder coated these a while ago. Man am I anal:crazy:
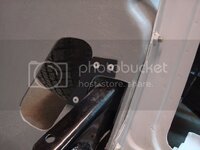
DSC07243.jpg

DSC07244.jpg

Then I had to repair the rad support to header bar rod. The stud busted off the end of the rod, and I had to weld a new stud to the end, and reshape it. I sandblasted it and painted it with cast blast. Anything to save me money!
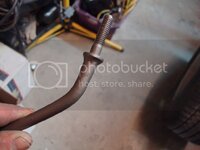
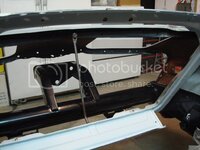
DSC07239.jpg

DSC07262.jpg

Test fitting the inner fender splash shields. These were also sandblasted and powdercoated a while back.
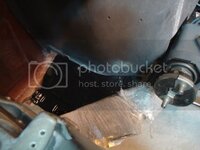
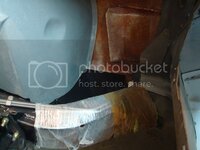
DSC07259.jpg

DSC07261.jpg

And, this is the most satisfying part of all of this work. Look how nice the fender matches the door contour now! The back of the door matches the doglegs perfect too. Remember how Mike told me to twist the doors? Well, the images speak for themselves...
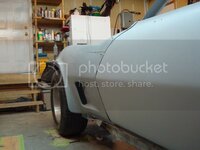
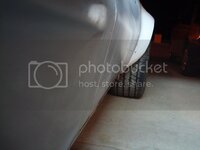
DSC07257.jpg

DSC07254.jpg

I still have a ton of fitting to do, but at least I am getting somewhere.

 
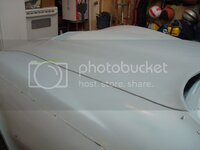
Hood bolted in place. You wouldn't believe how much work it took to get the hood to line up like it is right now...and I am nowhere near being done fitting it. Mike, thanks for all the help yesterday:thumbs:

DSC07273.jpg

DSC07274.jpg

DSC07275.jpg
 
Markus, The peak in the center of the surround is high. Mike wants me to finish fitting the rest of the front end and all the other parts. When everything is done, I am going to cut the header bar right in the center, about half way through it with my grinder. Then I am going to jump on the surround to make it match the hood. Once everything lines up perfect, I will weld the header bar back up. Its the only way to get everything perfect. You have to figure that I am practically building the front end all from aftermarket parts - something is bound not to fit right.

I put another 3 hours in today before work. Its almost perfect now. Mike said I am almost done fitting the front end!!!!!!!!!!!!!!

Check out how symmetrical everything is.

Left Side
DSC07288.jpg

Right Side

DSC07287.jpg

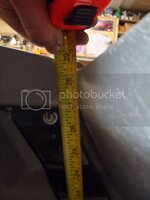
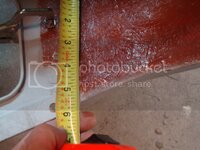
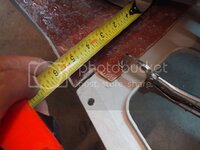
Here is a measurement from where the front of the inner fender ends, to the front of the fender. It was damn near identical on both sides, while everything was relaxed with no screws. That's how perfect I fit this front end.

Left Side

DSC07285.jpg

Right Side

DSC07284.jpg

Valance clamped in place

DSC07276.jpg

Finally, a hood to be proud of - A PERFECT MATCH

DSC07292.jpg

Fenders screwed in place...

DSC07281.jpg

DSC07282.jpg

Mike, you're a friggen god! THANK YOU

DSC07290.jpg
 
Jeremy, eight basketballs?!

Yeah I KNOW!

I keep telling my parents that we need to throw stuff away...but nooooo, its not my garage they say:lol: I am very thankful that they are cooperating with me taking over the man cave.

Got a lot accomplished this afternoon. I think I am ready to bond the inner fenders to the outer fenders on the sides now:hurray:

DSC_0606.jpg

DSC_0567.jpg

DSC_0585.jpg

DSC_0564.jpg

DSC_0565.jpg

DSC_0559.jpg

DSC_0574.jpg

DSC_05522.jpg

Me, happy as can be!

DSC_05552.jpg
 
Back
Top