Trailing arms: Johnny Joint install - pics

VetteMod - Corvette Restoration, Modding & Performance Forum

Help Support VetteMod Forum:

MYBAD79

Moderator
Joined
Mar 23, 2008
Messages
6,942
Reaction score
5
City & State/Province
sunny Florida
Started on the Johnny Joint installation yesterday. I bought two used trailing arm assemblies from forum member Clutchdust so now I can take my time rebuilding the bearings and the arms while my '79 is still driveable :)

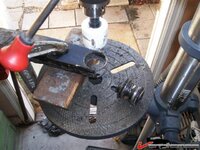
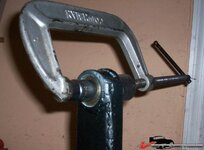
I started with a hole saw:

.

214920112e99bb6.jpg
.
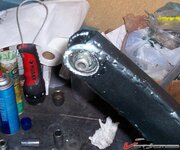
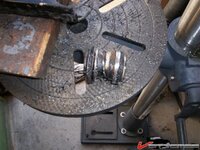
This has to be the quickest way to remove the old bushing :lol:

.
214920112ef40e6.jpg
.

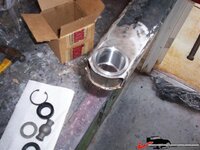
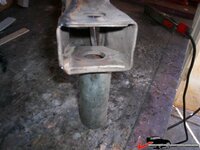
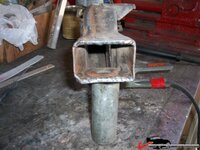
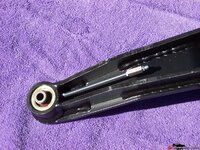
Here's the housing for the Johnny Joint fitted into the trailing arm.
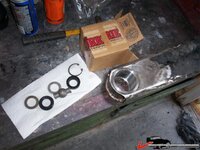
214920112f68e57.jpg
.
214920112fcf6f8.jpg
.
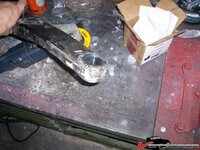
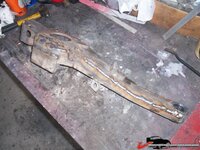
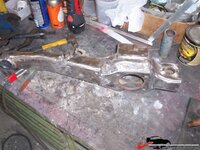
and welded in place.... not a very beautiful weld but structurally I'm not worried :amused:
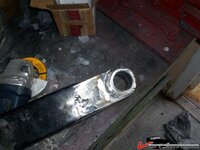
2149201130332f7.jpg
.
21492011308b13f.jpg
.

Johhny Joints: here's the info from Currie's website:

Currie's Johnny Joint® offer 30 degrees of unrestricted movement in any direction as compared to 22 degrees on a common heim joint. The bushing in the Johnny Joint® rod ends are made with a high density, "tough 88" urethane that encases the inner ball. Its a very durable material and it is impervious to weather. The special ball is heat treated steel for extra strength. and on the 2" and 2 1/2" models the ball is cross drilled for thru-bolt lubrication.
 
Karsten, Is the 2" width in the specs the width of the shell or the ball? Did you get the greasable bolt?
 
As an Amazon Associate we earn from qualifying purchases. Product prices and availability are accurate as of the date/time indicated and are subject to change.
I removed the spindle and the bearings. Next weekend I'll start blasting parts....

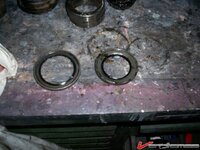
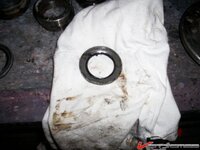
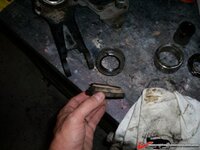
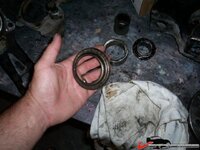
The seals did not look too good:

2149215c5907d24.jpg

This is the inner seal, I'll have to have a look at the new seal to see if it's supposed to be flat or not....

2149215c596e5b2.jpg
.

Here's the dust cap... looks crushed....

.
2149215c59d4e7d.jpg
.
inside of dust cap:

2149215c5a474c5.jpg
 
Those weird flat seals are the original ones. The inner one has 3 "tabs" folded over to secure the 2 sides together. It's basically 2 metal rings with the rubber seal wedged in between. IMO these are a lot nicer than the aftermarket thin stamped steel with vulcanized rubber ones. The stock oens are very sturdy and do not easily deform when pressing them in.
 
Is that dust cap crushed or is it supposed to be not parallel ??
[edit] ... just saw a pic in one of the catalogs.... it's parallel ... guess I'll have to order more new parts....
 
Last edited:
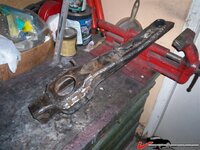
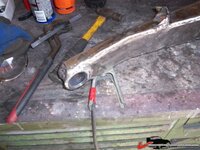
progress: I welded the first trailing arm. The factory stitch welds were more than cheap... more grinding and sandblasting later.... :3rd:

2149220e70f127f.jpg

.

2149220e717bf9b.jpg
.
 
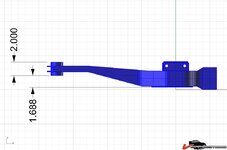
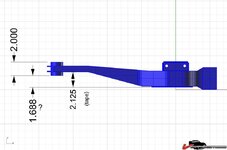
Since you have yours apart, can you check the dimensions in this drawing?

449221e13ec802.jpg
 
Can't measure to the bushing, mine is already cut out. I can take more measurements when the second trailing arm arrives... hopefully tonight...

I measured next to the bushing and it's roughly 2 1/8" (tape measure only)

214922af309dbf3.jpg
 
The project was stalled for two days because it seemed like USPS lost one of these 40+lbs boxes.... fortunately the second arm arrived today :smash:

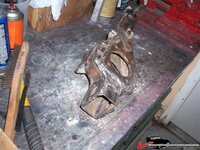
I cut the bushing out, and welded the JohnnyJoint sleeve. The first trailing arm is sandblasted....
2149260765f0b8d.jpg

.

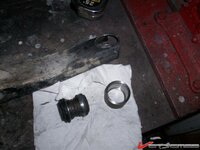
JohnnyJoint and stock bushing:
214926076587bd5.jpg

.

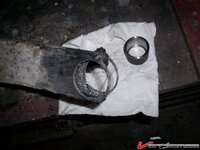
JohnnyJoint and sleeve

214926076676a5e.jpg

.

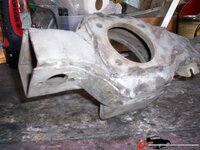
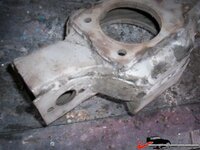
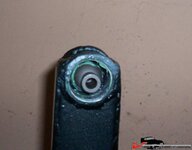
hole in trailing arm and JJ sleeve:

2149260766dd314.jpg

more progress expected for this weekend :smash::smash:
 
Did you measure it before you cut it?


Yes I did.... I was going to send you a PM ....

Measured with straight piece of aluminum barstock and tape measure: it's 2" to the metal next to the bushing and just a tad over 1.5" to the bushing.

The two arms I have here are within 1/8".... the first one is 2.125", the other one pretty close to 2.000"

Bushing thickness will change that 1.688" dimension.... no way you can stake the busing within a few thou..... length of the inner sleeve is another variable....
 
Is the bushing on the stock arm 2" wide?

Yes, maybe a little over 2". No idea if that one is stock or aftermarket though....

The wheel bearings on the first TA are press fit, on this one it's slip fit.. guess I can use this spindle as my setup tool :cool:
 
Here are a few pics that show the butt ugly factory welds.... I doubt that the frame welds are any better....
.

214928a6c17b1a8.jpg

.
214928a6c1f2df7.jpg
.
214928a6c262adc.jpg
.
214928a6c30fb00.jpg
.
214928a6c39382a.jpg
.
214928a6c417026.jpg
.
214928a6c4a499f.jpg
.
214928a6c51be43.jpg
.
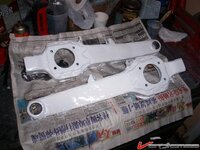
Finally blasted... I moved the parking brake bracket to the top of the arm...

214928a6c59112c.jpg
.
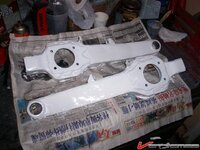
And covered in two coats of white epoxy:

214928a6c612213.jpg

.
 
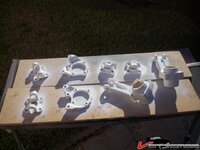
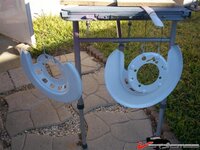
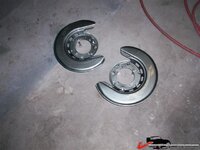
Got all the small stuff sandblasted and painted with two part epoxy - nasty stuff. The HarborFreight $100 benchtop blaster performed well.


21493146c68a914.jpg

.

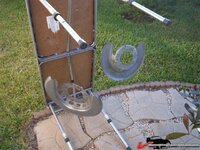
I was going to replace these plates but since there's nothing wrong with the old ones I decided to blast and paint. New plates are only $60 or so, it is absolutely not worth restoring the old plates but now I can proudly say my backing plates are original :p

21493146c5b6828.jpg

.
21493146c632ad5.jpg
.
21493146c6dd934.jpg

I'll start working on the bearings today.
 
Johnny joints are installed in sandblasted, welded and painted trailing arms:

2149348f8e449f9.jpg
.
Pressing the JohnnyJoint into the sleeve (does not require THAT much force):
2149348f8ec6030.jpg
.
JohnnyJoint needs to be compressed to get the retaining clip in place:

2149348f8f449ab.jpg
.
Done:
2149348f8f9ef02.jpg

:smash::smash::smash:
 
Nice :) how are you going to grease it in the future? Why not add a zerk on the top, you might still be able to access it with a flex hose on a grease gun.
 
I'll have to see how much room there is inside the trailing arm pocket. Most likely I'm going to drill at an angle into the Johnny Joint so that the Zerk fitting points towards the rear for easier access.

I do not like the idea of a hollow bolt, maybe it's just me but I prefer a solid grade 8 or better bolt for this location.
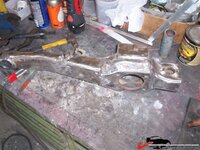
I am very curious what the stainless bolts that I'm running for the past four years look like. Stainless is softer than grade 8.
 
What did you end up doing for greasing your Johnny Joints?

I'm installing externally greased Johnny Joints, and would like to do a remote zerk fitting on the bottom of the arm, but no luck finding the necessary "plumbing" to do this, although I've seen pics of one done this way.

Really don't want to have to drill thru the frame, but if I have to I have to, just don't know where to yet. All of this indecision has halted my install, cause I have to know what angle to place the zerk, (mine came pre-drilled).

Anyway enough about me, what did you do, and how are the stainless bolts you used holding up?
 
What did you end up doing for greasing your Johnny Joints?

I'm installing externally greased Johnny Joints, and would like to do a remote zerk fitting on the bottom of the arm, but no luck finding the necessary "plumbing" to do this, although I've seen pics of one done this way.

Really don't want to have to drill thru the frame, but if I have to I have to, just don't know where to yet. All of this indecision has halted my install, cause I have to know what angle to place the zerk, (mine came pre-drilled).

Anyway enough about me, what did you do, and how are the stainless bolts you used holding up?


I did mine with a tube extension.
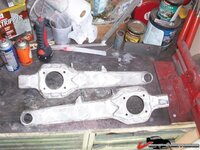
44aabbf9e63976.jpg
 
Anyway enough about me, what did you do, and how are the stainless bolts you used holding up?

I have not done anything about the trailing arms since I last updated this thread in dec 2008. The newly rebuilt arms are wrapped in plastic on my shelf, waiting patiently to be installed one day....

I am very likely going to add a grease nipple and drill the arm at an angle - I'll have to disassemble the JJ one more time to do this... don't want any chips from drilling the hole inside the joint....
 
Anyway enough about me, what did you do, and how are the stainless bolts you used holding up?

I have not done anything about the trailing arms since I last updated this thread in dec 2008. The newly rebuilt arms are wrapped in plastic on my shelf, waiting patiently to be installed one day....

I am very likely going to add a grease nipple and drill the arm at an angle - I'll have to disassemble the JJ one more time to do this... don't want any chips from drilling the hole inside the joint....

Wadda we going to have to DO to get you working again???

:bonkers::flash::goodnight:
 
Back
Top