Plastic Fantastic 2

VetteMod - Corvette Restoration, Modding & Performance Forum

Help Support VetteMod Forum:

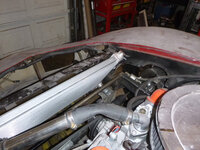
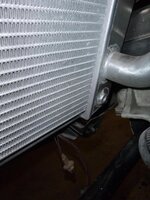
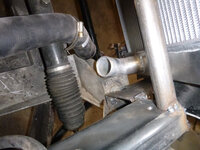
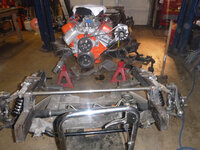
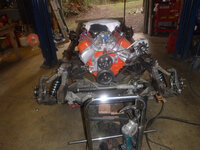
package it up to roll it out.... radiator
irha4gf.jpg
yeah, doesn't fit.... ah well - it's not far off

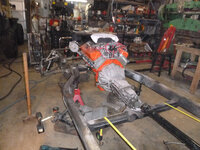
side shot
zGZ2RK4.jpg

81zmJKR.jpg

time to move it out of the way for a couple weeks
​​​​​​​
 
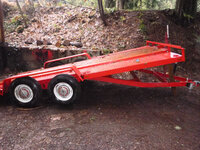
Forgive me for the off-topic - but I figured some might enjoy this.... I built a trailer last summer with the idea that I'd put a hydraulic ram on it (not lift, just prevent banging when it came down).... then I went to SEMA and Firestone was there. I talked to an engineer and asked - with the comment be nice because I sometimes have silly ideas. I told him about this and he was really enthused.... granted, I already had the bags -- but at least it was like verification pre-flight.
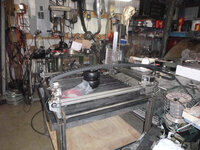
soooooo... cleaning up projects that I have the parts for..... like the airbag tilt
lP22uTh.jpg
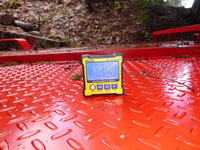
first, this is the angleedited
kDNQ1dI.jpg
S9quigr.jpg

well shoot, it's almost like I planned this (I didn't, actually, but I'll take lucky over good every time)
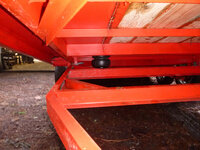
9TUQtTd.jpg

I'm going to make 36" ramps.... which I'd have had the material for except I built the water tray for my plasma.... well, I guess that balances lucky
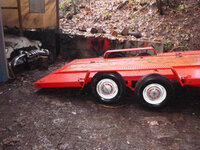
10aiBYt.jpg

which, if I was photocompetent would clearly show a 8* angle rather then the 13*
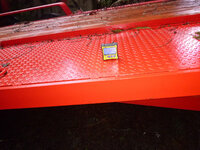
DjR9OQN.jpg
I know in the 4x4 world that's a 'who cares' and in that world you'd be right.... but I live in many worlds including one that is going to be hauling a Renault
so there we go.edited verbal diarrheaedited
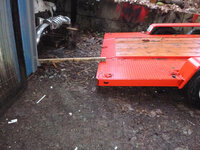
ZvD5a3D.jpg

compressed
ZrqPN4K.jpg

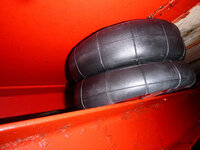
one bolt through the top, two through the bottom.... 6000# bags
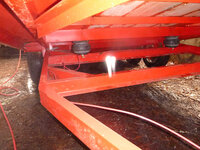
wfrFikw.jpg
and it works.edited lifts, lowers - I think what I'll like the most is it can work as an anti-bang device... pull the valve stem when I'm wheeling and away we go


there it is, airbagged up
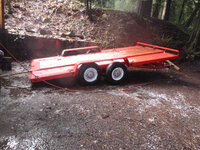
aQNMwQT.jpg

now to install the air compressors on my Colorado and/or Suburban (there's already one on the FJ40)

 
Is good to be off topic some time !
I have an alloy trailer custom fabricated who ended up in a cluster **** :suicide:, anyway long story short I am using a hydraulic high lift jack to tilt the bed. But now you get me thinking !!!
I wonder if those bags could tilt the bed with a car on it ? This would save me some grunting !!
Thanks for the pictures.

And you said Renault ??
 
Looks nice. What size is it?

16' long, 8' wide

Is good to be off topic some time !
I have an alloy trailer custom fabricated who ended up in a cluster **** :suicide:, anyway long story short I am using a hydraulic high lift jack to tilt the bed. But now you get me thinking !!!
I wonder if those bags could tilt the bed with a car on it ? This would save me some grunting !!
Thanks for the pictures.

And you said Renault ??

most semi-trucks are fully suspended on air - so figure 100,000 lbs give or take a twinkie. The bags under this are 6000 lb each so 12,000 lbs of lifting force.
the latest-thing in car trailers is full bag suspension so it lays the deck on the ground - to be honest, I didn't want a perishable spring system. That said, bags have come a long ways in the last 30 years and they are a good option for a lot of things. I'd never seen one tilt but a comment got me thinking, so I bought bags - then at SEMA I talked to the Firestone rep... he was really encouraging.
in this case I'd love to say I planned it perfectly, but I didn't - that said it worked out perfect - where the cross beams where was the perfect spot to put a bag that lifts 11" there is no reason I can't lift any load that is within the its gross weight (8,000 lbs). You only lift about 1/3 the weight of the car when you tilt.... so there it is

if you do bags, there's a bunch of places where they fully describe how bags are built and how to size them for your application. I needed a 4" compressed, 11" extended that could resist some side load.... thus what I bought, the double convoluted gives a good compression with the load rating I needed. As I mentioned before, they make bags that can suspend a lot more and have longer lift.... I suspect there will be a lot of people who take this idea and run with it. I've seen air lift jacks that essentially have two steel tubes to keep the bag from rolling.... but when compared to hydraulic, it really doesn't compare.... it's the same speed lifting as hydraulic.

It is a Renault Alpina - that he decided not to buy.... ah well, I needed to get these bags off my project shelf
 
Last edited:
As an Amazon Associate we earn from qualifying purchases. Product prices and availability are accurate as of the date/time indicated and are subject to change.
It is a Renault Alpina - that he decided not to buy.... ah well, I needed to get these bags off my project shelf

I guess if you're worried about going off thread - you could post a pic of the Alpina on the trailer! :D

Nice Trailer - and Mod!

Cheers - Jim

he decided not to buy it (and continue focusing on his 77 nut n bolt)
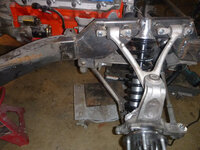
 
May have been a SMART move.

I'm working Renault engines/parts/heads for the SR! Most parts are from Lithuania/Poland/etc. Cheap (usually) but shipping is a Killer!

Cheers - Jim
 
May have been a SMART move.

I'm working Renault engines/parts/heads for the SR! Most parts are from Lithuania/Poland/etc. Cheap (usually) but shipping is a Killer!

Cheers - Jim

I didn't know how to nicely say that those cars have issues (I refuse to be that guy who's always negative about everything that isn't my choice, if you buy it - no matter how 'bad' it may be, I'm the one people call to come help them fix it...) - but his sister flips cars in France, so I asked him "so, is that a better price then your sister could get in France".... I figured he'd talk it out with his sister and she'd be the bad guy ....
 
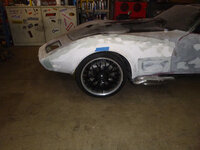
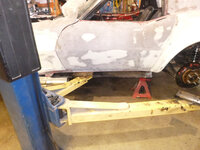
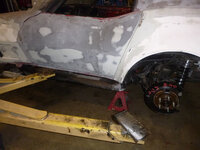
move the front suspension back 3/4" or move the flare....
AwuRlmq.jpg

I'm really leaning towards moving the flare and then giving it more flare along with a slightly different shape.... cut right there between the rear of the wheel and the gills.
 
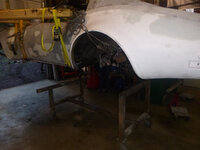
time to remove the body bolts
uHkgDzo.jpg
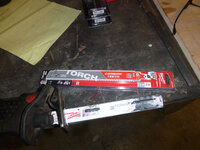
mmmm... good sawblades
BRcr4wP.jpg
a good example.... the first two came out just fine (motor end), second took a bit of lube....edited
O2S08ga.jpg
the last, a neanderthaledited
aUYRMfZ.jpg

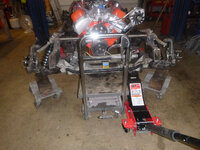
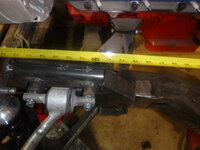
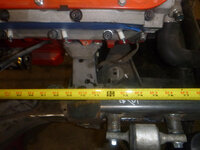
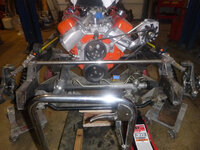
this is more for me - but I'm moving everything back 3/4" so knowing where the steering was will be useful when I build new motor mounts
MgDDqvN.jpg

WPtPpzR.jpg
P5s7NNw.jpg
d9sza5e.jpg
xTrjxIG.jpg
 
I bought the coating for the frame.... so once it's squared, plated, shortened, made pretty... a coat of paint and it'll be good for a long, long time
​​​​​​​QqitJ62.jpg
 
a mistake... and what will stop me from completely getting the body off
TnIkRkK.jpg

up we go, hmm, nose low
gSOeMFQ.jpg

once I removed the bumper brackets, and the clutch fork... up
1SxXZ9L.jpg

and stopped here
CY9aQT7.jpg

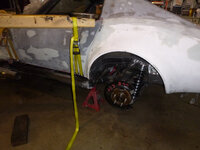
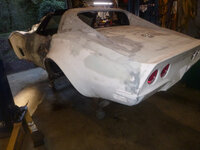
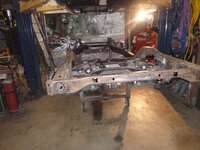
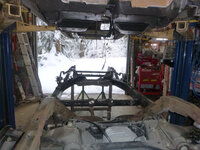
did you guess the problem?edited the 68-73 rear curls under the rear valance .... had I put those jackstands on dollies - I could have moved the frame forward then completed the lift-off.... and my jack said "oh hell no" so tomorrow get a new jack then finish this.
​​​​​​​
 
So I did do jack today... twice
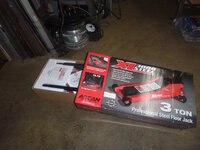
new hotness
C0VKIKD.jpg
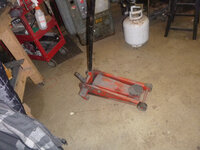
old brokenness
dU8vhEJ.jpg
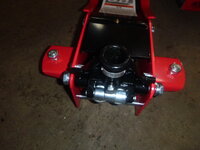
wait.... which one is broken?
6zkVV2o.jpg
I was all ready to proclaim how my Costco jack outlasted 2 HF jacks.... which, old brokenness did... problem was that was a factory sealed new one that was broken when they put it in the box.... ah well, just 2 hours I'll never get back
putting the new, new one to work
NfKBQw3.jpg
and the divorce is final
3jlzQlz.jpg

JK6866h.jpg

finally get to use this cart
aEMzYc7.jpg
8q92VmI.jpg
this didn't last long, but it fits so I can move stuff around if needed
GxhxWtK.jpg

r3d3GgM.jpg

stiff stripped off..... more to come
4ti9ve3.jpg
​​​​​​​
 
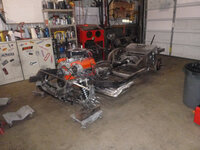
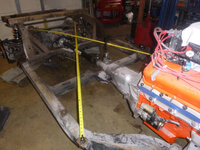
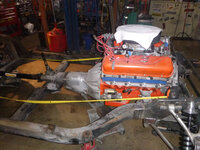
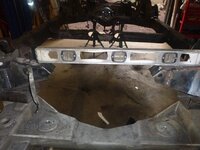
time to use my frame floor
9KKZBjs.jpg
oh yes, and tape measures
YrTieZu.jpg
it really wasn't that far off (within GM manufacturing tolerances for the day).... but I can do much better, so I will
xHSJmzk.jpg

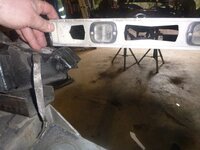
the challenge, of course, is getting it square to the floor (after verifying squareness of the frame)
LzRjRED.jpg
lots of this action
9afM5qw.jpg
It's close, I'll let it settle over night then do the front.edited The back is 1/16" off square, so I'll fix that as well... but that is for later this week
 
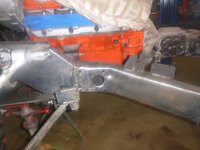
time to make this real - of course, that means cutting it apart and making it look pretty.
C0A2Gp8.jpg
the first step is to weld plates on the rearmost channels to hold things in place
EAgx5fg.jpg
C0A2Gp8.jpg

measuring process
zC733ij.jpg

and it's cut apart.....
wggJFWC.jpg

1O24VXI.jpg
 
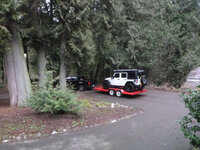
Oh look, Jeep on a trailer.... what keeps sbg from PF2? yeah, a blasted Heep.
etrMl6U.jpg

in other news, the Colorado hauls the Jeep even better then the Hummer did.

yet I still did get to fun stuff
izLuLQG.jpg
AowGxL4.jpg

even had a minute to hit the frame with a wire wheel in prep for welding the frame.edited I think I'm going to weld it with the motor in place then pull the motor, flip the frame then weld and brace the rest....
dAmTZww.jpg
 
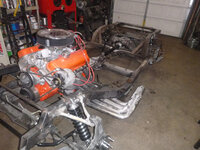
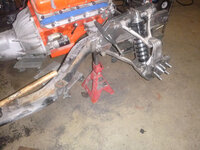
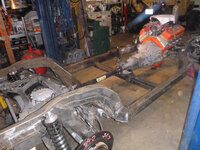
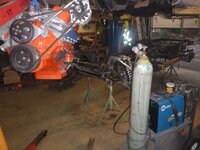
time to start welding.... motor is in and it's resting level and on its suspension points.... and the frame wasn't flat, so I'll weld it flat in this processedited
HJTosFe.jpg
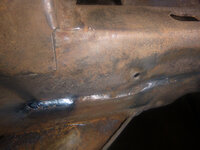
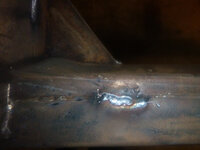
look at the 'weld' to the left of the mig weld.... this is why welding the frame is so importantedited
dhbRrgv.jpg

this hole gets filled too
LYibZYQ.jpg

and the fun of straightening the usually bent rear brace
wne1j94.jpg

​​​​​​​
 
weld frame to make square..... and beat on frame....edited
kWXpdGK.jpg

along with hanging weights, I did some flame wrench straightening .... frame is dead nuts square, but it has a slight rack to it (thus the weights)
dEgXp4J.jpg

someone told me once that it wasn't possible to shim the side pipes up with washers..... to that person, don't look
IuQYNOO.jpg

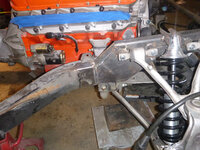
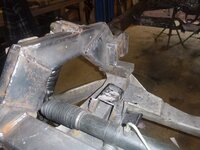
the problem, it turns out, I'm fixing anyway with a new driver's side motor mount (so it clears the steering shaft
TiRooxB.jpg

time to start welding plates on
XtYOjVz.jpg

other side
Cx6HZZh.jpg

​​​​​​​
 
how to eat an elephant
Cx6HZZhs.jpg
time to fill holes
m1BV7lRh.jpg
U77UUUEh.jpg
make squares
w7KlvfDh.jpg
FjBYiLnh.jpg
weld into place
OPg09coh.jpg
s3dce5sh.jpg
veQwf9oh.jpg
08DUWwrh.jpg
this brace isn't totally needed but it will keep the frame solid when I drop the cradle
2fSK7dvh.jpg
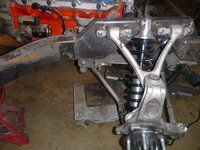
finally weld the upper shock mount
sN9WtJKh.jpg

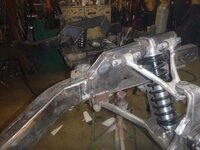
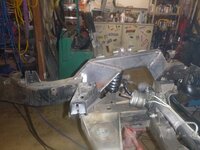
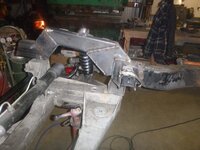
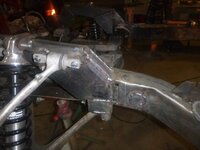
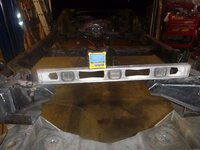
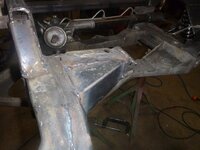
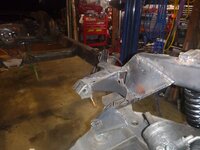
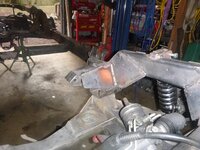
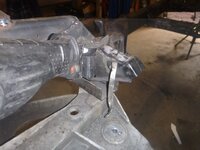
more soon. I need to finish up, the more I look at this frame the worse it is.... passenger rail actually bows up.... for those curious, the datum line is the bar that runs behind the seats.edited it's square and squares everything I put on.. so where the metal goes to reach that point (as long as it doesn't interfere with the body) is fine.
 
today's fun, motor mount
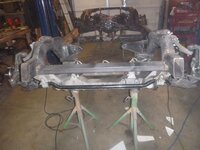
the problem, passenger side is low
bHf5nfKh.jpg
CAD assisted design
EmYuTWkh.jpg
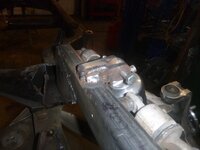
now in metal
WXqZWyWh.jpg
I need to do the front side now.editededited
DYP0XWHh.jpg
Then onto the passenger side.edited I started here because the mount was pretty floppy with all the metal removed, now it isn't so I can move back to leveling the motor in the chassis (once I'm finished with the driver's side)
 
Last edited:
time to finish up the front
driver side
EgzvGaQh.jpg

passenger side
HBb8smmh.jpg
off a bit
xGUcg72h.jpg
8FdnTtTh.jpg
which meant a quick install and removal of the motor
​​​​​​​4TOC2aKh.jpg
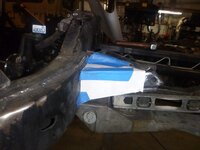
chop and move up
ZBiuZHGh.jpg

then turn it around and get to work on the back
0R4I2Uth.jpg
 
You are probably going to inspire someone to make/market a C5 conversion front clip.
 
First, I guess it would be very inappropriate -- now the work is done and looking good - to suggest or ask - wouldn't using motor plates have been a whole lot easier? :bomb:
As long as the frame rails are straight - they would have bypassed the fix you've made. But, most likely better having done that - you're reasonably sure its all squared up!:clap:

You are probably going to inspire someone to make/market a C5 conversion front clip.
I've been pouring over similar discussions on the LS1, Pro-touring, Lateral-g forums - I bet there is such a market - buy the K-Member seems to be the make or break deal, and track width as 69427 wanted to keep his inside stock fender flares. A lot of variations to deal with, no doubt.

Some interesting communities and projects using C5/6 components - like 29fordhotrod who is using c4 bits - but similar adaptations likely possible for 5/6 and a simple crossmember for his K-Member/steering mount.
http://1929fordhotrod.com/johnsblog/wp-content/gallery/chassis-plans/frame0005-blog.jpg
Here is a link to his plans page - it might be 90% of a "Conversion" idea for C4 front to C3 - C5 just a slight "twist" maybe:
http://1929fordhotrod.com/johnsblog/198487-c4-corvette-chassis-plans-model-ford-hot-rod/

Cheers - Jim
 
if the frame is straight... the wheels are in the right spots but how the frame connects those points is a bit, well, avant garde. and I did seriously consider a motor plate, but (and this isn't something I've put out there) my plan is to run this in the Optima Challenge. C3s can compete against the older muscle cars - but there are limits to what you can do to the frame (no roll cage, for instance).... at this point, they haven't said you can't substitute in newer suspensions (not exactly, but running with it now) - so I expect this to be a one-year shot before they close the loophole since i imagine the next 'cowboy' will simply rebody a C7 with a C3 shell and that will be the end of that.... long explanation, but that's why I didn't do motor plates. They do allow bracing (think aftermarket frames) and I may do that.... which is kind of the basis of the question at the end of today's post.

as for kits, give or take the Detroit speed kit is a C5 front without the C5 geometry... what I expect is people clipping in these rear suspensions. I remember a discussion on here about how to improve the C3 suspension (it was talking Guldstrand stuff).... that, ultimately, is what would be the logical step of that discussion....

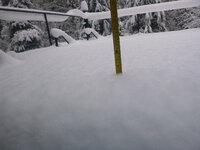
so we got a bit of snow today
Gw4c4xb.jpg
as is normal, everything shut down.edited I went to work, enjoyed the commute because it was pretty much just me
so I came home and did stuff
RumWutO.jpg
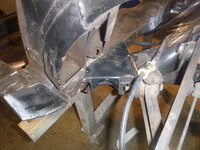
first box the rear attachment points in
GnLyldF.jpg
bNv4vA0.jpg
started boxing the bottom - my plan is to flip the frame over the weld the bottom
a4k7Apk.jpg
e7qNrvk.jpg

what I haven't decided is if I need to attach the kick-ups to the cross bar on the old frame....edited
yANVkWx.jpg
the frame could use some strengthening and perhaps now is the time to try some new things.... I dunno
aF37t8s.jpg

​​​​​​​
 
As always -- Great Work! I know you posted the snow depth to make me feel guilty about not working on my project! :stirpot:

Not to worry - it's mid-60s today and once I get some parts orders in...

BTW - Did you catch the word I posted regarding the C7 bearings? That's my big order. NOTE- GMParts Direct has a month long discount sale going on too! (but RockAuto is a bit cheaper).:trumpet:

Cheers - Jim
 
As always -- Great Work! I know you posted the snow depth to make me feel guilty about not working on my project! :stirpot:

Not to worry - it's mid-60s today and once I get some parts orders in...

BTW - Did you catch the word I posted regarding the C7 bearings? That's my big order. NOTE- GMParts Direct has a month long discount sale going on too! (but RockAuto is a bit cheaper).:trumpet:

Cheers - Jim

figures that I already ordered all the bits for the front... I need to look, though, about rear. thx!
 
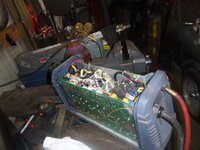
first step tonight was figuring out what is wrong with this stupid thing.... it goes through consumables very quickly.edited blew the dust out... didn't make a difference.edited checked the torch (pulled it apart), nothing there seemed terribly amiss.... but now I'm out of consumables...

zxUFxGCh.jpg

then boxed this
KluDRYch.jpg
VYL8g6Fh.jpg
q2MwuZjh.jpg
next is flip the frame over... so I don't make a mess... drain the diff...
V8L9tCCh.jpg
looks good, only had 30k miles..
​​​​​​​ooGDwjXh.jpg
 
Any chance you can get a weight on the frame and the body separate? Just that they are apart now and would be useful. I'm going to post a "CG Guestimator" I put together in another thread.

Cheers - Jim
 
Back
Top