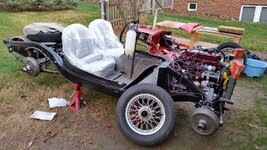
1958 MGA Coupe

VetteMod - Corvette Restoration, Modding & Performance Forum

Help Support VetteMod Forum:

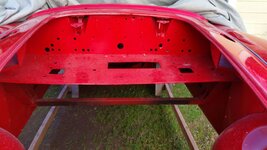
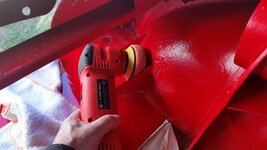
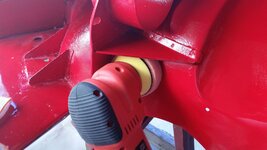
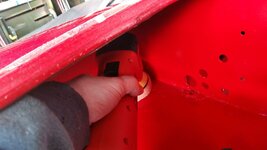
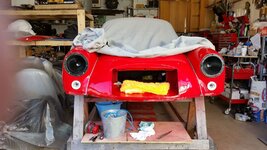
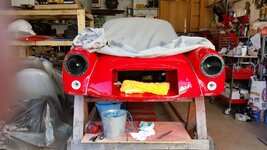
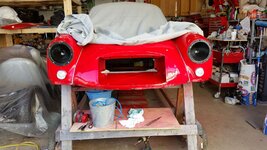
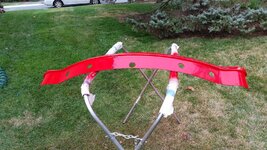
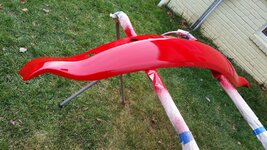
todays mission

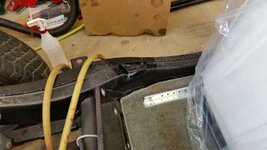
20151205_111111_zpskwkv53wq.jpg

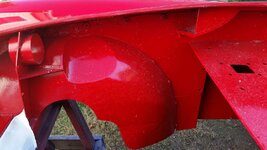
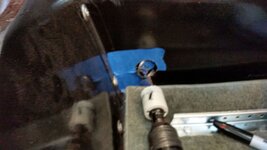
20151205_111118_zpsjwq6aucm.jpg

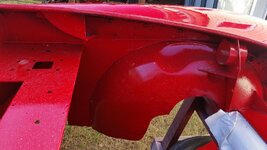
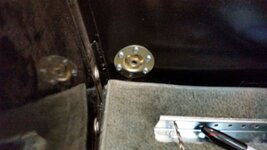
20151205_111127_zpsrndjfxp2.jpg

1/2 way done....

20151205_134305_zpsqfhi8u6e.jpg

20151205_134305_zpsqfhi8u6e.jpg

20151205_134313_zpsg0l1lnnn.jpg

20151205_134318_zpsqvkjki0w.jpg

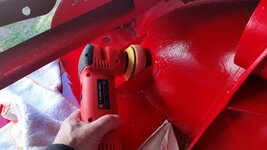
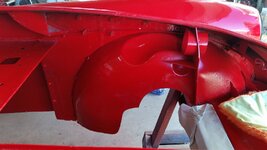
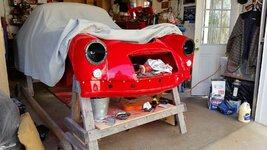
wet sanded with 1000 and 2000 and then finished with #85 and 84 with a wool pad and orange pad only inside the engine bay, will finish tomorrow with finishing pad and #83
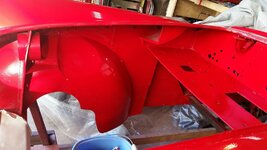
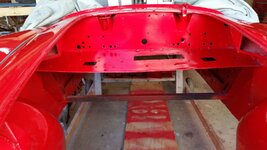
20151205_140533_zpshne4wluo.jpg

20151205_140539_zpsszf4qmp7.jpg

20151205_140547_zpslja0dfb5.jpg
 
time to start putting everything I can on the car

20151205_201617_zpsxq10vduh.jpg

stainless steel set screw
20151205_205527_zpscveblkas.jpg

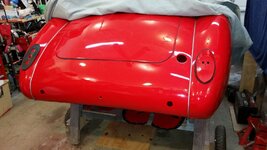
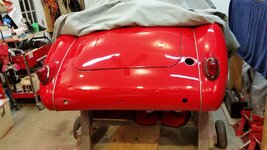
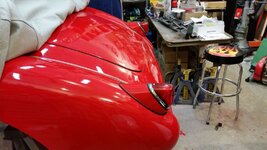
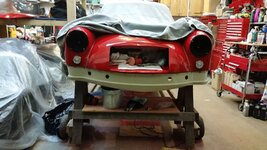
strange looking at the rear with lights on it

20151205_205742_zpsfyuvrkvn.jpg
20151205_205902_zpsk8qlhxq9.jpg
 
well I see this going through late spring....and I have my next project tentatively lined up.

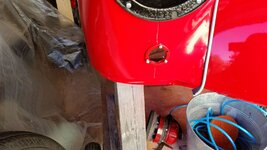
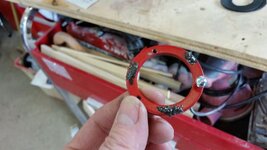
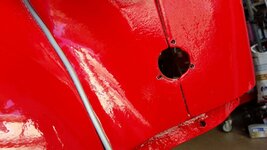
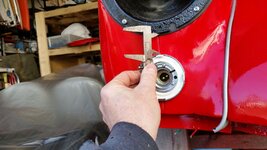
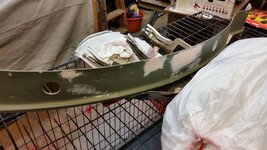
this is what I am working on today, normally you do this before paint but my ordering sequence got out of whack

20151204_165914_zps2ms51xli.jpg

I notice the holes are not even

20151206_100011_zpsd4mcaw9v.jpg

I use cardboard so I don't dig up the paint if the drill slips

20151206_103410_zpsbyc7bgra.jpg

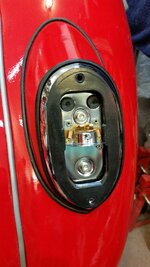
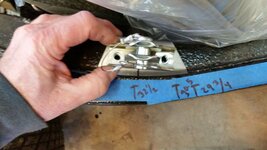
mark the hole using the light fixture and drill it out and test fit the bracket

20151206_105251_zpsf1d0oknj.jpg

20151206_105306_zps6aq4qvgr.jpg

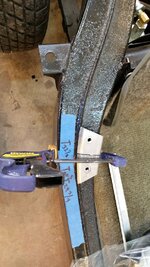
jb weld to hold it in place
20151206_114810_zpsqem3hw0k.jpg

20151206_115349_zps9qzemvkl.jpg

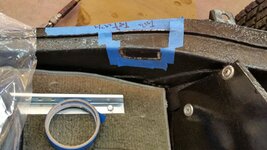
measured down from light bucket for uniformity sake

20151206_122543_zps7yxzyxf6.jpg

20151206_122556_zpsyyjr2atm.jpg

this orients them so the bars in the glass are horizontal and vertical
20151206_122556_zpsyyjr2atm.jpg

20151206_123243_zpsbew84d4m.jpg
 
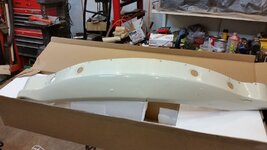
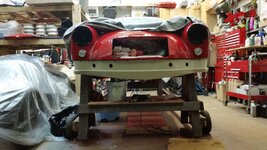
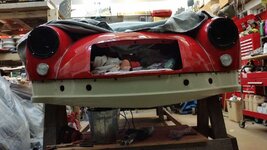
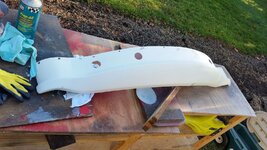
well my buddies on the forum were looking out for me and let me know of a front fiberglass valance that was for sale and Alan was kind enough to box it up and send it my way.....

20151207_180059_zps775ano29.jpg

and we have our first trial fit

20151207_204805_zps92nabxuu.jpg

I was amazed with the 10 zillion fasteners I have that I could barely scrounge up 10 or 12 8-32 screws......

I am thinking these are going to be stainless steel hex head cap screws......more then half have functioning caged nuts the others will get a nut on the back side of them.... more fitting tomorrow.....sanding, priming will happen tues, weds and Thursday and finish painting will happen on Friday when its suppose to be 62*
 
neat... so what's the next project? enquiring minds want to know. :waxer:

another MGA, a roadster this time and one that has no accident damage and is in relatively really good shape. that restoration I will do to a really high standard. it almost worth doing the same car twice since you become so knowledgable about the cars.

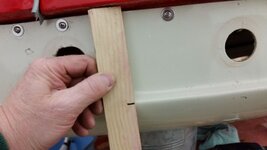
another quick hour changing all fasteners to SS pan head with SS washers.....its 8x32, tried again on the 10x32 size and it was a no go......not too much fiddling had to elongate several holes and drill three new ones for the fabricated piece I made. measured the distance along with a marked wooden stick and its dead on perfect. my guess is the previous owner spent a lot of time getting the fit right and I benefit from his effort.

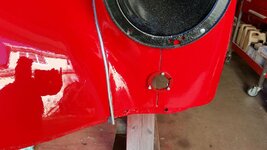
tomorrow I mark the center hole for cutting out and start the stripping of the old paint.

20151208_192758_zpsrgny6bvr.jpg

20151208_192831_zpsdcfyx9xa.jpg
 
As an Amazon Associate we earn from qualifying purchases. Product prices and availability are accurate as of the date/time indicated and are subject to change.
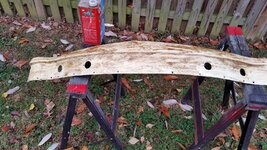
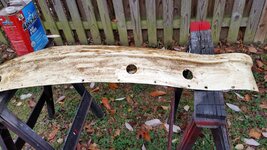
well goal for Friday is to paint it.....tomorrow night is the work Holiday party....so todays lunch time mission was to start the paint removal process

20151209_133123_zpsf1eajrnf.jpg

20151209_133118_zpsvmou4ipc.jpg


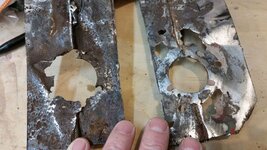
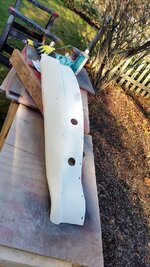
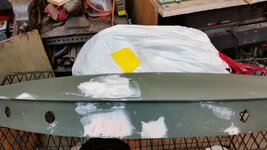
tonight it will get washed off, and the mechanical sanding process will start. strangest thing the Flat part by the bumper extension holes the paint bubbled.....the round underbelly part nothing came off, its just kind of rough. I wonder why the different results?
 
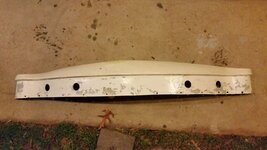
about a half hour tonight hosing it down and sanding it with the water orbital sander with 180, some of the gel coat came off and you can see the imprint for the cutout for the center hole

20151209_204740_zpstyxtlvfj.jpg
 
JRSCA said:
Bob:


Are you saying that the chemical stripper didn't do the job?

John

I honestly don't know why the chemical stripper worked differently for the paint behind the bumper vs the rounder under belly. on the behind bumper part it did exactly what you would expect and bubble and peel the paint, on the rounder under belly it made it more of a hardened alligator skin? I don't know? perhaps the paint was thinner and it came off with out me noticing it (it was at night) and what was left was what I noticed.

in any event, I hit it with 150 this am

you can see the demarcation line on the under belly
20151210_091153_zpsmmt2p1ep.jpg

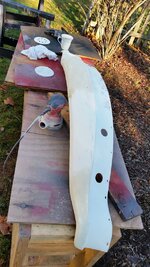
hit it with 150 to remove all traces of paint or any thing shiny and then again with 220

20151210_094016_zpsogcrngva.jpg


20151210_094024_zpsbalhhv22.jpg

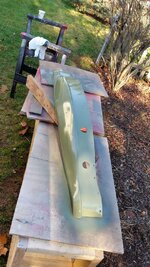
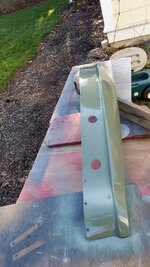
total wipe down with pre paint cleaner and then prime it with self etching primer

20151210_094914_zpsuarj6me1.jpg

20151210_094927_zpsahxv1ioh.jpg


the fiberglass was so porous that I wanted to prime it immediately after getting it cleaned and the small repairs with get done later tonight with the goal to have it fully primed before I go to bed. that way if there is any paint in compatibility I should see tell tale signs before I paint it tomorrow.
 
tonights work to fill the little digs and holes and to fill in the small fiber glass crack in the lower lip

20151210_214337_zps04dlo8fy.jpg

20151210_214359_zpsjdvgezlr.jpg
 
I prepped the area that I fiber glassed really well and scuffed with a 60 grit sand paper
and it worked to repair the point, basically I opened the tear which relieved the "point" and clamped it open and fiberglassed it. before it had a sharp point where the tear was. now look at the yellow spreader and it points to the repaired area which is nice and smooth

you can see the small point here on the bottom

20151207_204743_zpsq8ycmawu.jpg


20151211_082850_zpsas1j0lgc.jpg
 
mostly just cleaning up today and putting away body working tools....now that's a good feeling
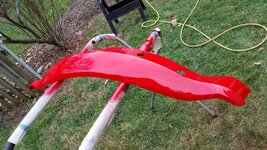
best spot for this front valance is on the car....final adjusting can come after the paint has hardened a little bit more

20151212_132417_zps8uv8yoeh.jpg


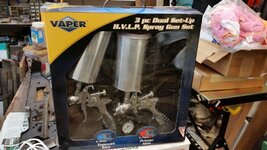
I could not get at my TCP global guns since my sons beast was staying with us and his cage is in the garage, so I used my sons guns I bought for him from auto zone, I really like these guns, may be even more then the TCP global ones

20151211_133242_zpsmg3ducl6.jpg
 
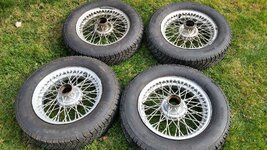
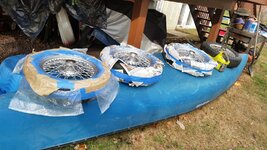
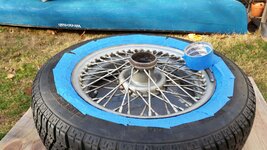
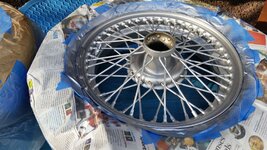
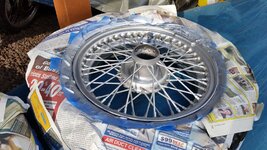
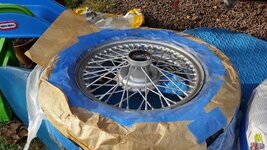
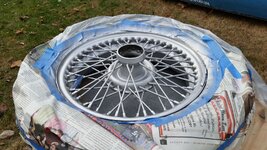
5 hours cleaning, sanding painting wheels

20151213_095351_zpsn1i4onvh.jpg

cleaned twice with mineral spirits, cleaned twice with soapy water and a variety of wheel brushes, sanded and then cleaned with prepaint

20151213_105411_zpsihlnlvtk.jpg

20151213_130317_zpsquiyagnr.jpg

20151213_135104_zpsqb3sk8pd.jpg

20151213_135112_zpskiij42lj.jpg

20151213_135115_zpsw8ppju48.jpg

20151213_135118_zpsp5srowpq.jpg

20151213_144042_zpsczz3wvtl.jpg
 
seat belt day!!!!!!!!!!!!! or may be weekend we will see....of course the seat belts are back order :(


while the paint is drying I will write this and then move to the other side

Barney says you can move it further back by about 2"

20151219_091455_zpsn6ddmy9a.jpg

20151219_092136_zpsys90f1ps.jpg

20151219_093316_zpsrlrqbl6h.jpg


proximity to seat back at 30.5"

20151219_092716_zpsefc0ipmi.jpg

sweet spot for me at about 31.75"

20151219_092818_zpsjla29gnr.jpg

the bracket is still on the top ridge and lots of seat clearnance

20151219_094328_zpsmvr7rt2l.jpg

grinding outline

20151219_095052_zpshdp7ir9z.jpg

weld splatter control....what could possibly go wrong?????
20151219_095435_zpspcwjec0x.jpg
20151219_095444_zpsqb5takrv.jpg

welded in place

20151219_103844_zpshyovsufm.jpg

welds ground down and painted
20151219_104003_zpsnwjl3hk7.jpg


same process drivers side

20151219_121216_zps9ouyk8y5.jpg

20151219_121536_zpscfcsvp05.jpg

now to the tunnel mounts
 
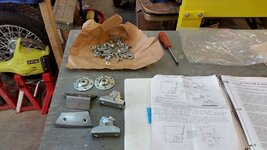
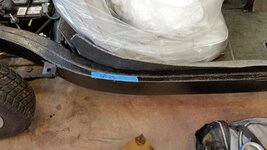
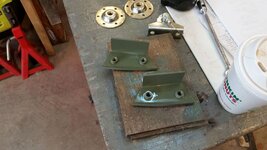
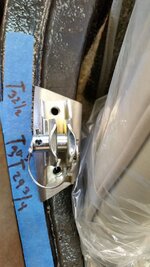
tunnel mounts....1.5" hole I drill 1/8 holes and mount the bracket backwards with 2 sheetmetal screws and then drill the other holes to size putting a screw in each one of them to hold the position and then after its all done flip it around and mount for real

20151219_141224_zpsmovvnxmi.jpg

20151219_142523_zpsi2ns3vax.jpg

20151219_145705_zpsvcyrhkkp.jpg

20151219_151603_zpsfaqy3xur.jpg

and done!!!!

20151219_164912_zpsk7ee8yp2.jpg

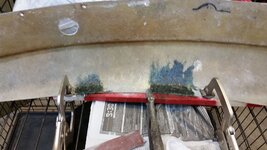
tomorrow the 3 point bolts on the inner rear fender wells
 
Last edited:
well seat belt holes can get marked as DONE

pretty nifty looking set up

20151220_104342_zpsgrq08twh.jpg

20151220_103534_zpsr4cxycup.jpg

20151220_103040_zpsyeopvawu.jpg


now I just have to wait for the seat belts to arrive.

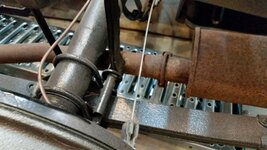
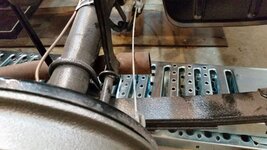
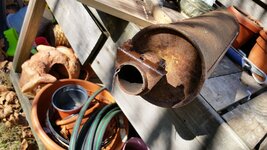
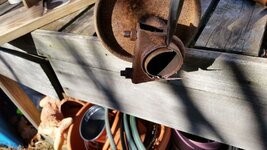
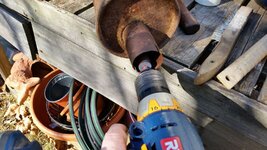
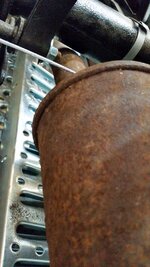
on to fixing an errant muffler......
 
well better late then never.....

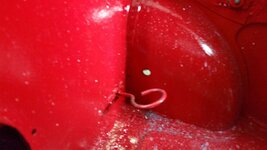
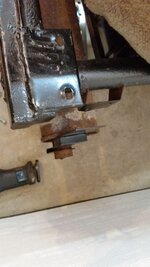
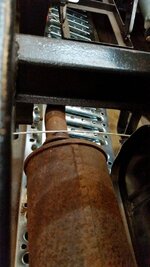
this is a problem

20151220_105449_zpsr1wnpxi8.jpg

take wheel off and theres lots of access

20151220_105455_zps9csj9s2e.jpg

20151220_110212_zpsqlk7yxsp.jpg

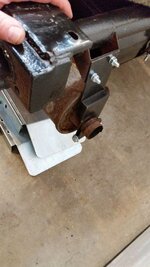
they just never seated it properly

20151220_110308_zpspyoooo7b.jpg

cut the inner tube with a reciprocating saw

20151220_110714_zpssi5g5q1z.jpg

its as I suspected the exhaust was new just before the car stopped running

clean it up lightly inside

20151220_111648_zpsyedsh7d6.jpg

muffler clocked properly and this is at full bottom swing, it lines ups nicely

20151220_125500_zpstqdxxvmz.jpg

20151220_125507_zpsfxoooymz.jpg

20151220_125429_zpsnam2vo0n.jpg
 
Gonna hit that poor thing with some high-temp exhaust paint?

I am not sure what the best thing to do is.....

a zinc/phosphorus treatment then paint.....primer then paint.....just paint.....brush on paint.... spray paint....or just leave it alone

I am conflicted....it is real metal though.....amazingly not rusted through
 
Last edited:
header paint is your friend, especially the ceramic stuff.

story time. So I was all about ceramic coatings, but it's expensive and I'm (sometimes) a cheapskate. I bought the VHT header paint and put it on some headers that I ran for a couple years in a Buick. When I swapped the chevy motor for a Buick motor, my nephew wanted to buy those headers... fine, I gave them to him (cheap, used, sbc headers are not really a marketable item). So he wanted them ceramic coated.

The coating shop bitched something fierce about how tough it was to get that coating off.... so epiphany time - $10 for header paint or $400 for ceramic coating.... yeah, I don't do ceramic coating, best part is you can easily fix paint.

VHT or even duplicolor header paint is your friend....
 
I have cans of header paint from the corvette....I thought I had to bake it at 500* to cure it and haven't used it

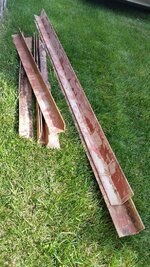
I am about 1 hour away from breaking down the 3x8 assembly/storage table that has been my companion for the last year or two. I think January is going to be a light MGA month I want to do some other metal working projects, may be weld up a big arse wedling/assembly table from 1950 Bethlehem steel from windows of brick homes that were taken down to build new homes, this is all 1/4. 5/16 and 3/8 the big pieces are 9' long

20150611_095956_zpscvptlh4a.jpg


pick off some easy work while cleaning up....

20151224_094837_zpsq3pvbidc.jpg

20151224_104456_zpsihrqjqjn.jpg


and I noticed my heater core assemblies were different

one has the directional vents on the flapper

20151224_110132_zpst5o1kd1b.jpg


the other has the directional vents

20151224_110137_zps9f47xhjh.jpg
 
Most of those paints are rather delicate until they cure, but most of the cans say you can cure them in place with the heat of the exhaust. You might try using one of those oscillating parabolic dish heaters at close range to start the curing process, get the parts installed, then run the engine up to temp to fully cure it.
 
Most of those paints are rather delicate until they cure, but most of the cans say you can cure them in place with the heat of the exhaust. You might try using one of those oscillating parabolic dish heaters at close range to start the curing process, get the parts installed, then run the engine up to temp to fully cure it.

What I have done is hang them up to paint them, then heat them with the rosebud tip of my oxy-acetylene torch, sticking it in the collector & all the tubes, & go over the outside lightly to just heat (not burn) the paint, over and over until I felt the whole thing had been at least partially cured.

I don't recall how POR15 is supposed to hold up to heat, but it's held up perfectly well on my exhaust pipe tips for years. That exhaust looks like a perfect candidate for it.
 
Last edited:
POR 15 would be a perfect candidate for that for sure....I will have to see what brush on heat resilient products they offer
 
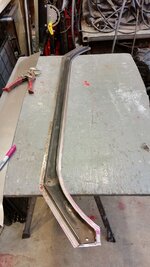
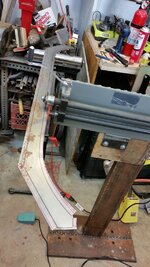
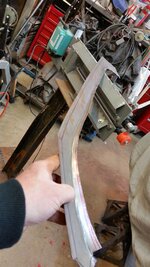
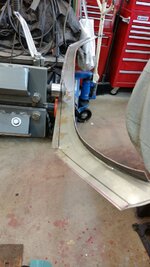
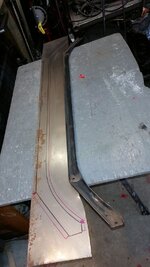
on to the bead roller with a tipping die, urethane wheel

20160102_141913_zpsttw2dutu.jpg

20160102_130704_zps7cne120e.jpg

20160102_131344_zps8jigcc6d.jpg

2 passes
20160102_133052_zpsoeyrov9r.jpg

3 passes and hammering to finish
20160102_134042_zpscan2pik3.jpg

back flange

20160102_135156_zpszs55zzco.jpg

2 passes and hammer finish
20160102_135539_zps6tuq4q58.jpg

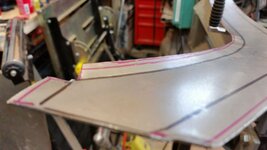
proof of concept
20160102_141728_zpsqx56blqc.jpg

20160102_141734_zpsv7xue3z0.jpg
20160102_141742_zps6k2nzzia.jpg

20160102_141755_zpsmgptglmj.jpg
20160102_141804_zpsdfbja2zj.jpg

20160102_141817_zpsdmwlapam.jpg

20160102_141821_zpsejvw31sp.jpg

20160102_141826_zpsyu8ml1to.jpg
 
no DTs

lets make the small brackets....about 1:45 hrs

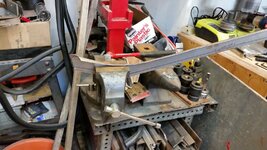
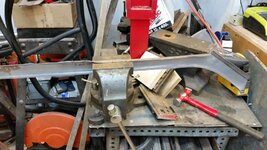
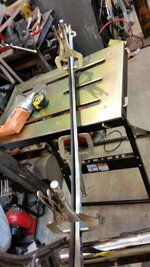
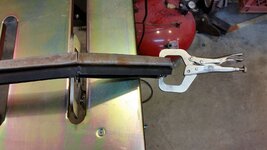
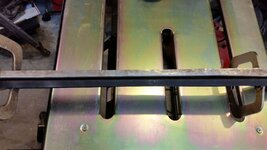
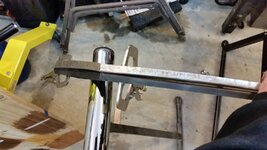
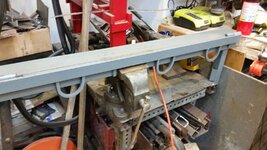
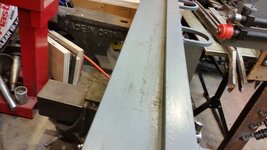
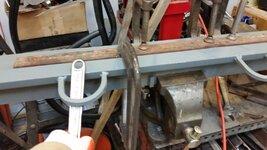
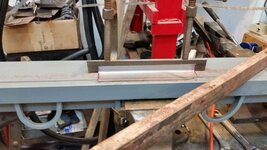
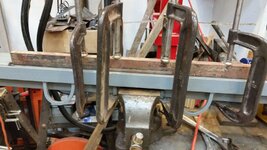
so this is a simple home made break clamped in the vise

20160109_160552_zps1xiqvzo5.jpg

20160109_160601_zpsrncscu92.jpg

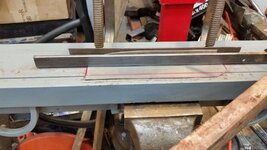
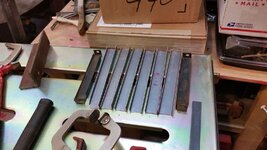
this is the brackets laid out on 18 ga

20160109_142333_zps6luhdome.jpg

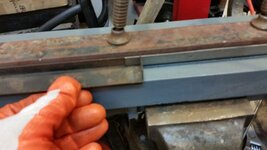
first bend is easy, just clamp it down

20160109_145429_zps7q1at8zw.jpg

those rings are for leverage stick a bar into them and yu have handles

20160109_150234_zps6vskxg2g.jpg

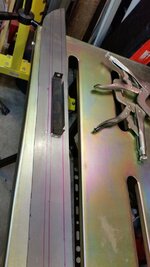
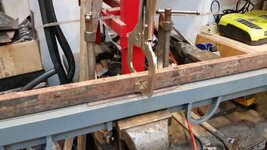
next bend set up a back stop
20160109_155018_zpswgpsalzb.jpg

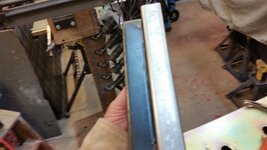
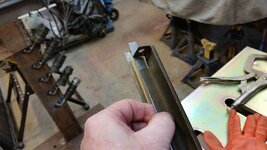
build it out to the proper thickness

20160109_155040_zpslw4o6pws.jpg

clamp in place

20160109_155130_zpsmbbc3o4o.jpg

20160109_153714_zpsrwpsmkko.jpg
20160109_160124_zpsw6jguvgv.jpg

20160109_160211_zpsoylst2g3.jpg

20160109_160217_zps6ltewsua.jpg

20160109_160251_zpswb9ab2fe.jpg
 
A bit of context as to what's going on here? The existing bracket looks to be in good shape. I feel like I'm missing something.
 
Back
Top