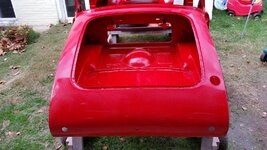
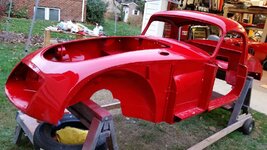
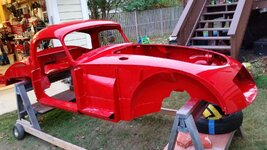
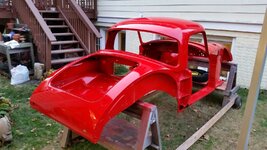
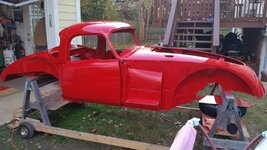
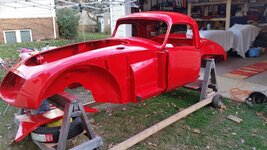
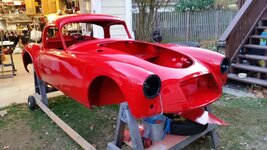
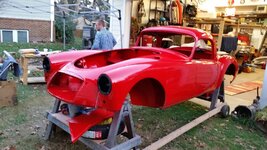
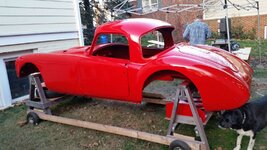
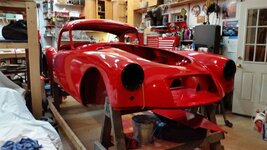
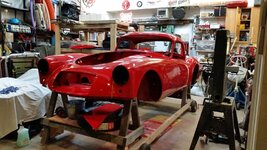
1958 MGA Coupe

VetteMod - Corvette Restoration, Modding & Performance Forum

Help Support VetteMod Forum:

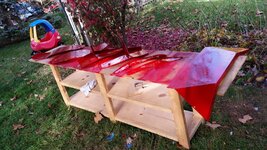
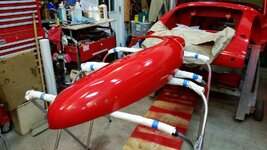
tonights push

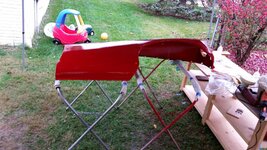
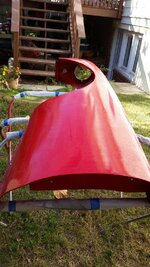
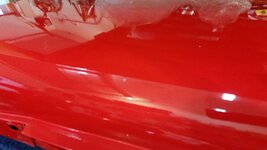
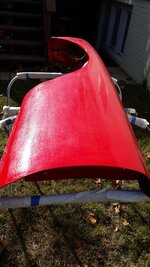
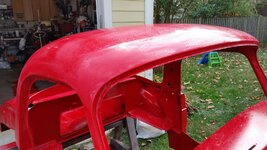
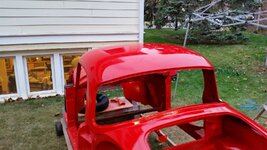
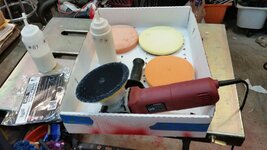
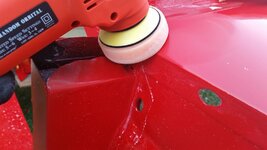
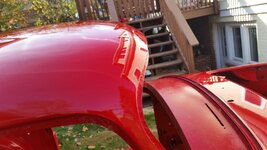
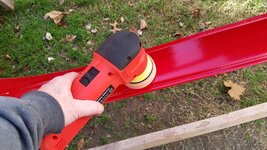
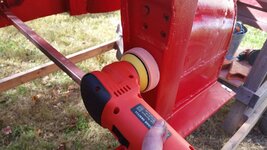
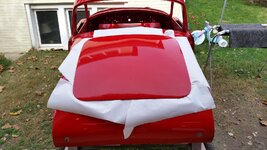
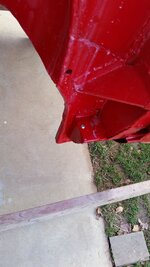
man theres lots of curves........be sure you don't let the buffer backing pad dig into the curved spots, you can use a pad that has a shoulder to help stop boneheaded monents
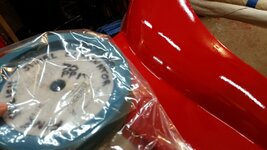
20151104_215440_zpsx0hfalat.jpg

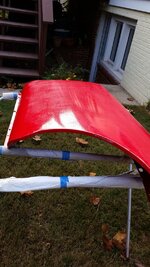
the top could use a couple more passes but the big flat panels are done nicely.
20151104_215410_zpsrhzcvodb.jpg
 
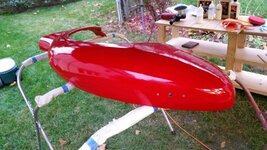
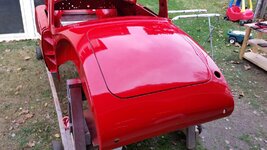
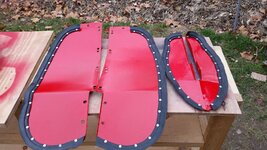
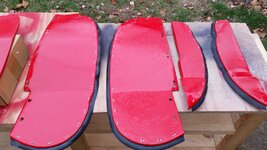
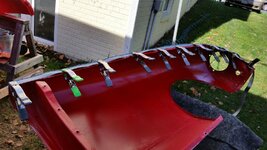
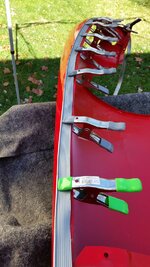
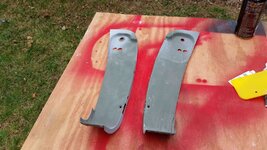
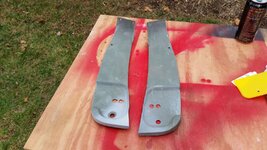
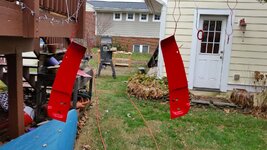
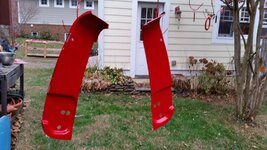
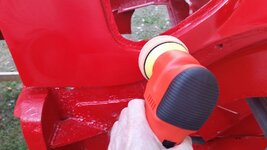
today MGACharlie (Charlie Adams) came over and he sprayed the last three coats of clear on one side of the inner splash guards so this side is done!


20151106_145737_zpsuwexvb1j.jpg
 
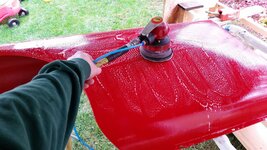
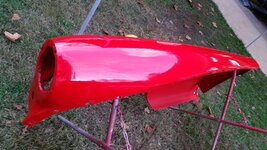
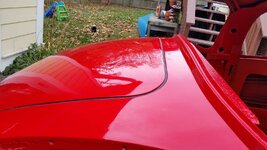
well today same routine sand with 2000 and buff. too manyy curves to use 1000 on a machine, I may do these by hand with 1000 on warm day...today it was raining and pretty miserable

20151107_094554_zpsmx4ecl6m.jpg

20151107_104849_zpsqxcxyabd.jpg

20151107_114827_zpsacx4psay.jpg
20151107_123752_zps7b7h1lta.jpg

20151107_135211_zpsl1yh6qo8.jpg
 
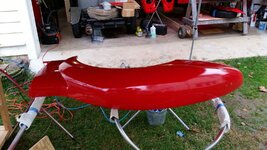
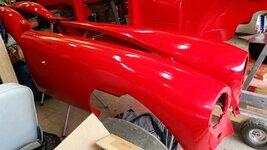
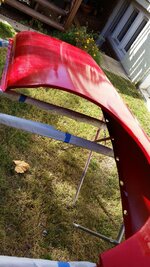
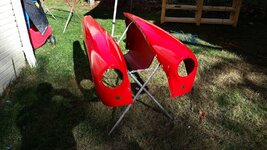
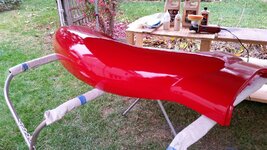
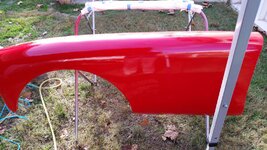
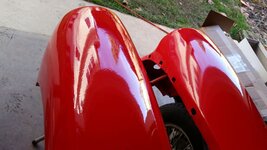
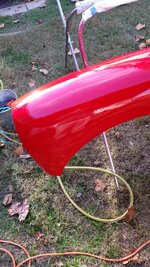
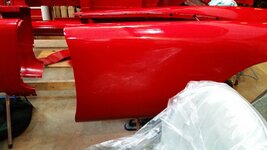
i wasn't happy with how the front fenders came out so lets do it all over again. I looked at my intermediate soft pad and decided to sand the fenders again 4 passes on each fender wet with 800, 1200, 1500, 2000 and then buffing with 4 different grits and pads, at least I wasnt getting rained on .....

20151108_122804_zpsq5cwdqt6.jpg

20151108_105447_zpsibwpfb6i.jpg

20151108_125329_zpsmnk5xtum.jpg

20151108_135535_zps89fnqjao.jpg

this will cover me for another several weeks on these fenders and then I will buff it again but no more sanding
 
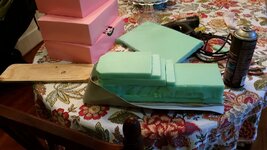
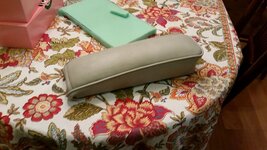
lets finish the arm rest

20151108_162309_zpsyu7so5bq.jpg

20151108_170300_zpskjekucwo.jpg

I know from the test mock up the foam redistributes itself inside the arm rest
 
I had a few hours to fool around with so I polished the fenders again....no sanding this timeI

and I no longer have to worry about who will give my paint job the first good ding,because that would be me.....when I took the rear fender off the stand I was looking at what I wanted to buff some more and the front dog leg dropped on to my door:(

see that gray spot, oh well, it reminds of my first motorcycle, by buddy said to open up the seat take out a knife and scratch the gas tank to get it over with.....

20151109_162231_zpsjerzpb6w.jpg

this time just buffing with a DA

20151109_163816_zpsxgohbgdt.jpg

20151109_153640_zpsjhawloww.jpg

ran out of light to get good pictures of the front fenders
20151109_185603_zpsmzintagv.jpg

I can still just faintly see the dullness from the sanding on the front fenders, it is close to being gone and I think one more buffing will make the dullness go away.
the foam pads don't cut as much as the wool pad, and the DA doesn't cut as much as a rotary buffer so its a little more time involved but you don't have to worry about burning through on edges or curves...
 
As an Amazon Associate we earn from qualifying purchases. Product prices and availability are accurate as of the date/time indicated and are subject to change.
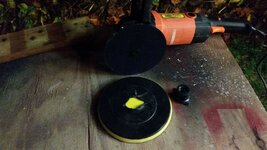
well I accidently knocked over the rotary buffer and broke the hook and loop pad.....so off to the store to buy another one, I purchased a Meguiar backing pad that can be used with either 7 or 8" pads, this is on an inexpensive Harbor Freight rotary polisher

20151110_220109_zpsvon3ozm2.jpg

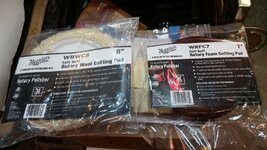
while I was there I realized that they had the Meguiars pads that the compounds I am using were designed to be used with. so I said what the hell and bought them

20151110_220151_zpsbsnaqe0s.jpg

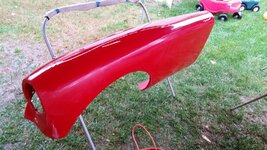
I quickly buffed the two front fenders again with just the wool pad and the #85 and this easily made those dull spots disappear, I was surprised with how easy this was. Now I have done lots of buffing on these fenders and I am sure they were just waiting for me to do something but I was surprised in any event and the work for the evening went well. tomorrow I will go through all the rest of the buffing steps, #84 with the other pad I purchased with the rotary and then move to the DA to finish with the other two compounds
 
still a little bit too much orange peel, what the hell its only work.......1200, 1500 and then 2000 all wet

20151111_133214_zps2cimuv2b.jpg

20151111_151154_zpszf144jwg.jpg

then #85 with a wool pad,#84 with foam cutting pad and #83 with foam cutting the rest will be with a DA at a later date

20151111_142136_zps50sbb3po.jpg

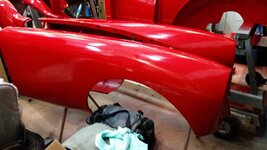
the fender on the left is done the one on the right has not been sanded and buffed yet

20151111_143846_zpsi1obyzcl.jpg

20151111_143704_zpsj6v9nris.jpg

20151111_163709_zpsgbx51dk5.jpg
 
I got to work on the car this afternoon , and did the final polishing on the fenders. one of the front fenders has a little more orange peel in it then i would like, but I am going to ignore it until everything is mounted on the car. I have lots of clear on the car and I can sand it and buff it again at any time. once its mounted and I can see the orange peel everywhere else it will lead me to what I have to do. what I am looking for is a uniformity of appearance . the panels are shiny as can be even with the slight orange peel so the glossiness isn't a problem. you can see the plastic on the seat in the reflection

20151116_175702_zpsmiwabc4h.jpg

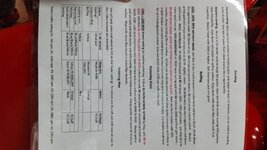
this is a little cheat sheet I made up to help me remember the color of the foam pads and the order in which you use them, as many of you I have a bunch of different foam pads and the color is not universal, so this is my notes so I don't have to try to remember the order of operation...kind of .reminds me when my youngest school kid asked me about the order of operation of Mathematics and I said left to right......then when the rest of my other kids stopped laughing they informed that left to right was important but that wasn't all of it...needless to say they don't ask me for help with their calculus


20151116_195126_zpslhirfbg6.jpg


now on to the buffing and polishing the body
 
5 hours today.....what can I do in 5 hours

well 3 passes with 1200 fresh pad, 3 passes with 1200 used pad, 3 passes with 1500, and 4 passes with 2000 all wet just the top side of the body

20151117_132242_zpsxajdfsmm.jpg

20151117_132323_zpsc5huw1tm.jpg

20151117_133320_zpshptssueb.jpg

20151117_133339_zpsd8bvbd77.jpg


then with a rotary buffer 1 pass with #85 wool pad, 1 pass #85 maroon foam pad, 1 pass #85 yellow , 1 pass #84 blue foam pad, 1 pass #83 black pad, 1 pass #82 white pad

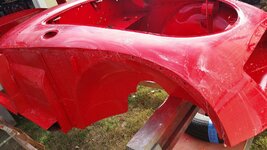
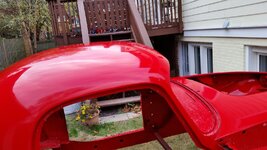
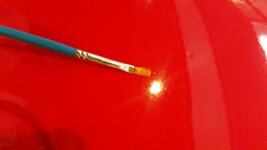
it looks good I need to do the polishing phase again. this next time will be with a DA. look for the reflection of the house or garage. I am 80% where I want to be.

20151117_164950_zpsgsmirdzx.jpg

20151117_164631_zpscfldukvr.jpg

20151117_164618_zpszpeuyqnw.jpg

20151117_152805_zpsneqcejqt.jpg

20151117_164603_zpslboetedq.jpg
 
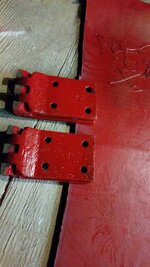
so it occurred to me once the body polishing is done I could put the doors and fenders on.....but not until I paint the door hinges and spacers, I cleaned them last week so they are ready to get primed and painted, used self etching primer

its a 65* night and humidity is within tolerances

20151118_203033_zps5u23dw8a.jpg

base coat

20151118_210511_zpsziypebld.jpg

clear coat

20151118_223723_zpst4cjt2n9.jpg
 
Golly Bob the attention to detail you have is way beyond my caveman basic function focus. Isn't hardware like this what POR15 is made for? Just bust the loose rust with a quick sandblast or a wire wheel, brush on the acid primer, brush on the color and be done with it.....
I admire you, and I know I will love that little car when we see the video of it pulling out the driveway and zipping up the street under it's own power again!
(Although one question that I have often thought of while monitoring your projects, how in the hell did you ever find time to make two sons?)
 
(Although one question that I have often thought of while monitoring your projects, how in the hell did you ever find time to make two sons?)

and two daughters too...I balance my time:)

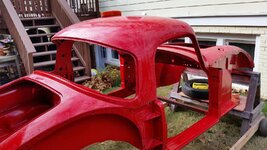
the goal is to finish the out side of the body buffing so I can put the doors and fenders on

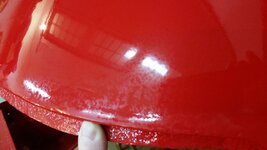
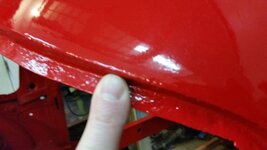
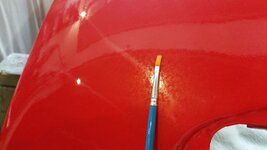
so after all the work sanding and buffing the car had great reflectivity but that was only about 60% of where we can go....look at the first pictures closely, the dull areas were present in those pictures with the great reflectivity. so the idea is to bring those up to the same level of the shiney spots. great terminology....

so 3 hours tonight with the DA, this is a Harbor Freight DA for $45. I have an expensive Griots Garage DA but I wanted to try the inexpensive one and let it do all the hard work and save my good one for the easy polishing jobs.

so tonight #84 with orange hard cutting pad, 2 passes , #84 with the white light cutting pad 2 passes, and #83 with yellow buffing pad. tomorrow night will finish it with the #82 swirl remover with a finishing pad. I am sure the professional compress this time but since I do this not as regularly as them I just go slower so I don't screw up the work I have done

20151119_192030_zpsp2v4ew2r.jpg

its the haziness under the window and to the right of the window

20151119_191959_zpseawa628s.jpg

and after buffing and polishing

20151119_200220_zps7iahvjv9.jpg

20151119_202321_zpscqfqjvoj.jpg

same spot after the work

20151119_211521_zpsfuwo9p4w.jpg
 
Thank you again for the amazing amount of detail you are recording here Bob. While paint and body is still several years away for me, planting the seeds of how to do it right and having such a detailed tutorial to follow is at least a million times better than any of the books and articles I have read on the subject thus far. Just another reason I love this forum!
 
I am glad its helping.

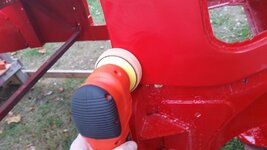
i had to break out the 3" DA tonight just too many small spots that interfere with buffing

its really good for the small curved areas

20151120_161357_zpsxr0aqxp8.jpg

20151120_161400_zpssdztrxg7.jpg

and I now know why the one side of the top pillar posts are pushed down.....its the only way to buff that angle

20151120_162530_zpsaqtyhgvq.jpg


I also got one complete polishing in with the softest pad....just need to repeat it one more time to make sure I didn't miss anything then the doors go on.
 
busy day today...

painted boot prop rod black

20151121_082427_zpslafoorde.jpg

my son and I made end caps, mine will be removable for inspection purposes, I also made my internal inner sill supports be parallel to the frame so you can look from one end to the other. still need to be painted

20151121_102746_zpsmiusv7ch.jpg

20151121_102844_zpsbtfldayb.jpg

20151121_131658_zpsbj96i5b1.jpg
20151121_131713_zps7zxhvgcw.jpg
20151121_131723_zpspdibnem7.jpg

20151121_104500_zpsgrplq2rd.jpg


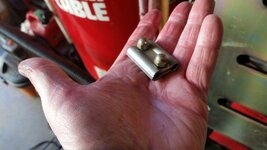
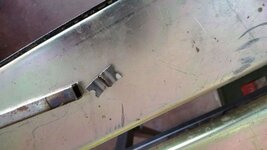
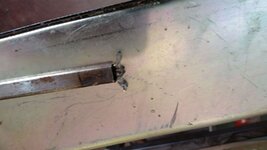
tried my hand at making a rivet split tool....I am not sure I was successful....
20151121_104953_zpsbdn0jdsh.jpg

20151121_111156_zpsegpz4afm.jpg

20151121_111208_zpsvphk2plr.jpg

20151121_114545_zpswo86pnf7.jpg

these are a PITA to do.....this will be done during the week one panel at time with a brewski

polished the car for the last time
20151121_122824_zpsqnfaavx6.jpg

lets get the doors on

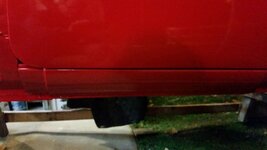
I am not going to sand the rocker sill to much scuffing so I am going to leave all the clear coat on it

lets buff it before the door rough fit

20151121_130929_zpsvzxy7zor.jpg

20151121_130935_zpsglhttbnj.jpg

20151121_150848_zpsxheug1ae.jpg

20151121_150917_zps8hzh1a9h.jpg
 
boot prop rod installed

20151122_092835_zpsnlwvnlos.jpg

20151122_150239_zpshrjrnvsd.jpg

boot installed...you can tighten the bolts from the inside, so aligning is easier


20151122_103635_zpsslxudrwk.jpg

final buffing

20151122_104435_zpsbde0nl7v.jpg
20151122_110858_zpsemwxekmx.jpg

I may be able to close this up some more
20151122_110917_zpscfvi3m2m.jpg

how I finally did the split rivets
20151122_115216_zpsydyxovan.jpg

a shaft for under the rivets held in the vise

20151122_115247_zpsq6gmxvqh.jpg
20151122_120910_zpsjcdjjsae.jpg
20151122_120927_zpsvd4fdg5h.jpg
 
Last edited:
bonnet, boot, hood, spanner, whitworth its just all part of the charm.....

goal for this weekend is to have all fenders on......so i need to wrap up some loose ends

so lets paint the end caps and while i am at it the hand crank

20151124_125803_zpsh8dsnku0.jpg

it was strange i wiped down the hand crank with lacquer thinner to see it had been painted with some thing else over the last 50 years and no lacquer paint color came off, which is usually a sign it has some other paint on it....lacquer paint is temperamental this way and it prefers to only go over lacquer or a good primer sealer ..so i sanded/scuffed it primed it then used a primer sealer and took a chance i wouldn't have a paint incompatibility issue

20151124_125809_zpsffaaqf7q.jpg

20151124_133055_zpssmtqpiha.jpg

it doesn't look like i have any issues with paint incompatibility on the hand crank. i am pleasantly surprised.

20151124_133105_zpsaingpof4.jpg
 
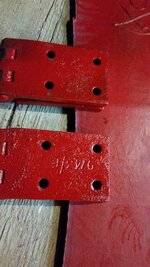
my son and I popped the door off and swapped the hinges and it made all the differences, I did stamp the hinges for P and D , but forgot to stamp a top and bottom mark.
if you look closely you can see the difference in the two halves of the same hinge

20151124_181242_zpsqnynt3qa.jpg

the one on the left has a slight twist in it

20151124_181254_zpsn33qvlzv.jpg

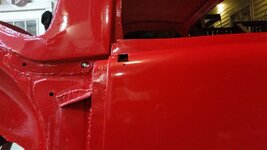
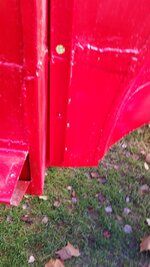
and the alignment with out us trying to do anything to improve it.

20151124_183220_zpsitg1auoq.jpg

20151124_183227_zpse6x2zl6i.jpg
 
some quick work this am in preparation for putting fenders on

drill out a hole

20151126_101412_zpsatxbzma9.jpg

drilled and touched up
20151126_101903_zpsfwdegaqb.jpg

end caps drill holes touched up, drill shavings vacuumed out


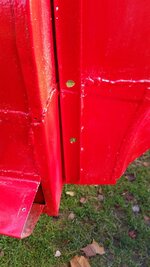
20151126_103459_zpsrz8cgnww.jpg

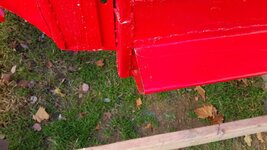
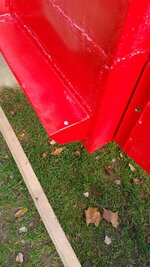
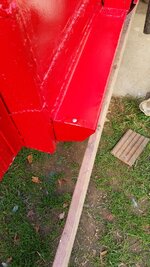
end caps in place
20151126_104454_zpsfamhykk2.jpg

20151126_104504_zpsgyhi1iqo.jpg

20151126_104746_zpsemunwtlo.jpg

20151126_104754_zpsdi4sc9at.jpg
 
fender install day

mark fender piping for holes

20151127_104455_zpsl4kyzefm.jpg

20151127_104504_zpstfmeqdkj.jpg

started out with a gasket punch but by the end I was using the box cutter only

20151127_110655_zpsbcgmrzyi.jpg

I am not sure who that old man is but that's what I was doing fitting the piping. on a coupe it changes direction there and is horizontal

20151127_151914_zpsv7bpvpyv.jpg


it is good to have sons

20151127_161330_zpsyebakpjk.jpg

so all fenders and piping is in, need to tune up the doors and the right front fender fit

20151127_162044_zpsotc7blux.jpg

20151127_164846_zps6aganjwp.jpg

20151127_164902_zpseuwwq6kn.jpg

20151127_162134_zpsc3sr1b24.jpg

and all tucked in for the night

20151127_173719_zpsatcynjts.jpg

20151127_173657_zpsammfnlzm.jpg
 
Last edited:
looking good, when is the body/frame marriage happening?

well on this car the interior headliner has to go in first, then the vinyl for the dash board then the windows, and the dash, and main wiring harness.......then it can go on the frame


so that should take me a little while to get it right, there is not much to the interior, but it has to be done right, so maybe early next calendar year.
 
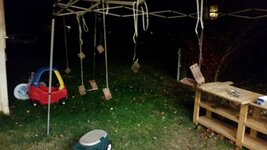
today was as big of a day......we collapsed tent city frame and I cleaned up and packed away all the painting gear.

well we did all that after I painted the shut face panel and the front parking light backing rings. the backing rings will get epoxy glued in place.. just didn't get the ordering sequence right on that one. I was thinking of making my own but when I ordered the seat belt install kit it was so easy to hit the easy button on that one,

20151128_132120_zpscus5l3z0.jpg

20151128_132128_zpsvqqqbbj7.jpg

20151128_145538_zpsuwyhngb7.jpg

20151128_154928_zpsmo6xlqsw.jpg
 
looking good, when is the body/frame marriage happening?

well on this car the interior headliner has to go in first, then the vinyl for the dash board then the windows, and the dash, and main wiring harness.......then it can go on the frame


so that should take me a little while to get it right, there is not much to the interior, but it has to be done right, so maybe early next calendar year.

I've been in the process on my FJ40 to determine when, in the order of events, the body should be mounted to the frame; so it was more then just idle curiosity :)
 
well had a quick 30 mins before dinner to do some work, not really enough time to address this but its moving it in the right direction

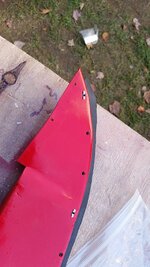
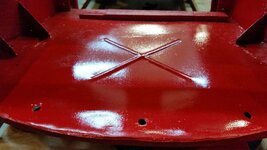
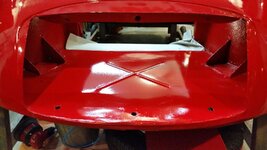
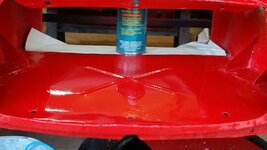
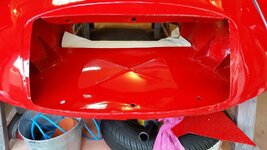
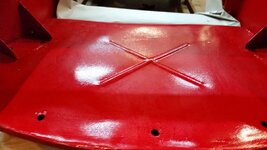
the radiator duct panel does not really have good access to buff and that raised X is just asking to get too much attention

20151202_182158_zpswggu637y.jpg

sanded by hand lightly, this area got lots of over spray from the engine bay and from the front shroud, probably needs to be sanded again

20151202_183636_zps29htexfk.jpg

and a quick buffing with an orange cutting pad and 85 and then followed with 84 and a softer pad.....still needs some more love

20151202_190932_zpsbkedmgp4.jpg


I don't need perfection but it needs to be a bit smoother
 
spent some more time on the radiator duct valance

20151204_160954_zpsflqw9jso.jpg


20151204_161853_zpsddbvpom3.jpg

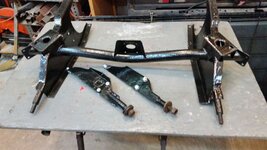
I have a bag of new nuts and bolts for the frame and trying to figure out where everything goes is giving me ahead ache

so lets start putting them where they belong

20151204_180914_zps2svve80u.jpg

assembled front extension

20151204_183932_zpsmbb23uho.jpg
 
Last edited:
Back
Top