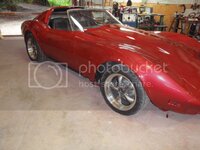
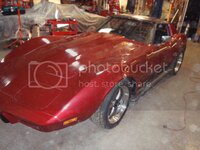
SBG's C3

VetteMod - Corvette Restoration, Modding & Performance Forum

Help Support VetteMod Forum:

Which tells me you wanted to rivet them back on the hubs....why?? I have not done that ever, and my car came with no rivets on it, so at some time in dim past someone else agreed.....now I do spray paint a marker on the rotor to clock it to the hub......

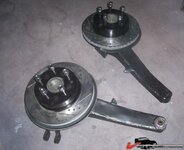
I tapped the holes and used countersunk bolts to bolt the rotors to the hub:

214990e4d711dc4.jpg

WHY??:bonkers:
 
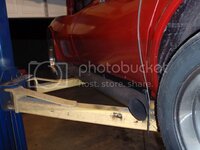
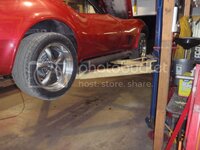
To get a bit more lowering, I swapped the 1" block that was on top of the composite spring to the bottom
P7290017.jpg

and started removing the lower arms to put poly in instead of the rubber
P7290018.jpg

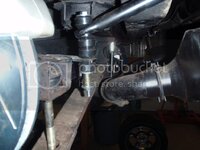
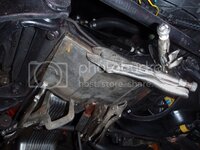
Tell me about the spring mount bolt in this picture. Is that a Bubba fix? :confused:

Mr. Hamfist (the PO, I presume) overtightened the bolt holding the spring on; he then bought another cover and included it with the sale.... that one the holes were stripped then he fixed the holes with heli-coils. A bit of engineering later, I needed to get the car back on the road and I was adverse to driving it with 3 bolts holding on the spring - so necessity became the mother of invention.... now, you may call the mother of that invention a whore (lol), but she works quite well, and when I do rebuild the suspension with upper control arms; that fix will go the way of the dodo.... until then, I'll relish my redneck heritage; and ask mom for some spending money :clap:
 
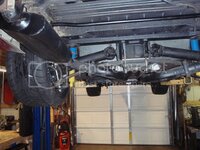
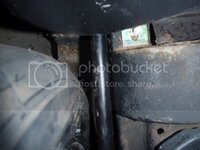
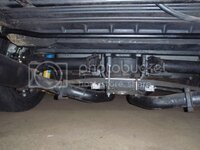
the rear sway bar is too close... what to do?
P7310003.jpg

P7310004.jpg

so I worked on other stuff tonight while I continue to ponder and get feedback about what to do.

shiney bobble arrived
P7310002-1.jpg

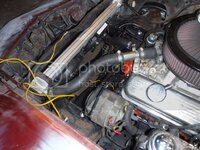
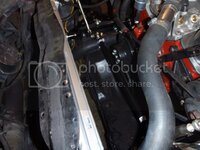
of course with new parts come new problems, I had to remove the mechanical fan and put some electric fans on
P7310004-1.jpg

so I dunno, I want to fix the rear sway bar, but I also am planning on putting an aluminum pan under the back to keep from building pressure up behind the tail lights - so I don't want to get so crazy that it'll make that other task difficult.... thoughts?
 
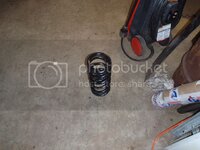
Springs came. Cut 1/2 coil off, height seems a bit high now, but should settle nicely
P8010001.jpg
P8010003.jpg
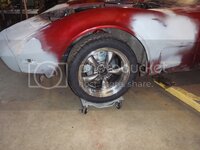
I don't like the spacing to the fender from the tire, but that's the largest tire that will fully turn, and any lower and the car wouldn't make it off the 3" step into my shop.

Control arms
P8010002.jpg

bought the weld together brace kit
P8010005.jpg

welded it
P8010006.jpg

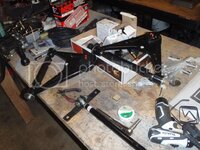
collecting bits for the next upgrade (not yet) - replace the poly joints on the sway bars.
P8020001.jpg
I buy my tabs by the sheet :) actually, it seems greed has taken suppliers of these silly little parts. The cheapest I could find shock tabs was $4.25. From my laser cutter, .50 each
P8020002.jpg
 
As an Amazon Associate we earn from qualifying purchases. Product prices and availability are accurate as of the date/time indicated and are subject to change.
brace installed
P8020001-1.jpg
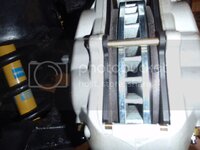
with 1/8" spacer, the caliper is still off... not sure I care enough to pay to machine a custom spacer
P8020002-1.jpg
Note the double stainless brake line. Why they didn't include a full length is beyond me (wilwood).
P8020004.jpg
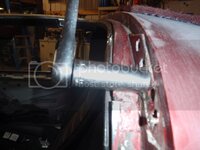
Had to bend the roll bar in towards the center to give enough clearance for the wider tires (285/40 17)
P8020005.jpg
Moved 1" towards the center, it's just enough
P8020006.jpg
same story v.2
P8020007.jpg
 
It moves and stops again... woohooo
P8030007.jpg

so the brake rotors were backwards.... but it didn't make a difference re: needing shims behind the rotors. Ah well, alls well that ends - and bright side is those who read will note to look at that issue...

so this is a test
P8030004.jpg

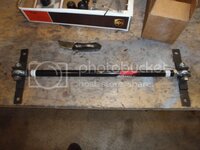
I'm going to use heim joints in here - I had to bend the sway bar in to clear the tires, and of course, that meant moving the mount on the swing arm (welded to the side with a brace)

but if it doesn't hit or cause problems; I'll know that's where it's supposed to be

It does drive nice up and down my street - when the brakes are broken in, and I get the rest of the air out of the lines it should stop well

I'm also reconsidering the no PS situation - maybe I should consider upgrading to rack n pinion.... dunno, I think I'll drive it awhile first
 
Got the car aligned today - then took it for a brief country cruise (I live in the sticks).... oh good heavens that was fun

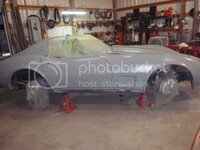
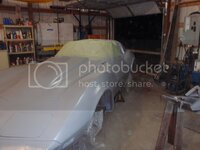
so on to painting

helpful tip du jour
an 11/16 6 point socket is the cat's pajamas for getting that triangle bolt off
P8060001.jpg

stripped, tomorrow more cleaning and sanding and booth building
P8060002.jpg
P8060003.jpg
P8060004.jpg
 
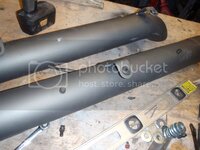
got hooker sidepipes today from CL - $200... now to find a coater that wants reasonable money to make them black

P8080001.jpg

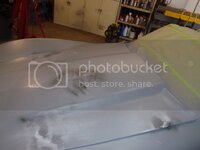
and fiberglass fixits and sanding.... I'll just give highlights (lowlights? - I hate sanding)

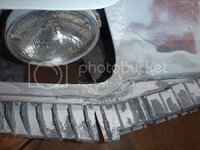
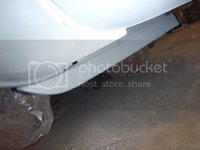
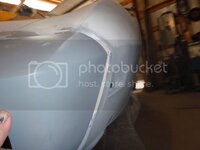
a problem - bondo
P8070001.jpg
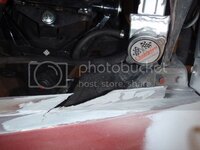
make that a bigger problem
P8070009.jpg
P8070012.jpg
P8080005.jpg

a missing bit
P8070006.jpg

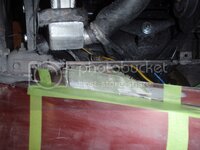
fix
P8070011.jpg
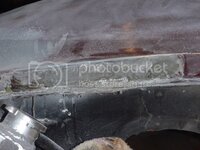
fixed(ish)
P8080003.jpg
 
My cousin owns a body shop in S. California; he does lowrider cars but mostly insurance stuff. He rants about people putting women on the hood or roof of a car he's done work on - to the point he won't fix the car nor will he work on another car for that person.... here's a good example of why

P8100005.jpg

ass and feet with a hand dent .... I wonder if I should call the PO and ask her if that dent matches her..... ?

of course, her boyfriend (the one who took apart the car and started the "restoration") isn't any better
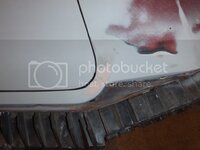
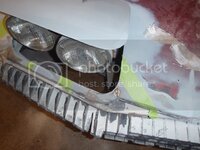
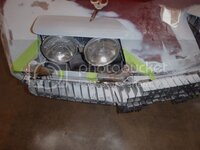
Now repeat after meet - proper body fitment does NOT include 1/2" of bondo

P8100002.jpg
P8100003.jpg
P8100004.jpg

it's especially clever how he centered the body panel between equally thick layers of bondo
 
next up 4 speed..... this turbo 350 is not a happy transmission (I expected this, however, was hoping not quite so soon as I have other things that need doing).
 
A couple videos.... the first without any mufflers the second with home-built baffles
excuse the sound level - for comparison's sake, I had to wear ear protection to be around the car (this coming from someone who did steel work)....
[ame]http://www.youtube.com/watch?v=bm5UGYMShyU&feature=plcp[/ame]
now with baffles

[ame]http://www.youtube.com/watch?v=ToYTPPmK51Y&feature=plcp[/ame]

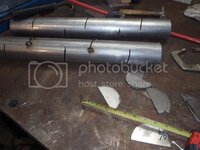
and here's the baffles
P8260005.jpg
installed
P8260006.jpg
 
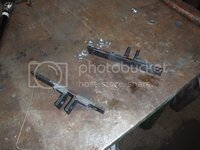
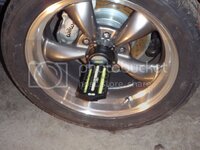
so I do mess with the alignment, and being able to use my camber/castor gauge without taking the tire off is something of value to me, so I made these
P9060001.jpg

and it works like this
P9090003.jpg

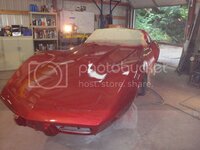
and after a week of evenings - the car looks better (still plenty of flaws, but lots better) from color sanding and then cut n buff
P9090005.jpg
 
Corvette South - they messed up two orders; the last one guaranteed I'd do advertising for them.
So here it is:


Don't buy from them.


Ever.

(did I mentioned I've only ordered from them twice?)
 
wow, that's a 100% failure rate Corvettesouth....

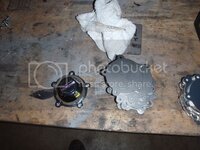
great job on the center cap adapter plates, how did you make these ? Can you make four more? I am trying to adapt the spinners that I had on my stock rims to the American Racing rims that I have..... the spinners are cast crap that is chromed so welding won't work but your plates with a hole in the middle would be an option.....
 
wow, that's a 100% failure rate Corvettesouth....

great job on the center cap adapter plates, how did you make these ? Can you make four more? I am trying to adapt the spinners that I had on my stock rims to the American Racing rims that I have..... the spinners are cast crap that is chromed so welding won't work but your plates with a hole in the middle would be an option.....

how would you like them, steel, stainless or aluminum?

I paid to have a laser cutting shop make them for me - with the idea that others might like to buy them :)
 
so this is a new one on me.

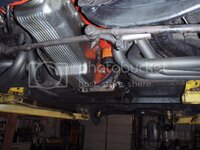
oil leak
P9110009.jpg

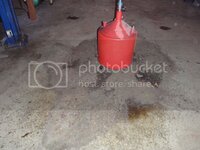
huge mess on floor
P9110010.jpg

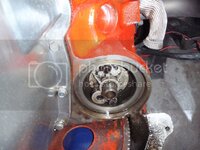
can you see the problem?
P9110011.jpg

how about now?
P9110012.jpg

what is odd, I did nothing with the oil filter/oil system. It was an occasional drip from the filter, then tonight while I was testing another carb on the motor, I see smoke and a huge puddle. God was watching out for me tonight for sure since I was planning on going to the track tomorrow....

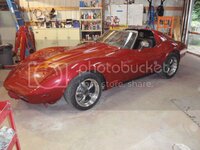
in other news, took a picture of the car with the side pipes
P9100001.jpg
 
SBG, on your alignment trick there, years ago here in OP Florida, I had a huge problem getting any good alignment work done, car was always messed up, and so finally got good information off the .net to DIY alignments without any much tools, what I use is a 2' carpenters level with a couple screes in the side to catch the tire bead on the outside of the rim, right there on the flatside, and I have a table that converts that out of level by so much to degrees of tilt, depending on rim diameter.....toe is set by a length of monofil fishing line tied between two jack stands set right across the wheel centers..measure fore and aft to the line with my tape.....

when doing the initial years ago I took a 1.5" square steel bar and layed it out on the garage floor after marking tire positions, so to know how much to jack up the rear on each side so car sat square up and plumb for caster adjustments...

handles well, and tire wear is even is all I can say on the results....

:nuts:

 
those are good ideas. My next "plan" is to make a bar with a magnet in the middle then use a plumb bobs on the ends. Then simply run a couple tape measures under them. The issue I seem to run into with using the bottom of the tire is it has a bit of a bulge.
 
Back
Top