You are using an out of date browser. It may not display this or other websites correctly.
You should upgrade or use an alternative browser.
You should upgrade or use an alternative browser.
SBG's C3
- Thread starter SuperBuickGuy
- Start date
SuperBuickGuy
Well-known member
my UPS (Amazon) girl brought me presents :grin:
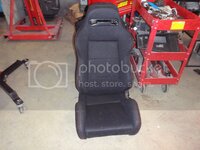
these were an amazing deal - $230 to my door with brackets - I was concerned about the quality... these are nice; now I can stay in my seat, use my harness, and sell my original, black, unripped seats for a lot more than what I paid for these
and the piece de resistance (I always wonder at that phrase, it means dessert but translates to something to make you slower)
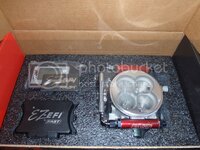
to the whys:
1) they are a site sponsor
2) I don't need a custom system
3) with Summit's price matching, this system costs about the same as piecing one together
4) I have the megasquirt for the Spider so I'm equal opportunity in my buying
I am a bit disappointed, I thought I was getting braided SS lines with the system - nope; so I'll probably upgrade that.... so off to work to pay for this

these were an amazing deal - $230 to my door with brackets - I was concerned about the quality... these are nice; now I can stay in my seat, use my harness, and sell my original, black, unripped seats for a lot more than what I paid for these

and the piece de resistance (I always wonder at that phrase, it means dessert but translates to something to make you slower)

to the whys:
1) they are a site sponsor
2) I don't need a custom system
3) with Summit's price matching, this system costs about the same as piecing one together
4) I have the megasquirt for the Spider so I'm equal opportunity in my buying
I am a bit disappointed, I thought I was getting braided SS lines with the system - nope; so I'll probably upgrade that.... so off to work to pay for this
SuperBuickGuy
Well-known member
SuperBuickGuy
Well-known member
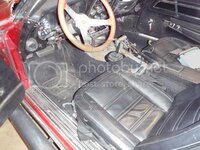
I learned something new.... the output shaft on a turbo 400/ST-10 is a Corvette only part.... now no need for a shorter shaft
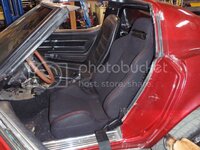
so I tried out my new seats... I think they will fit, it'll be tight, but it will be awesome to have side bolsters!
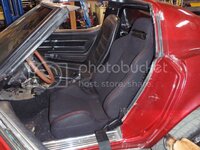
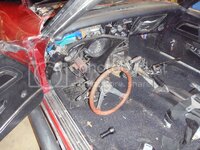
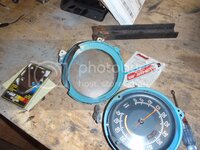
and I took the steering column out so I can finish up my tach rebuild what a pain. Normal GM the bottom joint is flexible and you can drop the shaft a bunch.... not so on Corvette, it requires taking the shaft off the steering box
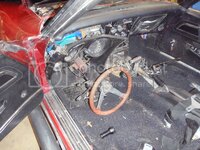
so I tried out my new seats... I think they will fit, it'll be tight, but it will be awesome to have side bolsters!

and I took the steering column out so I can finish up my tach rebuild what a pain. Normal GM the bottom joint is flexible and you can drop the shaft a bunch.... not so on Corvette, it requires taking the shaft off the steering box

SuperBuickGuy
Well-known member
SuperBuickGuy
Well-known member
part II
reassemble
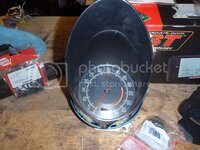
it tested out fine... seems to finally tell me the correct rpms.
enjoy the last look at a two pedals
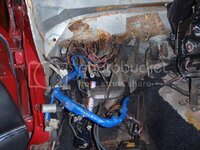
so this cute plate holds the brake pedal up
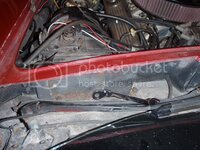
reference picture
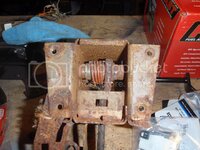
spring reference
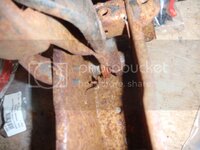
might as well paint them while they're out
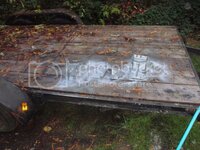
and yes, silver - makes it easier to see up under the dash
remove booster
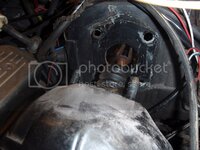
install clutch master cylinder (left of brake hole)
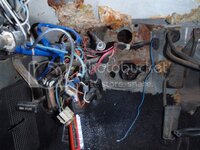
as an aside, there isn't much room for the master cylinder
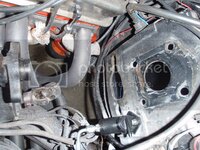
beat it to fit, only paint when it's seen
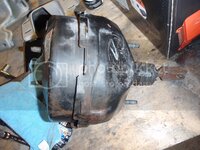
look 3 pedals
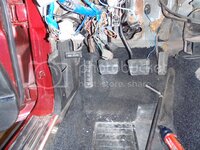
everything back in place
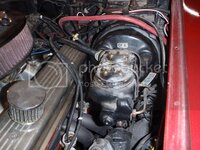
this seems to be the only spot for the reservoir.
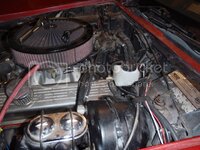
reassemble

it tested out fine... seems to finally tell me the correct rpms.
enjoy the last look at a two pedals

so this cute plate holds the brake pedal up

reference picture

spring reference

might as well paint them while they're out

and yes, silver - makes it easier to see up under the dash
remove booster

install clutch master cylinder (left of brake hole)

as an aside, there isn't much room for the master cylinder

beat it to fit, only paint when it's seen

look 3 pedals

everything back in place

this seems to be the only spot for the reservoir.

SuperBuickGuy
Well-known member
so we'll see how this scoop looks on the car (it's 2 weeks out, so it'll be a bit)
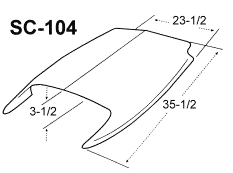
I figure its benefit is I can draw cold air from the front; and let underhood pressure out the back

I figure its benefit is I can draw cold air from the front; and let underhood pressure out the back
427Swede
Well-known member
Hi there,
Please keep posting here! You have much "go" in your work and alot of pictures for refernce! I appreciate it even if i do not post and comment the whole time.
The hole where you assembled the clutch cylinder, what was it for originally??
Regards, Daniel
Please keep posting here! You have much "go" in your work and alot of pictures for refernce! I appreciate it even if i do not post and comment the whole time.
The hole where you assembled the clutch cylinder, what was it for originally??
Regards, Daniel
SuperBuickGuy
Well-known member
Hi there,
Please keep posting here! You have much "go" in your work and alot of pictures for refernce! I appreciate it even if i do not post and comment the whole time.
The hole where you assembled the clutch cylinder, what was it for originally??
Regards, Daniel
it was blocked, the hole was there in the sheet metal, just not the fiberglass. No idea the purpose. I still would love to find a dual diaphragm booster, but at this point, I'm putting it back together and should I find one tomorrow - it'll be too late.
SuperBuickGuy
Well-known member
time to connect the pedal to the master cylinder
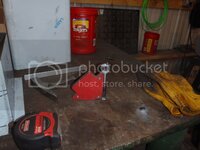
That's just a nut welded to a tube that's welded to the heim joint
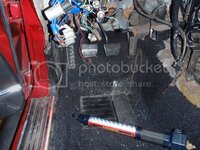
It's hard to tell in the pictures, but I did modify one thing. With the hydraulic clutch, I don't need to be 2' off the floor with the pedal.... so I'm not, it's the same height as the automatic brake pedal (I didn't change the rod length for the brake pedal). I'm not short, and wanging my leg into the steering wheel was one of the reasons I hesitated to convert to a manual transmission.
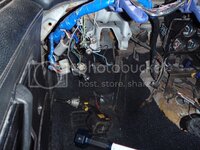
starting to go back together....
bled and installed. I put the reservoir where I proposed... about the only spot it'd fit
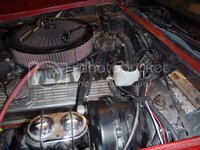

That's just a nut welded to a tube that's welded to the heim joint

It's hard to tell in the pictures, but I did modify one thing. With the hydraulic clutch, I don't need to be 2' off the floor with the pedal.... so I'm not, it's the same height as the automatic brake pedal (I didn't change the rod length for the brake pedal). I'm not short, and wanging my leg into the steering wheel was one of the reasons I hesitated to convert to a manual transmission.

starting to go back together....
bled and installed. I put the reservoir where I proposed... about the only spot it'd fit

427Swede
Well-known member
Looking forward to hear how this hydraulic set up works!
Regards, Daniel
Regards, Daniel
mrvette
Phantom of the Opera
SBG, I"m 6'5" and age 68 with terminal arthritis, and over the years the mods to my car have been extensive, it was a '72 vette, but it has later shark TT wheel/column in there, one of the early first changes, then I cut the seat track rear support tips off the tracks, lowering the driver seat by almost 2" no carpet or pad under there now, removed seat belt cover for clearance, purposely used old padding so it would sag a bit, all for headroom, about ten years ago I cut the floorboard across the bottom and up to the height of the steering wheel on the sides, forced the plastic forward, and layed in new glass, then cut/bent the gas and brake pedal so to swing them forward about 3" or so, this gave me much more leg room and allows me to swing the wheel around without hitting my knees, my car used to have a muncie in it, but went automatic for the overdrive, much needed here in Florida, not so much in Wash DC region I moved from.....:beer:
SuperBuickGuy
Well-known member
How to fix dash lights on the cheap
I was putting my car's dash in today - and realized I hadn't ordered the light sockets to repair the dash lights.... I'm not sure it's a Corvette problem, but several of the sockets basically fell of the wire... since I don't have another week to wait to get this car mobile; here's the fix -
oh I forgot - TT warning - you won't like this fix - go away
the problem
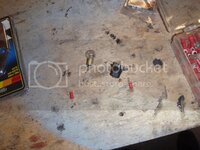
take a small sized wiring lug - and remove the plastic cover
chop the head off

the offending wire - I didn't realize - there's the reason I couldn't put the column in today - when they rewired my car with a 77 harness, they moved the dimmer switch to the column.... and it, like every other electronic thing in this car needs replacing....
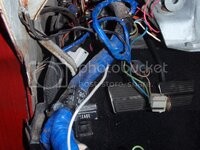
slide the housing onto the wire
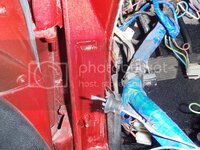
and voila... almost like new
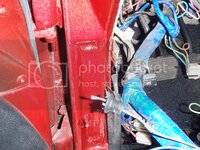
and it works fine.
I was putting my car's dash in today - and realized I hadn't ordered the light sockets to repair the dash lights.... I'm not sure it's a Corvette problem, but several of the sockets basically fell of the wire... since I don't have another week to wait to get this car mobile; here's the fix -
oh I forgot - TT warning - you won't like this fix - go away
the problem

take a small sized wiring lug - and remove the plastic cover

chop the head off

the offending wire - I didn't realize - there's the reason I couldn't put the column in today - when they rewired my car with a 77 harness, they moved the dimmer switch to the column.... and it, like every other electronic thing in this car needs replacing....

slide the housing onto the wire

and voila... almost like new

and it works fine.
bobs77vet
Well-known member
your project looks good and to answer your question back in post 16 or so, yes its always fun to see what some one else is digging into. its really hard to do something to these rides that hasnt been done before. keep up the good work, bob
SuperBuickGuy
Well-known member
FAST efi
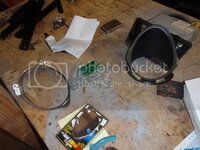
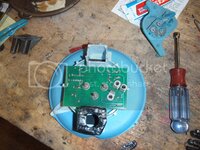
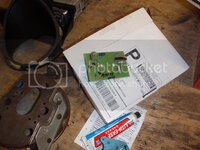
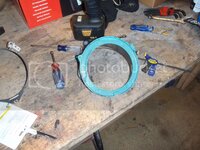
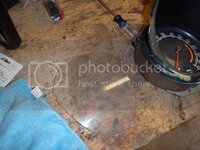
So I finished up my tachometer repair
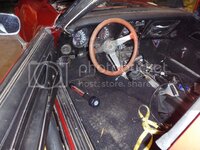
I love this EFI... so easy, no soldering, no wrecking yard surfing, no need to run down parts, simply wire a few wires, weld a bung, and plumb a fuel system (not tonight, but everything else)
So here is the injection on the car
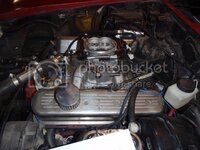
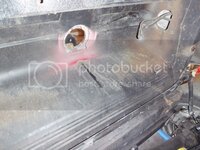
I repurposed the hole for the transmission cable
almost cried as I ground off ceramic coating (okay, I jest)
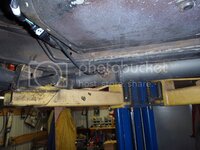
set the computer in place
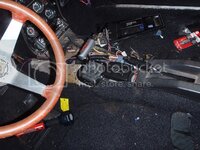
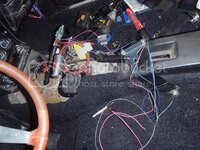
I was going to put it in the boxes in behind the seats - but the wires aren't long enough... ah well. I also am finished wiring it. Tach wire, rewire the trigger for the fan, wires to the batteries, and wire to switched power (which was recently vacated by the fan switch).
So I finished up my tachometer repair

I love this EFI... so easy, no soldering, no wrecking yard surfing, no need to run down parts, simply wire a few wires, weld a bung, and plumb a fuel system (not tonight, but everything else)
So here is the injection on the car

I repurposed the hole for the transmission cable

almost cried as I ground off ceramic coating (okay, I jest)

set the computer in place

I was going to put it in the boxes in behind the seats - but the wires aren't long enough... ah well. I also am finished wiring it. Tach wire, rewire the trigger for the fan, wires to the batteries, and wire to switched power (which was recently vacated by the fan switch).
SuperBuickGuy
Well-known member
SuperBuickGuy
Well-known member
I use 100% Argon as shielding gas. 2% thoriated tungsten. I don't use any paste, rather I make sure the weld path is clean.
IMO Stainless is the easiest metal to weld because it has fewer impurities to pollute the weld.
IMO Stainless is the easiest metal to weld because it has fewer impurities to pollute the weld.
SuperBuickGuy
Well-known member
Got some more stuff done
1) scoped out new gas cap and what it'll take to install
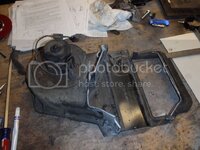
2) removed a/c box, started building a box to keep the heat/defrost
New gas cap
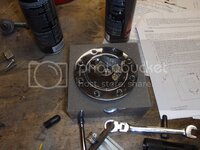
a little small for the hole
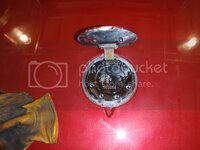
Deleted a/c box
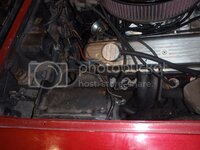
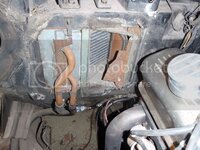
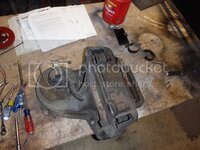
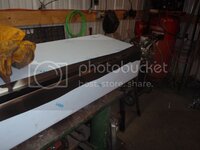
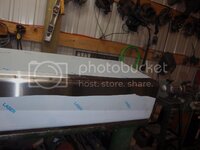
the box is a lot more diced now, and I'm hella itchy (fiberglass).... probably finished product will look like this (only metal)
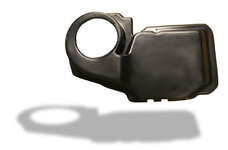
$190 for that one at acdelete.com; that's a bit spendy, but would be stopped on my fuel system install if I bought it and then waited for it to be delivered... and I'm already behind since the new car is arriving tomorrow am.
1) scoped out new gas cap and what it'll take to install
2) removed a/c box, started building a box to keep the heat/defrost
New gas cap

a little small for the hole

Deleted a/c box


the box is a lot more diced now, and I'm hella itchy (fiberglass).... probably finished product will look like this (only metal)

$190 for that one at acdelete.com; that's a bit spendy, but would be stopped on my fuel system install if I bought it and then waited for it to be delivered... and I'm already behind since the new car is arriving tomorrow am.

