mfain
Well-known member
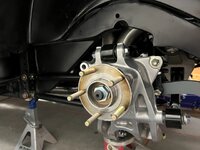
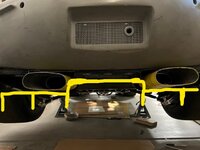
Thank you.Everything is so well thought out, it's very much like looking at the component packaging on a fighter jet. Especially with all the heat shielding. Very well done and work quality for us all to aspire to. Thanks for the update.