My 81 Vette Build Thread

1981Z06Vette

Well-known member
Joined
Apr 8, 2008
Messages
89
Location
Woodstock, GA
I have had my 81 for a few months now, and I am just getting started on the frame-off rebuild. I'm building with a Pro-Touring influence...basically, I want the car to be daily driveable, very reliable, get decent mileage, and have the ability to be driven anywhere, while still having the power to do well at the dragstrip and the suspension/brakes/tires to hold its own on a road course. I'm not building a racecar, but the goal for the car is about 450RWHP, naturally aspirated. I was originally planning to do an LSx/T56 swap, but due to the cost and the fact that I already have a built LT1 383 (more about that later) I am going to use it. It performs very well in the 97 Camaro SS it is currently powering, and should do even better in the lighter Vette. I'm going to use an earlier iron rear (4.11, using the Posi tuning and rebuild advice from Gary and Stinger) with the original aluminum batwing, and makes several suspension and braking upgrades (still deciding exactly what). Wheels and tires will be 18s or a 17/18 mix. I'm planning to paint it exclusively with Spies-Hecker products, Porsche Guards Red with a black center stripe and do a black leather interior with C5 Sport seats.

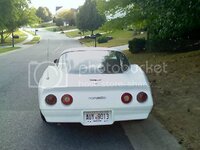
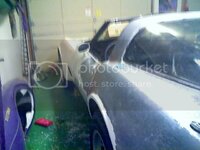
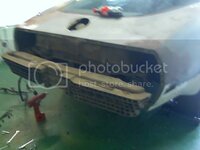
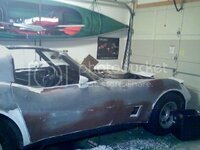
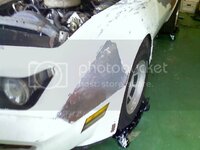
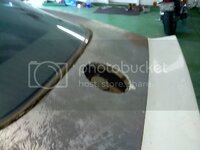
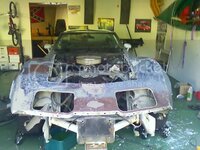
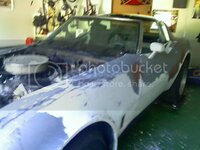
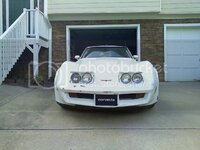
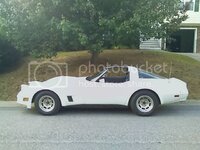
Here are a few pics of the Vette, just after purchase.Overall, the body appears to be in pretty decent shape. The front bumper cover is toast, and I plan to replace the hood anyway (L88 style), but the rest should be usable as is. It appears to have been repainted once. I'll be stripping it to the bare fiberglass (SMC).
101607_17011.jpg

101607_16541.jpg

101607_16561.jpg

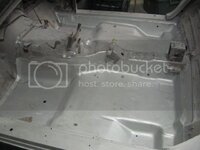
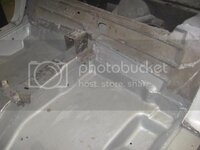
The interior is pretty trashed. The seats are decent, but everything else needs work. The dash is cracked, the carpet was removed by one of the previous owners (due to a t-top leak that he didn't fix),and pretty much everything except the trim around the glass and t-tops will need to be replaced. There is quite a bit of surface rust on the floorpan (yes, its steel on the mid 76-82 models), but the birdcage looks good so no worries.
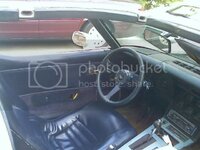

101607_17041.jpg

Something I haven't noticed being done here, but that I would like to do with this build thread, is document the cost of everything. This way, not only can a novice see how things are done and in what order, they can also have a more realistic idea of what the whole process is going to cost. I'll try to include all costs of parts (even estimates for ones I already own) and materials. I'll note the cost of tools too, though they won't be included in the total as they are an investment rather than an expense.I'll also subtract out the sale of any parts I won't be reusing. This part of the thread will be updated regularly.

Purchase Price- $3500
Citri-Strip- $20
Razor Blades- $5
_________________________________
Total So Far: $3525
 
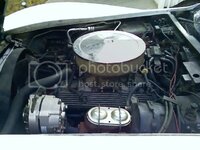
The engine and transmission appear to be original, and it runs decent but has several oil leaks. Someone did remove the CC Quadrajet and original intake and feedback HEI, replacing it with a Carter AFB, Edelbrock Perfromer RPM, and non-CC HEI. I don't care about originality, particularly in a late rubber bumper Vette, so this is going to be pulled within the next couple of weeks (looking for a buyer, $850 complete with all accessories). Someone has already replaced the alternator, water pump, fan clutch, and starter (the AC compressor is dead, and was lying in the floorboard when I got the car). I'm not a big fan of carburetors on cars I am going to be driving in Atlanta traffic (some of the worst in the country), so the LT1 will be ideal.

101607_17021.jpg

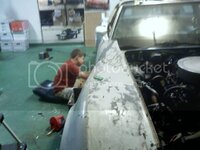
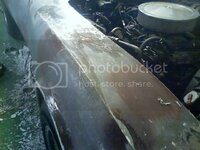
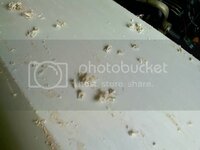
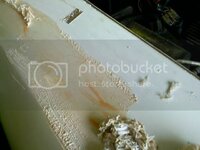
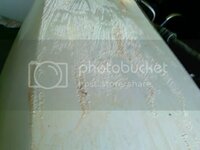
Since I am waiting on the sale of the engine/trans to pull them out (a buyer will typically pay more for an engine they can hear run), and it hasn't sold yet, I started by stripping paint. This is something my 9 year old son, Jim, could help me with also. At 9, he already knows more about cars than I did at twice his age. Now, I am helping to build the "hands on" knowledge to go with his book knowledge. We are doing as much of the stripping as possible with razor blades, though some of the cuved surfaces I am using Citri Strip stripper from Home Depot.

Jim stripping the door:

041208_00481.jpg

041108_17531.jpg

041108_17524.jpg

041108_17571.jpg

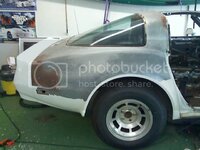
Some damage, badly repaired, at the left rear:

041208_03402.jpg

041208_03392.jpg

041208_03401.jpg

041208_17181.jpg

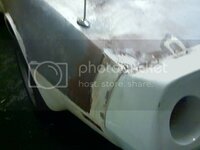
Removed the rear bumper cover:

041208_17191.jpg
 
While Jim worked on the flatter surfaces with the razor blade, I started using the Citr-Strip on the front clip.

041208_03391.jpg

041208_03382.jpg

041208_03381.jpg

041208_00482.jpg

041208_17193.jpg

I used a razor blade on some areas:

041208_17194.jpg

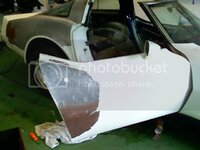
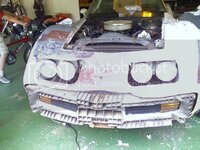
The front end was so trashed, and the fasteners were rusted badly, so I cut off the majority of it with my sawzall then removed the rest:

041208_17531.jpg

041208_00471.jpg

041208_00041.jpg

Some of the areas I used the stripper on required several applications:

041108_17561.jpg

041108_17562.jpg
 
The Citri-Strip at work:

04220815.jpg

Rear deck, completely stripped with razor blades:

04220814.jpg

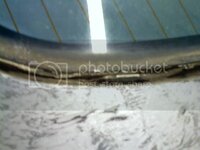
After removal of the rear window trim:

04220813.jpg

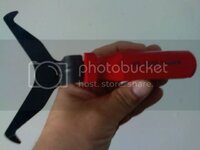
The tool used to remove the rear window trim, KD Tools #2038 ($8 at O'Reilley's):

042308_17181.jpg

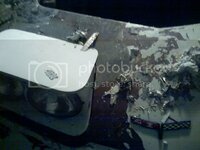
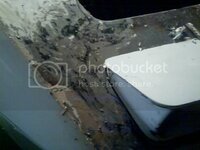
Starting to hit Bondo:

0422084.jpg

0422089.jpg

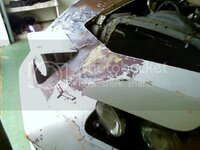
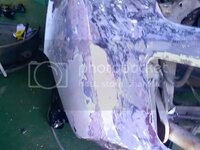
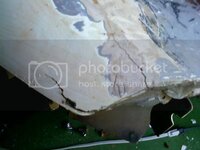
Damage at right front, badly repaired with Bondo:

04220810.jpg

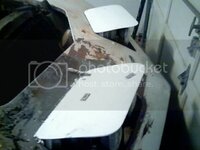
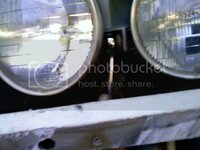
Starting to remove the headlight buckets; this bolt has to come out:

0422088.jpg

And these, on both sides:

0422087.jpg

0422086.jpg

Didin't get picks, but the bolts holding the mechanism to the nose have to be removed as well.

Headlights out:

0422085.jpg

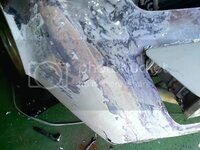
More on the damage:

0422083.jpg

0422082.jpg

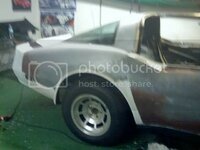
More stripped off the passenger side:

422081-1.jpg
 
Isn't it amazing how much you learn about the car's history, when you get under the paint!!!

I'm glad to see your son is getting involved. I have 4 sons and none of them has the slightest interest in cars. It's all sports for them! Oh well, to each his own.

Looks like a great project... good luck!

His mom and I are divorced, so he isn't around this stuff all the time. I never pushed it on him (unless you count buying him Hot Wheel cars, starting a few months before he was born). He has turned into a gearhead, only seeing me every other weekend, and surprises the heck out of me with what he knows. He can identify Vettes by generation, and just about any muscle or sports car he sees. He REALLY surprised me a couple of years ago, when I took him to the new Summit Racing retail store, and he pointed to the car on the turntable in front. "Look Daddy, a 70 Challenger R/T!" :eek:
 
Scary what you find under the paint.
I'm planning on stripping mine myself next year before sending it away to be painted. About how many hours did it take you???

Glad to hear about your son being involved. My son is 5 and has the same interests allready....makes me proud.
 
Last edited:
Scary what you find under the paint.
I'm planning on stripping mine myself next year before sending it away to be painted. About how many hours did it take you???

Glad to hear about your son being involved. My son is 5 and has the same interests allready....makes me proud.

We have been doing it a little at a time, removing parts as they get in the way...but I would say about 15-20 hrs, and it is almost finished. Honestly, I wish I had never used the stripper...I think the razor blade alone did a better job, faster. Its great for areas that would be hard to strip, though, like the top inside endge of the fenders.
 
I haven't posted any updates lately, but I started pulling the engine and transmission earlier this week. I'm finishing it up tomorrow morning, and planning to work on it most of the weekend, so there will be more pics coming.
 
I'll try to get some pics up tomorrow, but I have made some progress since last posting. The engine and transmission are out and gone, I have pulled the windshield and all the associated trim, and I am currently stripping out all the remaining interior trim and wiring.
 
A lot has changed since my last post; the Camaro SS that was going to be the donor was sold (with the 383), I did get engaged, and I am now self-employed, building cars (I used to be a stockbroker!) and doing performance and general repair work. I'll be opening a shop sometime after the first of the year (still looking for a suitable location).

I have made a few changes in my plan for the build, however. I'm going with an iron block 6.0 stroker, with L76 heads and an Edelbrock Victor single plane. I'll use a 4 barrel-style throttle body. The T56 willl remain, but I do have some different plans for the rearend. I had originally planned to do the early C3 iron diff on the original batwing, but since my new power plans may be a little much for that, and a Tom's 12 bolt is a little too much, I'm adapting another IRS centersection to the car. I have two different ideas on that, one being fairly cheap and simple (8.8 Ford IRS), the other...well. a little more complex and expensive, but definitely bulletproof. More on that when I get to that stage,

I'll post more pics as soon as I can get them uploaded, but for a quick update I have done the following since the last post: removed both doors, removed the interior, removed the engine/trans, welded in new floorpans, stripped the rest of the paint from the main body, and removed the front clip.
 
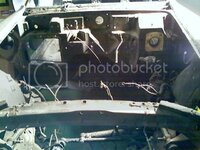
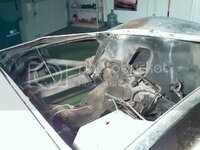
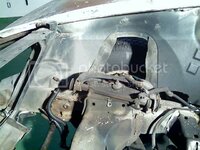
Ok, I'll start with the underhood area. The engine and trans were pulled as a unit, and sold($650). It still ran well, for a basically stock engine, but was far from what I want for this car. As you can see, its pretty grungy under the hood, but its in decent shape otherwise. The front clip will be coming off soon; its not damaged too badly (repairable), but there is some surface rust in the corners under the windshield frame area of the birdcage, and the only way to fix it right is to get the clip out of the way.

012109_19191.jpg

012109_19201.jpg

012109_19202.jpg

012109_19203.jpg
 
I got a bit ahead of myself while cutting out and replacing the passenger side floorpan, and didn't get any before or progress pics, but I will take plenty when I do the other side. Here is the driver's side, after rust treatment. I wasn't happy with it, so its being cut out next.
012109_19212.jpg
012109_19211.jpg
 
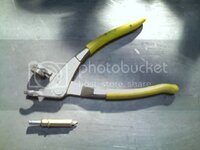
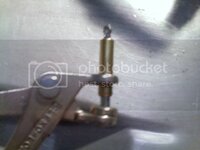
When doing any kind of sheetmetal work, one of the hardest parts is holding the panel in the correct position while you begin tacking it in place. The solution to this dilemma is a simple spring loaded, removable, rivet-like device called a Cleco. Originally developed for aircraft construction, they work great for any sheetmetal project. Just drill a hole through the overlapping panels (either 1/8 or 3/16, they are sold in both sizes), insert the Cleco into the Cleco pliers, and squeeze to extend the spring loaded tip. Insert the Cleco into the hole, and release the pliers, and the tip expands to hold the panels in place. Summit sells a kit, SUM-G1850, that includes the pliers and 10 1/8 and 15 3/16 pins, for $17.95. Extra pins in 1/8 are SUM-G1852; 3/16 are SUM-G1853. Each is $12.95 for a pack of 20.
012109_20221.jpg
cleco1.jpg
 
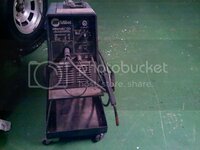
Here are a few shots of the nearly-finished passenger side panel. Welding was done with a 115v MillerMatic mig welder, using straight Co2 as a shielding gas. The welder belongs to my dad, and has been used to put in countless body panels on probably a dozen different cars. He has had it for about 18 years, with no issues, ever.
012209_18301-1.jpg
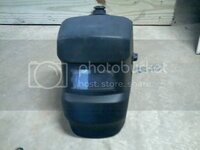
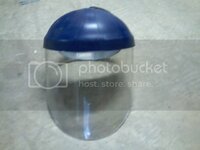
If you haven't done a lot of welding, don't be intimidated...its fairly easy to get functional welds (pretty ones are a bit tougher, and aren't always "good" welds" ). For sheetmetal, on this particular welder, I set the voltage to 1 (the lowest setting), and the wire speed is on 10. This varies according to the thickness of the steel, and the welder itself, so don't be afraid to experiment. The main thing to consider when using a MIG welder (or any type of arc welder), is proper clothing and eye protection. It is very easy to burn your eyes with a welder, and its a painful experience. You don't necessarily feel it at first, but after a few hours your eyes hurt and you will be streaming tears for the next several hours. Ask me how I know, though it has been several years since this was an issue. I use an auto-darkening helmet to prevent this:
012309_17301.jpg
Always weld in a very well lit area (halogen floodlights work well), since even with the autodarkening helmet it can be tough to see what you are doing sometimes. You have probably seen people weld using the "look away" method, and while I am guilty of using it myself sometimes, its not advised. Keep in mind as well that you can easily get sunburned if you don't cover up adequately. Welding coats and gloves are the best way to avoid this, but most of the time long sleeves and gloves of some sort (I use a pair of old Mechanix Wear Extreme gloves for just about everything) are a mimimum requirement. Heavy gloves of some sort are needed when handling sheetmetal anyway, whether new or the old rusty stuff. Nothing can slice you open faster than a piece of sheetmetal.
Of course, you need eye protection when cutting or grinding as well. I have had metal cut from my eye twice, and both times I was wearing safety goggles. For best protectionl, I now use a full face shield.
012309_17291.jpg
The pan is overlapped at the rear and along the rocker, like factory. I drilled holes for the Clecos, and welded them up as I went along, to duplicate the factory spot welds. I am also welding the seam (not finished in these pics) for extra strength. I also used the Clecos to butt weld the pan to the tunnel. How, you say? I made a sheetmetal "bridge", just a steel scrap with 2 holes in it, to hold the panels close together so that they could be butted together.

012109_20211.jpg
012109_19251.jpg

012109_19221.jpg
 
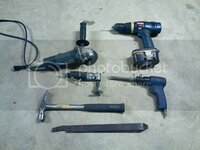
Here are a few of the tools that I used to get the old floorpan out. There are many different ways to do this. The grinder at the top left is a 4" Makita. You can get grinding or cutting discs for it. At the top right is my Ryobi 18v corless drill; middle left is a Ingersoll Rand angled die grinder (equipped with a cut off wheel currently). The IR grinder is what I use for more detailed cutting, though an air powered body saw will do the same thing. To its right is a Campbell Hausfield air chisel. I use that to do the rough cuts, and to seperate panels at the seam.
Some people prefer a spot weld cutter for that (drill out the spot welds and the panel comes loose), but I didn't use mine because I was having difficulty seeing the spotwelds. A hammer and a pry bar or two are also handy. I have body hammers, but the weight of this hammer was better suited for the thicker sheetmetal of the floorpan.
012309_17321.jpg
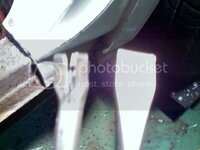
Here are the two most commonly used bits for the air chisel. The one on the left is for cutting panels...notice the upturned tip in the center. The one on the right is a flat blade, which is best for seperating panels.
012409_18191.jpg

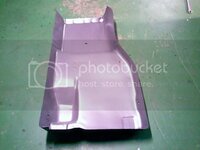
I'll start with a pic of the new drivers' side floorpan. This one came from an Ebay vendor, and was about $250 plus shipping.
012409_20131-1.jpg
Notice the left side of the panel goes up, and welds directly to the rocker panel. While this is great if you have a lot of rust on that side, its not completely correct. The factory panel is flat on the left (outer) side, and overlaps a seperate piece that comes down from the rocker. If you are concerned about it looking 100% as the factory did it, you will have to cut the angled part off and overlap the piece coming off of the rocker. This is probably the easiest way to do it, but I chose not to, for a couple of reasons. One, I felt that the factory metal had been weakened substantially by all that flaky rust. Two, I suspected there may be rust on the rocker area of the birdcage (under the fiberglass skin).As far as the sheetmetal itself is concerned, welding in either way is about the same level of difficulty. If you do it the factory way, you don't have to remove any fiberglass. This would be preferable in a car that has good paint, but needs a floorpan. My way has the downside that the fiberglass rocker cover has to be removed, but since I am doing bodywork and repainting the car it isn't a concern. I just wanted to make sure I got all of the rust. I plan on keeping this car forever, for sentimental reasons, and don't want to have to do any of this kind of thing over again.
 
Here I am making the initial cuts on the drivers's side floorpan. Using the metal cutting blade for the air chisel, I started on one of the seat belt mounting holes and essentially cut until I had removed most of the horizontal surfaces. I always rough cut the panel out, much smaller than the new panel, to make sure I don't cut off too much.
012309_17351.jpg
Here you can see most of the panel cut out. At the front, it is riveted to the fiberglass toeboard so you don't want to get too crazy with the air chisel.
012309_17451.jpg
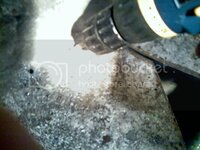
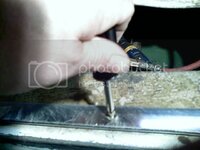
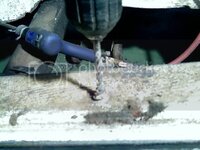
Here I am drilling out the rivets at the front. They are very soft, and come out easily.
012309_18121.jpg
The panel is rough cut out. Notice you can see the lip on the left side where the 2 panels are joined, as I mentioned above. The remainder there will be removed from the birdcage/rocker, but some fiberglass has to be removed first.
012309_18151.jpg
The rear of the panel, as I mentioned earlier, could be removed by drilling out the spot welds. I was having trouble seeing them, so I used the flat blade on the air chisel to seperate the panels. Be careful if you use this method, as its easy to tear up the flange. I thought I had a picture of this process, but I guess not.
To remove the rocker flange, you have to get the fiberglass rocker cover out of the way. In my case, the carpet was already removed by the previous owner. He left the sill plate, so I removed those first:
012309_18171.jpg
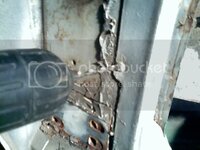
Next, I drilled out the rivets holding the rocker cover down.
012309_18211.jpg
The fiberglass piece at the front of the doorjamb needs to be removed as well, since it overlaps this panel. Start by drilling out the rivets, then cut at the seam where it joins the rocker piece. I did this with a small chisel, as there were tons of seam sealer or adhesive of some type holding it in place. It may take a little working back and forth with a small flat scraper to break the bonds, and get this piece loose. A little heat from a heat gun, or judcious use of a small propane torch will wrok wonders on the old adhesive.There will probably be some damage at the bottom, but this can be fixed easily enough later.Just be as careful as you can here.
56.jpg
Here I am using the cutoff wheel to cut the rocker panel cap loose from the rear doorjamb/quarter.
012409_18151.jpg
Once the rocker cover is loose, you can carefully pull it out. As I suspected, I found some fairly heavy surface rust underneath. The rocker itself was still very solid, thankfully, so other than cleaning and rustproofing it won't require any further repair.
012409_18162.jpg
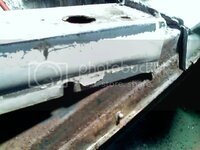
The rocker/birdcage underneath...lots of flaky rust, as I suspected.
012409_18163.jpg
The front doorjamb area. There is some rust here, too. You'll have to remove quite a bit of seam sealer to really get this area clean. The door hinge shims will likely be stuck to the jamb, so this is a good time to carefully remove them and bag and tag them so you will know where they came from when you are putting the car back together. In this case, the whole front clip is coming off, because I suspect there may be more hidden rust that can only be properly repaired with the clip out of the way.
012409_18164.jpg
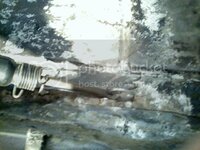
Speaking of seam sealer, there will be some on the front flange of the toeboard. If its dry and flaky, you may be able to get it off just using a scraper. I heated mine a bit, since it was still kind of tarlike.
012509_18511.jpg
 
Here I am seperating the remnant of the floorpan from the rocker/birdcage. I used the flat blade for this, and once the panel was removed I cleaned up the edge with the grinder. This will take care of any metal left by the spot welding. After this was done, I ground the top and outer side surfaces of the rocker with the 4"grinder, then used a wire brush on a die grinder to remove the rest of the rust. After a tip I heard recently, I wiped the rocker down with common household distilled white vinegar and it eliminated the rest of the rust. I noticed it smells just like Metalprep. Once all the metal work is done, everything will be coated with Rust Bullet (similar to POR-15), and all seams will be seam sealed.
012409_18231.jpg
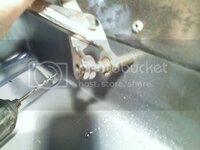
After a little more trimming on the tunnel side with the cutoff wheel, I dropped the floorpan in place and carefully positioned it. It may need to be tweaked slightly here and there with a pry bar and hammer, especially at the rear. Once I was satisfied with the position, I started drilling holes and installing the Clecos to hold it in place.
012509_19071.jpg
Here are a few more installed. If you are doing a resto and want it to be exact, put the Clecos where the original spot welds were, so that when you spot the pan back in place it will be identical to the way it was originally. Since I am not concerned with this, I placed the Clecos where I thought they were needed to hold the panel best. Spacing isn't even, and I didn't intend for it to be.
012509_19161.jpg
Here is a view from above the rocker, with more Clecos in place. They will eventually be placed all along the back, as well as down the rocker. I bolt the floorpan to the toeboard as a temporary measure, since Clecos don't work well on fiberglass. I save the tunnel for last. Notice that the edge of the floorpan is higher than the rocker. Once the panel is spotted in (via the Cleco holes), I will use the 4" grinder to grind the panel flush to the rocker. After that, I will hammer the edge to get the gap as tight as possible, then start making short stitch welds to avoid warpage to the panel. Eventually it will be welded solid, both here and at the rear of the panel. I anticipate a little extra stiffness will be the result, though I don't know if it will make a measurable difference. Every little bit helps.
012509_19261.jpg
 
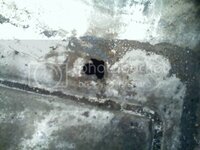
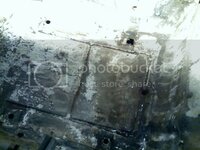
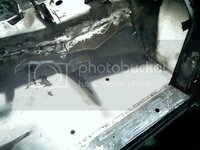
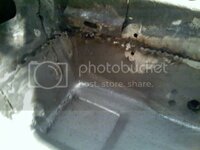
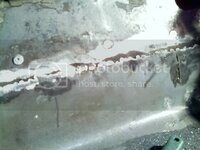
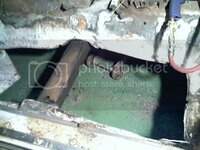
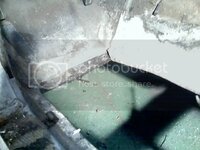
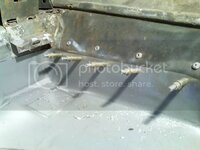
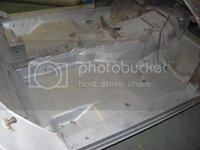
I apparently didn't take any more pics of the floorpan as it was going in; here are a few of the finished product (the front of the pans still needs to be rivited to the toeboards). It is coated with Rust Bullet. I used 3M Seam Sealer (in a tube) to seal the seams.

IMG_0764.jpg

IMG_0765.jpg

IMG_0766.jpg
 
Back
Top