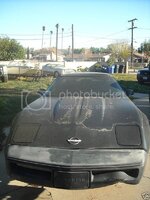
My 1,500.00 1990 project

VetteMod - Corvette Restoration, Modding & Performance Forum

Help Support VetteMod Forum:

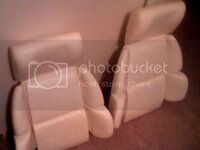
Well, I received my 4 piece foam kit for my sport seats and well as the 8 piece leather-like sport seat covers.

I am extremely dissapointed with the foam kit for several reasons. The quality for one looks like it was made in a third world country. I know you have heard of NQP (not quite perfect) but this stuff looks even crappier then that. The box is labeled corvette america. This kit wasn't a NQP kit though and this junk will definitely be returned! I paid like 300.00 for this kit but to me it looks like a 150.00 kit LOL.

I am very satisfied with the leather-like seat upholstery though everything seems real nice on it. I choose this stuff because my son will be in the car a lot and we all know how brutal kids can be on upholstery! When he gets older I will buy a nicer leather upholstery kit for the seats though when he is able to drive it.
 
I hear you on that seat foam stuffs, I had some for a couple of cars through the years, wound up returning it all, including the shark, they always make it too large for the covers, and so it's all puffy for that plush show car look is the way my trim guy described it up in the DC region...he had a good knife and could make it size right, but I"m too chicken ****, I just used the old padding and added foam from some yard goods store, where necessary....

I reused the old foam from 40 years ago on my '72, I need the headroom,

:clobbered::tomato:
 
I hear you on that seat foam stuffs, I had some for a couple of cars through the years, wound up returning it all, including the shark, they always make it too large for the covers, and so it's all puffy for that plush show car look is the way my trim guy described it up in the DC region...he had a good knife and could make it size right, but I"m too chicken ****, I just used the old padding and added foam from some yard goods store, where necessary....

I reused the old foam from 40 years ago on my '72, I need the headroom,

:clobbered::tomato:

My issues with the foam are exposed wire sticking through the foam, side bolster areas are already torn, ****** surface not smooth like their pictures show.

The NQP stuff I had bought was actually quite nice but it's for standard seats. Here is a pic of the standard seat foam I bought which is show quality compared to the sport seat kit I just bought. See I was going to put standard seats in the car and thats why I bought the standard foam.

1990corvetteseatfoam.jpg
 
Last edited:
WTF?? 2 supplier/makers for the two styles of seats?? :tomato::clobbered:

seems that no two of nuttin' anymore are the same, when I working on anything mechanical anymore, wifey poo knows to just stay clear from the cussing....always some damn off the wall crap to deal with....

drives me krazy , I know, short trip, just off a cliff.....:club::tomato::quote:
 
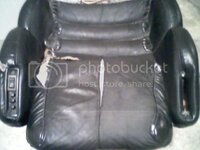
Here is one of the original seat cushions out of the car. The back part of the cushions are equally as bad.

newinterior1.jpg


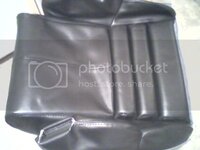
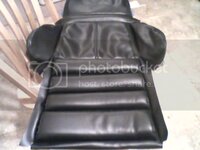
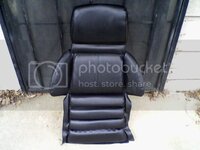
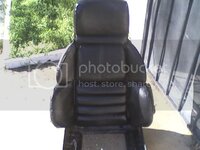
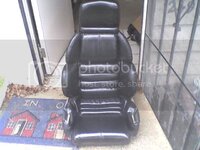
Here are the leatherlike seat upholstery kit. This is for sport seats which is why they look different then what you may have in your car. I just kinda layed them on the foam which is why they look like they fit really bad. When I stretch them they seem to fit pretty good though.

newinterior3.jpg

newinterior4.jpg

Here is the carpet, extremely nice quality and I am very pleased with it compared to what material Ive seen upholstery shops use. Price wise for a shop to lay there carpet it would have costed me more thyen a molded kit.
these are phone pictures the stuff is all better then the pictures show.

newinterior2.jpg
 
Last edited:
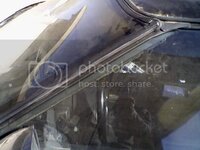
I managed to semi-mount one of my seat back upholstery pieces. I wanted to let the upholstery stretch before I add the rest of the hog rings. It's really not that hard to mount these. I am not going to be putting the bladders back in these seats though. I mainly want the sport seats retained for the electric reclining feature and electric side bolsters. I am going to replace the bladders with additional foam is all.

I am not sure if the flaps at the bottom of the cushions was ever hogringed to the foam though. I didn't see any holes in these on my original covers though.

Quality wise they are pretty good and match the original covers very closely. One thing I did notice is the "welts" are smaller in diameter then the originals, they also lack the corvette script below the headrests.

Over all I am happy with them and compared to the aftermarket slip over seat covers these are far better in all aspects and not that hard to install. ( If I can sdo it anyone can )
newupholstery1.jpg
 
Last edited:
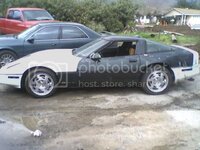
I had some mud cleanup to do today and this is the first time the car car has moved under it's own power since I bought it. I'm worried about the brakes though since they seem very soft and get very close to the floor when applied. I plan on replacing all the wheel bearing, rotors, calipers, brake lines, pads.

The car doesn't need any body work for painting but needs a lot of preppiing, I've got more parts coming for the car unfortunately more rain is in the forecast so I doubt much will get done the rest of this month. I get my vacation time the end of next month so that is when quite a bit will get done to the interior.

1990vettemoved1.jpg
 
Last edited:
I took and changed the rear window weatherstripping on it today. The willcox weatherstripping fit great and I didn't even have to do that measuering thing the put in the instructions. It is a tad bit larger then the stock weatherstripping but still only took about 30 minutes to mount it and get the excess to seat.

Maybe next weekend I will do the doors and roof weatherstripping.

I actually took it for a quik drive down the block today, trans seems to shift fine and seems to pull really strong. I am planning on registering it next month and probably start driving it the following month.
 
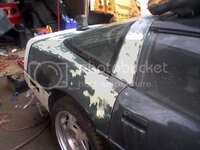
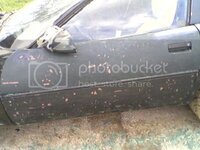
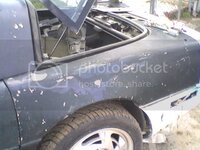
After razor blading off the majoriy of the peeling clearcoat, I decided to try sanding and see what happened. I am stopping at this yellow primer and will block sand from there. The car probably has been painted in the back at sometime since I don't see this yellow primer anywhere else on the car. I plan on garage painting the car since it will be a daily driver and subject to scratches and ding everywhere I go with it. As long as the paint looks good from 20 feet thats fine for what this car will be used for.

sandingvette.jpg
 
Last edited:
well I took 400 grit and wet sanded the upper section of the rear 1/4 panel and that yellow primer came out real smooth, I think that will be the best base for new primer. I think since the white parts are still in nice condition I will hit the with 400 grit and take them down to the original primer to. I should have a nice base for primer that way.

I lifted my door sills and original polo green paint is still under them and I really like the color so back to polo green it goes.
 
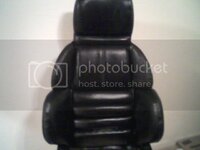
Here is one seat almost done. My camera phone sucks but they look far better in person. When done my upholstery guy is going to use his heat thing to tighten everything up even better.

reupholsteredseats1.jpg
 
Last edited:
heres a little bit better picture of the seat. I'm going to have to buy a digital camera for better pic's of everything being done.

reuoholsteredseat4.jpg
 
Last edited:
I started on one of the lower seat cushions today. These are the hardest parts of reupholstering the seats but its not to bad. I still have to stretch and hogring the side bolsters and install the switches plus glue on the side bolsters on the seat backs. I think the sport seats are considerably harder to do then standard seats, so if you have the bucks buy some new covers and foam and go at it.

I so far like the leatherlike upholstery and the stitching quality is first rate and almost duplicates the original covers inside and out.

reupholsteredseat4.jpg
 
Last edited:
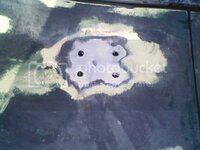
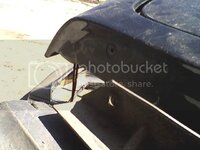
This is the hardest bodywork the car needs, there are four more holes like this on the other side of the car behind the back window. These were used to mount a big aluminum spoiler.

I think is what I will do to patch the holes is use some vette panel adhesive and bond some scrap fiberglass under the holes and then either fiberglass the holes in or just use bondo to fill them. Thats the main reason the car has a white back bumper on it as well, because it also had holes drilled in it to mount this spoiler.

reardeckholes.jpg
 
Last edited:
I just received my Z51 front airdam. The quality of it seems very good even though an aftermarket piece, I think it's made from urethane but not sure.

I decided to go with the Z51 piece instead of the stock one because my car will mostly be used for freeway use and long uphill grades and run in the california heat. I am also pondering with putting a better aluminum radiator in the car as well. I eliminated the ECM's control over this cars cooling fans and went with a in head thermal sensor that grounds both fan relays, my thermal sensor triggers at 228on-204off (something like that) however the difference between both fans on and only one on is dramatic. With both running you can feel them drawing air if your hand is under the front of the bumper and feel air coming from under the doors of the car. Visually watching the temperature dropping on the gauge you can also see the difference as it drops very quikly verses slowly with one fan running. This is a mod I recommend to any 90-up vette owner.

Z51airdam.jpg
 
Last edited:
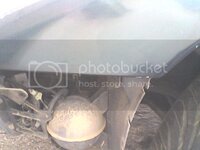
I was once asked why replace the hood since it never looked damaged. The reason was The peeling clearcoat would have been a pita to prep for one and you never did see the damage the hood had. The damage was minor yes, but even so it would needed to be repaired and when for 225.00 I got all those nice white parts the white hood was the quikest solution to the problem.

From the low impact it cause everything to shift and wear spots occured everywhere on the hood from it rubbing everywhere.

hoodwear11.jpg

You can see the lip just in front of the front tire area was ground down a bit and it also had similiar damage on the other side of the hood.

hoodwear4.jpg

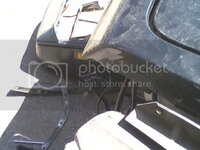
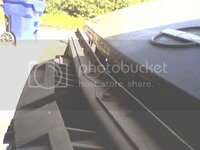
The leading edge of the hood in some areas was ground down to almost paper thin. So just too much work verses removing 6 bolts and putting the nice white hood on the car. So I just cut the green hood up and tossed it all in a dumpster ... end of problem!

hoodwear1.jpg

hoodwear2.jpg

hoodwear3.jpg
 
Last edited:
Last weekend I took and razorbladed the ugly green paint real good so I will start prepping these areas for paint. I am going to buy some urethane safe chemical stripper to do both bumper covers as well. I will be removing all the beltline molding on the car to so those areas get sanded and prepped as well. I'm still undecided on how to prep the white hood and 1/4 fenders but since going this far I will probably just use a heat gun and strip those parts as well and have a new base primer coat everywhere.

razorbladed3.jpg

razorbladed2.jpg

razorbladed1.jpg
 
Last edited:
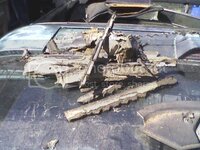
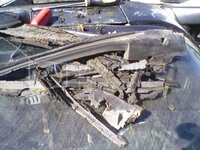
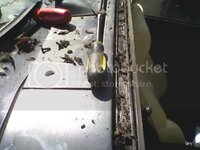
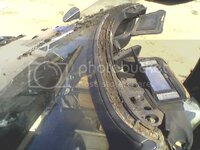
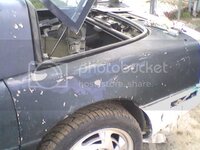
Today is weatherstrip day! What a PITA! So far though I don't see any rust issues, I have to remove all the weatherstrip retainers still and wire brush them down then re-seal them to the body. This weatherstripping was in extremly bad shape, the chunks you see were the largest pieces that came off the car, most of it looked like charcoal and sections were missing as well.

0313101006.jpg

0313101006a.jpg

0313101006b.jpg

0313101007.jpg
 
Last edited:
That stripping sure looks rotted. Hows the rear hatch seal? Where id you pick up the replacement stripping?
 
That stripping sure looks rotted. Hows the rear hatch seal? Where id you pick up the replacement stripping?

I already did the rear hatch seal and it fit the car perfectly, only took about 45 minutes to install it ... I layed the new targa stripping on just to see how well it lines up and it seems to fit good...... I bought the complete kit from willcox corvette parts. I paid like 358.00 for the kit if memory serves me right.

razorbladed1.jpg
 
Last edited:
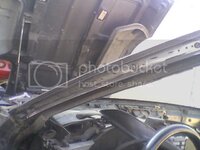
I checked the header panel and the rear halo area for any rust since this stuff has been leaking for a long time, however none has been found, not even any surface rust. I plan on removing and the weatherstrip retainers and re-gluing them back on the car to make sure it seals very well.
 
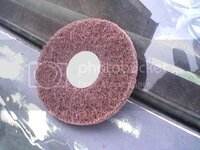
I bought 3 of these rust/paint remover disc things from pepboys and they made easy work of removing all the glue built up in the weatherstrip retainers. I also bought 4 large tubes of 3M adhesive to really make sure everything is sealed up.

0313101453c.jpg

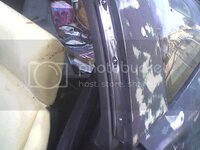
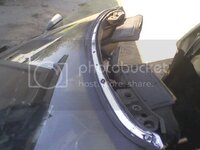
It took about 30 minutes to get all 6 pieces clean on the car. 3m doesn't recommend the adhesive be applied to painted surfaces. I have always had problems with sealing due to this so I will probably leave them bare and completely glue the new weatherstrip completely to keep water out and rust forming on the bare surfaces.

0313101453b.jpg

0313101453a.jpg

0313101453.jpg
 
Last edited:
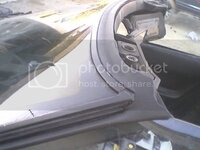
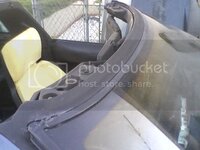
well I got the targa weatherstripping on the car and it fits extremely nice. Installation was simple as well.

0313101650.jpg

0313101652.jpg
 
Last edited:
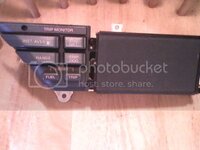
Decided to start getting every possible interior light working on the car. One that has never worked was the headlight switch and the driver information center switch lights.

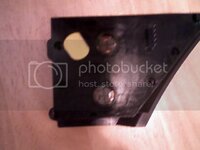
For anyone interestedI took a spare DIC I bought for 5 bucks apart today. There are two small bulbs inside of it that provide the lighting for the switches.

This is probably the same for all 90-96 cars not sure if earlier years are the same. The headlight switch will probably be similiar as this and I will post pics when I do that.

0315100946.jpg

when you remove the switch pod you can see the light bulb sockets in it. If you cant remove them simply remove the 5 small phillips screws and the back cover will come off and you can pull the bulbs out that way. (nothing will fall out when you remove the back cover)

0315100935.jpg

0315100937.jpg
 
Last edited:
Yup, same bulbs as I remember in my '87 cluster...maybe the LED trick??

:bounce:
 
I've heard other have issues with how the top is hard to fasten after new stripping and windows have a hard time rolling up. The willcox kit was great for me my top was easy to put back on and the door glass rolls up fine. I still have to clean up excess glue though. But the top and door glass seem to seal fine now. I still have to install the targa side weatherstripping and the door main weatherstripping and all the underhood stuff.

0315101012.jpg

0315101014.jpg

0315101014a.jpg
 
Last edited:
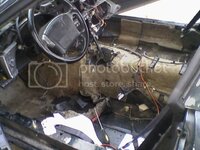
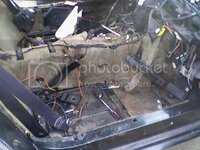
I removed all the carpet from the car today, most of it looked ok but the drivers side floorboard carpet was trashed. Should look nice when the new carpet kit is in it. I am going to be removing all the jute stuff and replace all that with new stuff, also I plan on washing the entire interior before the new stuff is put back in. It's slowly getting there, I wish I had more time then I do but I do plan on being able to drive next month. Probably won't be painted but at least it will have a new interior and weather stripping.

carpetremoved3.jpg

carpetremoved2.jpg

carpetremoved1.jpg
 
Last edited:
Here is the next fix I have to do on this project from hell. I have floor damage from the previous owner jacking the car wrong! I just got done ordering SMC resin, chopped mat, rollers to do this work. I also need to glass in the holes on the rear deck of the car as well and 3 stress cracks in the "B" pillar ... Don't be to envious of me!

floordamage2.jpg

floordamage1.jpg

gloordamage6.jpg

This is the damage to the driverside floor ... You would have thought after hearing one floor cracking and crunching he would have got a clue there was something seriously wrong!

Let my car be a major example of correct jacking of your C4 so far to repair this damage alone it's at about 150.00 just for the materials to fix it. :suicide::suicide::suicide:

floordamage4.jpg
 
Last edited:
Here is another up coming project for the vette. However I am not sure once done if I will actually put it on the car.

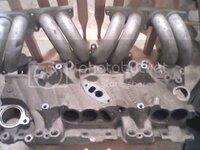
I just bought this TPI system (well part of it) for 60.00 bucks. Anyways I have an extra set of valve covers, all serpentine brackets, pulley's and a few other parts and plan on completely polishing them out for the car. This project will be sometime down the road though after it's smogged and everything. I also thought about plastic chroming every plastic part under the hood as well.

TPIsystem.jpg

Heres how shiny the magnesium covers can get, this is just a quik polish to show you. They would come out far nicer with more sanding.

0414091128.jpg
 
Last edited:
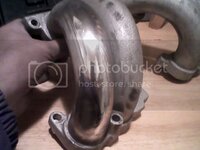
I decided to test a few spots on the intake and runners I got and see if the runner though heavily oxidized and having pitting would cleanup. I didn't really sand much on them but they do seem like they will be polishable. The base manifold seems like a good casting and seems to flatten out pretty easy with 120grit. I prefer F-body runners to polish though, I am not sure why but they are far easier to do then vette ones.

tpirunner.jpg
 
Last edited:
Back
Top