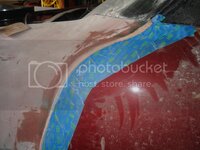
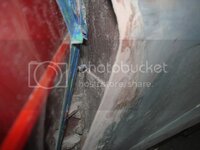
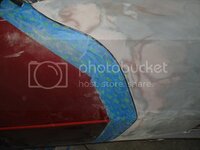
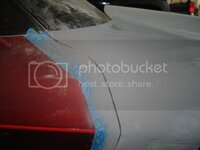
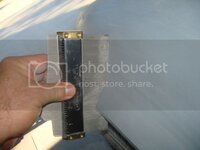
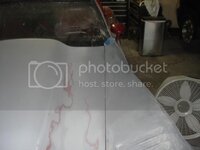
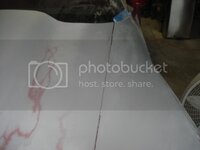
Let the painting games begin!!

Jeff, those gaps look pretty good. My concern is that the top of the fender actually is out past the door, but between that and the belt line, the fender is below the door. What I might do is separate the fender from the firewall in that area and shim it to match the door. Then, if I can get it in line with the door, I'll look at working the gap. I need 1/8" or less in some areas, so I'm thinking the high density filler I've been using will be a better choice than the glass and mat. I'll have to grind the fender down a bit to make sure I get a good tooth and that it's not paper thin, but I think that's probably the way to go.
 
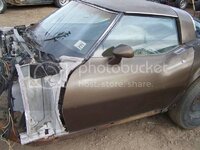
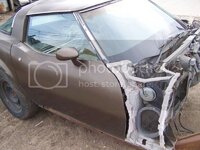
had these pics that show the bonding areas but car looks older then a 80-82 so not sure if they are different then yours.

vettefirewall2.jpg

vettefirewall3.jpg
 
if the fender is firmly attached to the body I would not break it loose and build up the fiberglass instead.... once you break it loose you might as well remove the entire front clip, clean the mating surfaces and glue it back it place correctly, that is a lot of work.....
 
Its tight and if I break the thing loose, it'll only be from the belt line up, and I'd use a heat gun to do it. The problem is, I can get everything but the top of the fender right in doing this, the chances of me popping the whole front clip are like the chances of me being elected Pres in November...not very good!!

There's a fair amount of build that would have to be done though, I'll have to really look at this. I think I might be able to just pop the area that's low, and shim it/reglue it...maybe... I need my "whileimatititis" vacine first though!!!
 
Progress....headlights and door gap

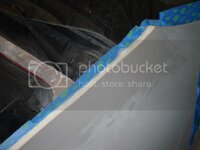
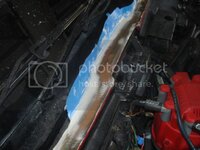
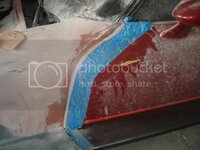
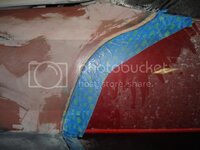
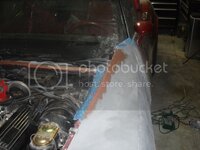
Love making progress started to work on the drivers side door forward door gap. I ground down the fender edge and back only about 1/2", then backed everything up with tape.

DSC04209.jpg

Then I mixed the high density filler/adhesive and literaly filled the gap, the tape gave a backing so I wasn't just putting filler in a bottomless hole.

DSC04212.jpg

Then as the filler started to harden a bit, I started pulling it away from the door, knowing I'd be using a file and sand paper to get the gap to the right size and shape later.

DSC04214.jpg

Now, I'll go in and sand/file it do shape and then use the medium density filler for the final shaping.
 
Last edited:
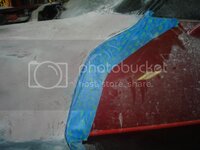
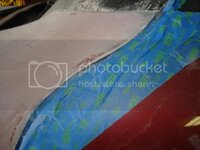
So, this is how the gap turned out. Kinda hard to see with the tape still on, but it's now clean and about 1/8" all the way around the door. You can see how much the fender had to be built up. To do this any other way, I think I would have had to reset the front clip.

DSC04210.jpg
 
Last edited:
did you see my PPG paint post ?? Deltron is currently on Ebay, you could score that "lazer red" for like $120 a gallon.... I think that's close to what you want, maroon burgundy metallic ??? that paint is usually 400 a gallon.... I just bought "candy apple red" for the Mustang .... :1st::1st:
 
I did see that post, thanks for putting it up! I've got to check with my painter, after going through all this stuff, I think I'll defer to the experts for what paint to use. Hopefully, the PPG will work for him!!
 
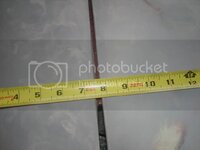
The drivers side fender is just about finished. I fixed the contours around the wheel, and fixed the door gap too. To fix the door gap I used the high density filler with the resin/hardner, then the medium density filler for the finish contour. I used a 1/8 drill bit for a pin guage to make sure the gap was uniform. I need to make sure what the gap should be, I think it's .16 to .20" or 5/32 to 13/64's. Whatever it is, I'll have to go a bit larger to allow for final primer, paint and clear, but that's really easy from here. The fender and door are flush now too.

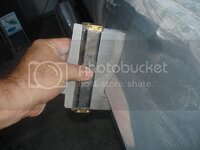
The fender contor was AFU too, but now it's done. I used a contour gauge to transfer the passenger side to the drivers side.

DSC04236.jpg

DSC04235.jpg

DSC04222.jpg


Now the fender and driver side head light opening is done. Next is the front gap for the hood, and the right side fender. There really isn't any repair on that side, just a few small areas I ground out the old filler and put the new stuff in. I only have the final skim coats to do there.
 
Last edited:
Progress

Finally, after working on the wifes car, friends cars, and my bass players POS Ford truck, I got some time to work on the vette. Here's more detail on how I fixed the door gaps:

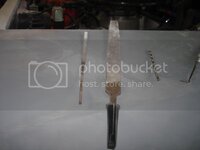
Here are the tools I used.
DSC04266.jpg

The small file was used to do the finish shaping of the gaps, the drill bit was the pin gauge.


First, I lined the door up as best I could against the rear of the car and the sill plate. Learning that the front clip had been replaced at some point and seeing the other trouble areas, I knew the fenders were what needed to be fixed, not the doors. First, I roughed up the fender (the door was the good side) with a course file. Then used tape to back up the fender and to make a rough mold for the high density adhesive filler.
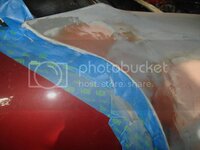
DSC04252.jpg

Then add the high density filler

DSC04213.jpg

Then, as the filler starts to set and gets firm, I started shaping it with a pick.
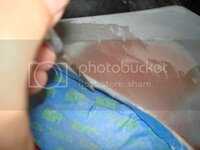
DSC04255.jpg

Then and before the filler is fully set, I trimmed the tape and filler with a razor.
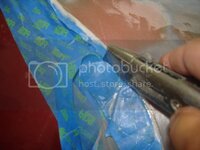
DSC04254.jpg

Once it's set, pull the tape off the fender side, and knock down the high spots with a file, or sander.

DSC04216.jpg

Then re-tape it and use the medium density filler down the entire gap. Don't worry about filling the void too much (don't go nuts though, you don't want to loose the door edge for your guide), you'll be cutting a new gap when it's all set.
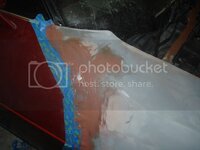
DSC04263.jpg

Once the medium filler is set, sand it to fit the fender, don't worry about the gap yet. Once you have the filler sanded down, you can start shaping the gaps with the small file.
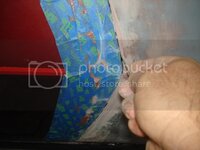
DSC04268.jpg

Check it with a pin type gauge often.
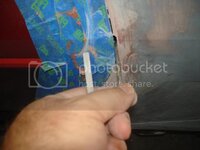
DSC04269.jpg

DSC04271.jpg

Once you've worked the entire gap, pull the tape, there's likely some work to do on the back side too.
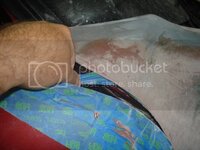
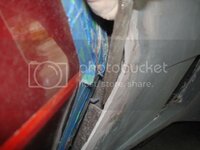
DSC04272.jpg

DSC04273.jpg

Nice and clean!

DSC04274.jpg

And here you go...

DSC04277.jpg

DSC04280.jpg

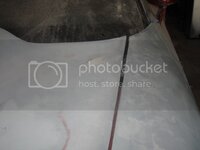
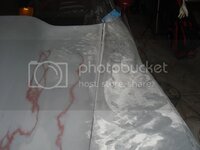
Now off to the hood. I got the hood gaps (an Ecklers L88 from a few years ago) as close as I could, which is great along the front and down the passenger side, and about 2/3 of the way up the drivers fender. Then towards the windshield, the gap opens up to just over 1/4" for the last 18 inches or so.


The passenger side:
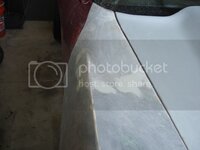
DSC03949.jpg

Drivers side:

DSC04241.jpg


A big gap....

DSC04239.jpg


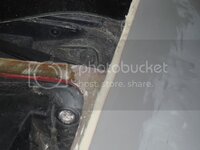
Also, in grinding away the previous repair, for some reason, there was work done to the top of the firewall. I don't understand why you would ever be here grinding, but they did, so I'm fixing it with something other than bondo...
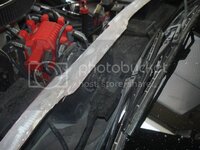
DSC04244.jpg

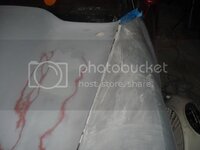
I used the West System high density filler for the first round of the hood gaps and fire wall just like the door gaps. Used the tape as a "form" for the other areas of filler:
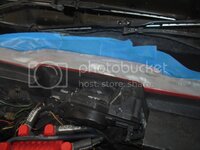
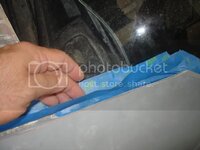
DSC04247.jpg

DSC04246.jpg


Then fill'er up:

DSC04251.jpg

DSC04256.jpg

DSC04253.jpg


With the filler set, I'll do some more grinding (you can start working with this stuff before it's completely set, and it helps to knock down some of it before this stuff really sets) hopefully today or tomorrow, and will then use the medium density filler for final contours.
DSC04260.jpg

DSC04259.jpg

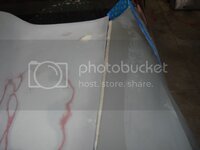
You can see how much was necessary to fill this gap:
DSC04258.jpg

At least I got some work done, I'd really like this finished by the Turkey Run!!
 
Last edited:
Thanks guys, the plan is to have these areas done by the weekend. I won't have time to get back to it till then. I did get a chance to grind on some of it yesterday though, that high density stuff is really hard, and it's stuck too! I was using a rasp file for some of it and was pressing really hard, this stuff isn't going anywhere....ever. There's a bit more grinding to do, I'll finish it with the medium density filler next.

DSC04259.jpg

DSC04262.jpg


Once these areas are done, I'm going to open up those fender louvers, likely the last four or five (of the eight each side) to help let the air out from under the fenders at highway (and higher) speeds. I'm planning on opening up the sides that are straight up and down and I'll drill drain holes in the others. Right now these things are a great water storage device!
 
Last edited:
I don't mind help'n guys out, I actually like doing this stuff. Gene if you ever really want to do the work on your car, I'd be happy to help!
 
I don't mind help'n guys out, I actually like doing this stuff. Gene if you ever really want to do the work on your car, I'd be happy to help!

Up to my ass in the swamp, too many gators, making it hard to drain.....

maybe when the weather finally breaks, not into this heart attack shit...:mad::flash:
 
Gaps are done!!
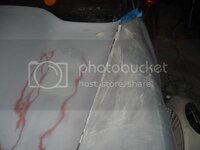
Finally!! Door gaps and hood gaps are done!!! On the front end, I've fixed: the left front fender front corner and wheel opening, left forward door gap, hood gaps (particularly on the left side front corner at the surround and fender gap on the left side towards the windshield) the left headlight opening, the right fender wheel opening, and right forward door gap. Lots of work, but so far, I'm very happy with the results!
Left side hood now:

DSC04286.jpg

DSC04287.jpg
 
Last edited:
Top