Belgian1979vette
Well-known member
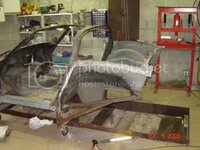
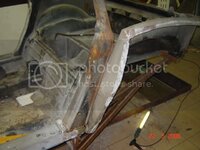
I though i give some info about the birdcage transplant I did to my car and a series of pictures.
It is a very intensive work to do, but in the end it was worth it.
I did it somewhat different than some, i will outline this in the pictures.
When starting to dismantle I alway just self tapping screws through the panels that i could use later on the reattach/realign the panels relative to eachother. Don't overdo this, because you probably need to adjust things when trialfitting things/
What i first did, was carefully remove the front end. The means breaking the bonds between the front end and the cowl area both in front of the door and in the back of the engine bay. This can be done with a chisel and some wedges. Be carefull not to put the chisel or wedges in to deep. So like to apply some heat. I didn't use it. I work form the bottom to the top creating a small opening with the chisel and putting in a wedge, moving up with the chisel, putting in a new wedge and pushing the previous wedge in a little deeper. You need to get a feel about how deep you can push your chisel and wedge as not to break the panel.
Most of the time the bond between the hood surround and the fender breaks. This needs to be rebonded back to the bonding strip. I took a piece of bonding strip of, cleaned it and rebonded it to the body. After drying i would fill the gap with bonding paste.
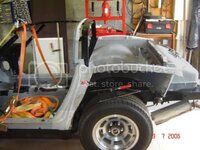
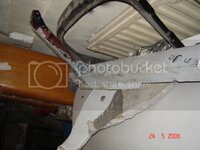
This is a picture of the front end when dismantled. I didn't make pictures of the process of dismantling, since it was not intended to be shown to the public at the time.
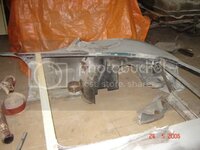
Next i would turn my attention to the cowl. I took every small piece of the cowl in the area where the door is. The method is much the same as for the removal of the front end.
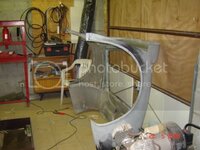
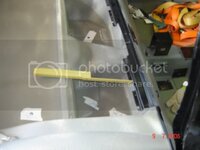
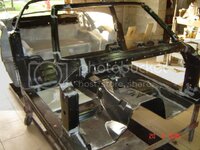
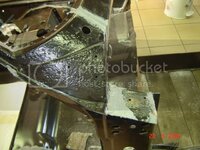
Here is a picture of the cowl ready for mounting on the cage : I don't have any pictures of it when it came off.
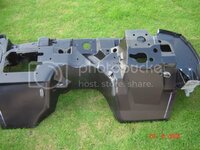
The cowl itself is attached to the cage with various rivets along its edge. It is also glued so it is not easy to seperate. Make sure that you remove all of the sealer, since a lott of rivets are hidden underneath.
It's also very handy to have an AIM manual of your year of corvette at hand, since it shows where all rivets etc. are.
I will continue with this thread later on.
It is a very intensive work to do, but in the end it was worth it.
I did it somewhat different than some, i will outline this in the pictures.
When starting to dismantle I alway just self tapping screws through the panels that i could use later on the reattach/realign the panels relative to eachother. Don't overdo this, because you probably need to adjust things when trialfitting things/
What i first did, was carefully remove the front end. The means breaking the bonds between the front end and the cowl area both in front of the door and in the back of the engine bay. This can be done with a chisel and some wedges. Be carefull not to put the chisel or wedges in to deep. So like to apply some heat. I didn't use it. I work form the bottom to the top creating a small opening with the chisel and putting in a wedge, moving up with the chisel, putting in a new wedge and pushing the previous wedge in a little deeper. You need to get a feel about how deep you can push your chisel and wedge as not to break the panel.
Most of the time the bond between the hood surround and the fender breaks. This needs to be rebonded back to the bonding strip. I took a piece of bonding strip of, cleaned it and rebonded it to the body. After drying i would fill the gap with bonding paste.
This is a picture of the front end when dismantled. I didn't make pictures of the process of dismantling, since it was not intended to be shown to the public at the time.

Next i would turn my attention to the cowl. I took every small piece of the cowl in the area where the door is. The method is much the same as for the removal of the front end.
Here is a picture of the cowl ready for mounting on the cage : I don't have any pictures of it when it came off.

The cowl itself is attached to the cage with various rivets along its edge. It is also glued so it is not easy to seperate. Make sure that you remove all of the sealer, since a lott of rivets are hidden underneath.
It's also very handy to have an AIM manual of your year of corvette at hand, since it shows where all rivets etc. are.
I will continue with this thread later on.

