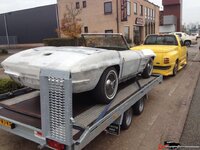
63 Corvette resto

VetteMod - Corvette Restoration, Modding & Performance Forum

Help Support VetteMod Forum:

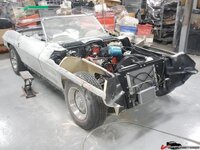
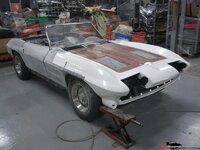
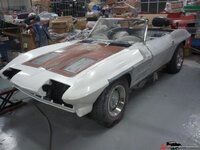
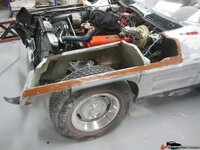
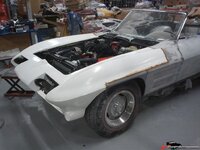
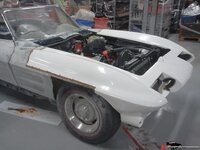
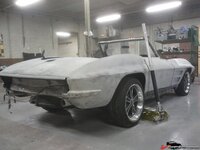
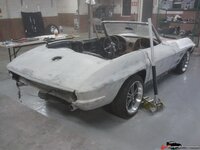
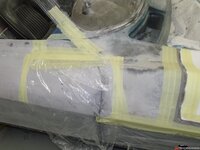
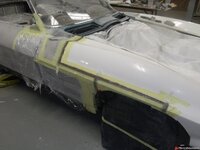
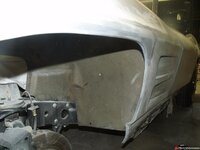
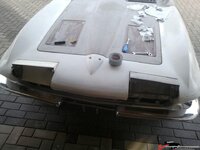
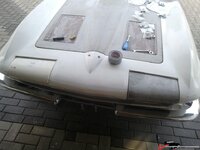
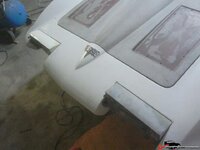
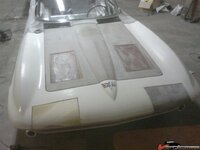
More progress; Glued the front end on after a lot of trimming to make sure the replacement front would fit properly. Also removed the rear panel. Too much damage, weakened fiberglass and sloppy repairs.

24f0e038f139af.jpg

24f0e038ebb935.jpg

test fit
24f0e038e6cb7e.jpg

24f0e038e1da17.jpg

epoxy adhesive (not poo :) )
24f0e038dc55c9.jpg

24f0e038d72d60.jpg

Not coming apart again :)
24f0e038d25eba.jpg

24f0e038cc3e32.jpg

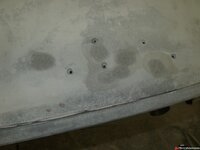
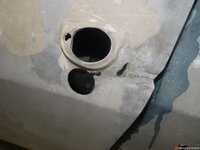
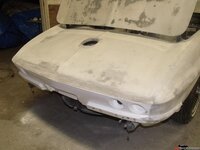
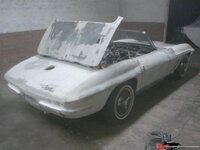
The rear removed and ground out down to bonding strip. Off center there's a chunk missing, that's the area with the sloppy repair. Also, the torn out bumper holes were repaired (still need to drill them out), dozens of holes filled in decklid. Someone needed several attempts to locate the rear llogo and it had a fold down antenna that apparently needed 3 holes also.
24f0e038c11a99.jpg

24f0e038c72d57.jpg
 
Twin... You have done AMAZING work on this... What I meant was why did you not just get a new front clip in the beginning? It looks like alot of work was done, then discarded?
 
It's not my car. It's my buddies. In the beginning I told him there would be more damage under the paint but he didn't want to strip it. He was scared to death to replace the inner fender alone. It's his 1st resto (we did his 79 Trans Am after we started on this vette) and being his fathers car it has sentimental value. His pops got it from a junkyard :) (not a big surprise) We built the dolly to keep the body nice and problem free but sure enough there was some more nasty underneath. Only after cracks started appearing here and there I was able to convince him to at least repair the holes for the mislocated badges and that's when I found the horror underneath so then we stripped down parts of the paint to reveal the issues. He was convinced we could ix it like we did at first. We weren't aware of the problems with the front of the nose. I did tell him to just buy a new clip but with transport and all those things are super expensive. He was in fact postponing the inevitable and does now admit I was right all along. I was never for taking short cuts but then again, it's not my dime.
For a 1st timer it's gutwrenching to see someone else take your previously good looking and running car down to bits and transforming the body into wat you see above :D

You did the work yourself, it's a more gradual process that way and you make your own choices.
 
As an Amazon Associate we earn from qualifying purchases. Product prices and availability are accurate as of the date/time indicated and are subject to change.
More damage & repairs LOL

rear deck where logo sits
24f0f52d7b255e.jpg

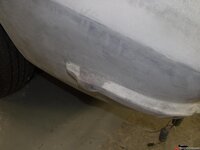
torn out bumper hole (needs hole drilles), both sides were done
24f0f52d8604f0.jpg

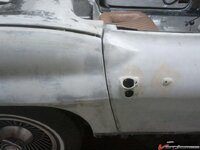
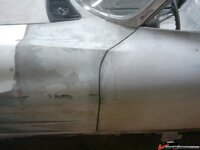
extended door skin here, someone sanded it down and there was a large opening gap there. Checked against the other side it looks like I need to reaise the opper front part too, that curved down corner is not supposed to be there
24f0f52d9b411f.jpg

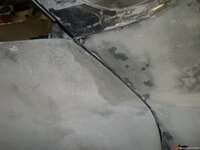
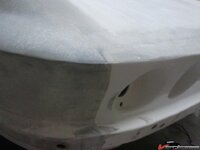
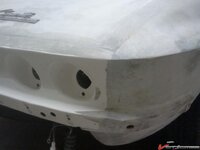
Front seams sanded down, will lay glass over the areas after sanding down a little more. Just sanded it roughy flush to final check fitment
24f0f52db1081b.jpg

24f0f52da63fb9.jpg

damage to drivers side door
24f0f52d911759.jpg

damage to passenger rear quarter
24f0f52d6ebf31.jpg
 
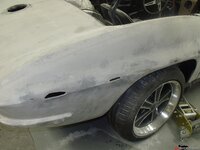
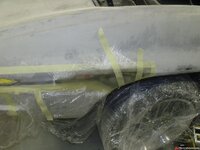
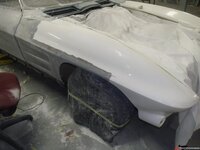
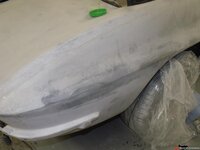
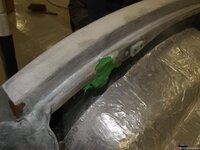
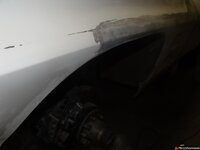
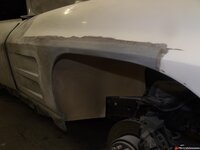
More progress, ground down the bonding seams and laid glass for a uniform surface so that the bonds won't show in the paint. Also did some more work on the door edge, extending it up and started on the rear damage. Still have to do the other side

24f14a24124e08.jpg

24f14a23fbebe3.jpg

24f14a2407631d.jpg

glassing it all


24f14a241c5fd8.jpg

24f14a24276270.jpg
 
That car is like Stinger's....

reads the movie by line.....

'I'll be BACK'.......


:D:yahoo:
 
One side on the front done, door fixed. Ground out the other side, glassed the rest of the rear and the door. Still have to glass in the dr. side front. Also removed most of the seams in the front clip (gelcoat)

24f15e93e0f62e.jpg

24f15e93ec6f69.jpg
 
what's your plan for primer ?? That white coating is very slick, I'd hit it with 100 grit for good "mechanical" adhesion and grip... then spray a good epoxy primer like PPG DP series, let that sit for a day or two and spray urethane high build primer. Spray the epoxy in black or white, the sandable high build primer is grey, that way you can see when you're sanding thru the high build primer ... by the time you're done spraying primer you'll have a good feel for the gun.
Are you going to paint it or send it to a shop ??
 
The painter will have the pleasure of doing that. I'm doing the glass work and that's it. I don't want to fill, block and sand this damned thing :D
 
I thought you wanted to learn how to paint? Shooting primer is a great way to get a feel for the gun.... it won't run unless you stop moving the gun LOL.... it needs to be block sanded anyways.
I would also try to avoid getting bare filler or fiberglass wet, don't take it outside when it's raining, it will take a while to get it dry, they might have to bake it at the painter's before spraying epoxy primer.... moisture trapped in the fiberglass will bubble the epoxy primer.
 
I don't think the owner would appreciate me experimenting on his car LOL

This car has been inside for years, there's no moisture on it anyhere.
 
I don't think the owner would appreciate me experimenting on his car LOL

This car has been inside for years, there's no moisture on it anyhere.

C'mon..... that really would give it a "personal touch" LOL

about the moisture: yes, that's why I'm saying seal it with epoxy before it gets wet ;)
 
I don't think the owner would appreciate me experimenting on his car LOL

This car has been inside for years, there's no moisture on it anyhere.

C'mon..... that really would give it a "personal touch" LOL

about the moisture: yes, that's why I'm saying seal it with epoxy before it gets wet ;)

that's a real trick when you need to wetsand the thing.
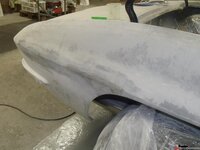
 
I may end up doing the epoxy after all.......

fixed the rear quarter
24f1dd4224cc4c.jpg

24f1dd4230b568.jpg

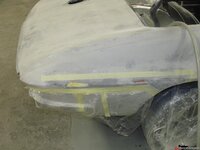
used some striping tape to get the belt line perfect, it needed some tweaking after this

24f1dd42463786.jpg

And more damage, this area is buggered so I used some play doh to get a surface to work on. Haven't continued with this part yet. Did fix the other door and the hood (no pics)

24f1dd423af28e.jpg
 
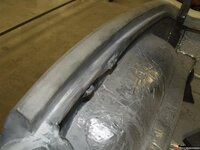
Well well..the new rear panel finally came in. There was a long wait because this was not in stock and had to be manufactured upon ordering. OK, that can happen. Panel came in, it's an ACI part and guess what, date of manuf is on the label glassed into it. Date... 11-14-2011 .. we wuz lied to! So..the panel is here and it fits like crap. I was expecting this but it's a disappoitment still. I made it fit as good as it would go but still needs a ton of glass work to make it flush, especially on the top. The gel coat is about 3mm thick in spots. What a POS!!!
24f5fb6468c1f5.jpg

Oh...new wheels :) knock offs :)

24f5fb646d9432.jpg

24f5fb6463963c.jpg
 
I'm about done with this thing. Just have to drill some holes for lights, bumpers and some other stuff but the major body work is done. I don't think I will do the filing and sanding on it..I don't feel like doing it LOL.

The final bits were quite tricky, these sure were some hard sections to fix. Especially the fender ips that some prev. owner ground off for tire clearance and the broken part in the rain gutter for the tonneau cover. I think it came out OK in the end

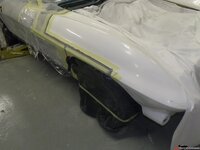
The whitish part was repaired
24f7f8d1085312.jpg


ill fitting rear bumper after a lot of fitting, cutting, glassing and sanding. Advise to anyone else, buy a GM panel if at all possible, it's worth it.

24f7f8d1189011.jpg

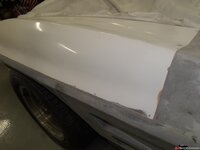
The fenders...took a lot of effort to get it straight and factory looking

24f7f8d123e899.jpg

24f7f8d12e1dca.jpg

24f7f8d1390168.jpg
 
guy changed his mind, found this set of knock offs...what he always wanted

what keeps those things from loosening up? I was just looking at a Viper ACR and it has 1 big nut holding the wheel on. There is a spring lever keeping the nut from backing off too far.
 
guy changed his mind, found this set of knock offs...what he always wanted

what keeps those things from loosening up? I was just looking at a Viper ACR and it has 1 big nut holding the wheel on. There is a spring lever keeping the nut from backing off too far.

Locktite RED???:suicide::clap::lol:
 
The threads are L&R hand on the center nuts, for the rest...hammer them down tight..that's it. Not my pick either!!
 
The threads are L&R hand on the center nuts, for the rest...hammer them down tight..that's it. Not my pick either!!

TT, you making me scratch my ass now, trying to remember, wasn't there a special tool that grabbed the corners of the knock off, and was hit with a hammer....?? had a non metalic insert so as not mess up the chrome...??

I have a old K/O from a Brit? sports car around here, two fins and chrome, used for a ash tray maybe 40? years ago....still have it....

Says UNDO>>>--->>> and UNDO just under one wing, and Right Side just above the other wing....this case it's two wings....:cool::lol:
 
the wheels are going to look great on that car :thumbs:

heck, that car is going to look great even you throw a set of rusted rallies on there....
 
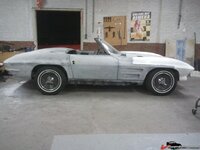
Well it's done...it's @ the paint shop now. The front end especially took a whole lot of finssing to make it fit right, these clips are made like crap the contours are not correct and because they are made from a mold pulled off a car the inside contours of the glass is all wrong a lot of it is too thick especially in the corners and the wrong shape. If you want to do this get a sermersheims front clip! Unless you are hotrodding something not to be meant to look stock.

Replacement headlight bucket, all wrong...but it does fit...somewhat

250a258979aa16.jpg

Woops won't close adjusted all the way forward. Time to break out the grinder and F up the mounting holes :(

250a25897dcbe9.jpg

Got the rear replacement panel smoothed out completely, took a lot of work.. doesn't fit properly either.

250a258971dc97.jpg

250a258975c4ad.jpg

Took a lot of work on the hood hinges to get it like this. I cut them up and tig welded them back together and added material to be able to adjust the hood to the correct position.

250a25896ce4a4.jpg

I reworked all the gaps on this car this is as good as it's gonna get...

250a258968e513.jpg

250a258964b2be.jpg

250a258960b711.jpg

250a25895bcec9.jpg

The holes for the door locks and handles were repaired also all had cracks and chunks missing

Ugly un-even gap between bucket and opening it's even worse than this pic shows if you open the bucket so the high line on it (the front edge if closed) lines up with the opening. The uckets ar also too short...or the front end si the wrong shape most likely since the factory bucket on the other side doesn't fit properly either. Furthermore there's a ton of glue and crap on the underside that I had to grind away or the buckets would not even open without hitting! Quality pieces!! ahum!

after a bunch of glassing, sanding and finessing this is how it's now. Lines all match, only needs a skim of filler and it'll be OK

250a2589456d4b.jpg

250a25894a5f4b.jpg

250a25894ead11.jpg

goodbye..off you go!

250a25b569e6f3.jpg
 
Back
Top