1958 MGA Coupe

VetteMod - Corvette Restoration, Modding & Performance Forum

Help Support VetteMod Forum:

I have been busy doing other things this weekend but I Just realized I hadn't been posting my efforts of the last weeks work

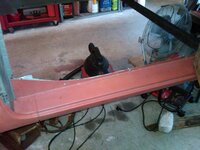
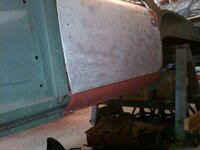
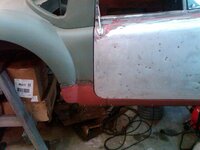
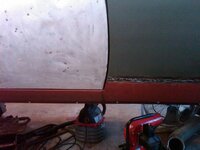
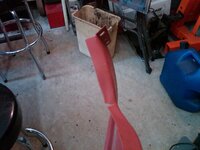
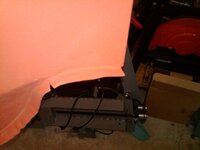
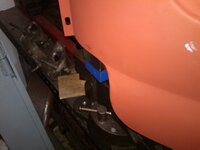
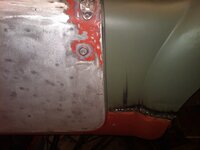
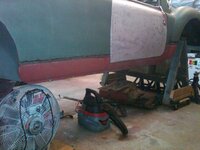
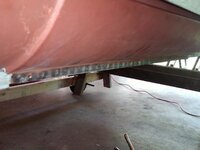
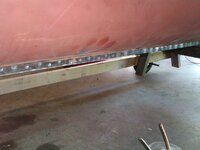
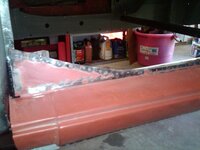
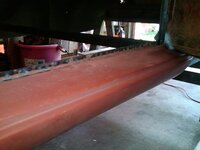
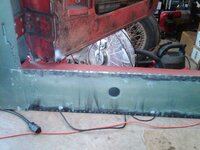
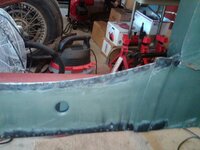
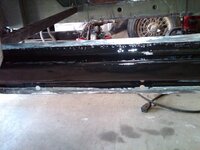
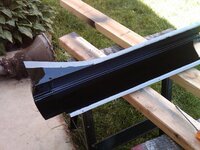
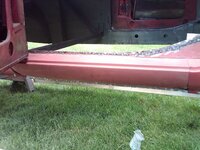
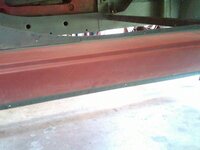
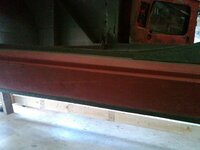
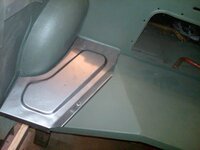
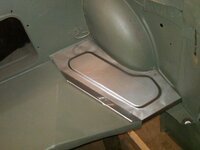
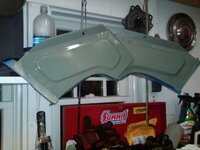
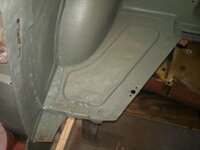
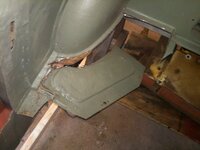
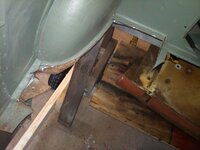
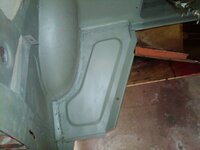
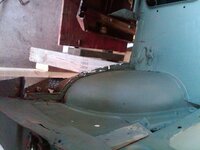
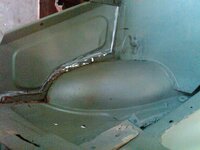
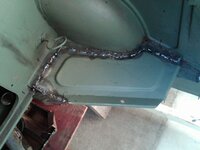
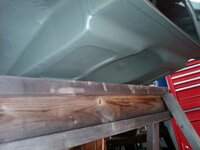
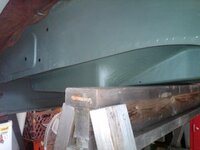
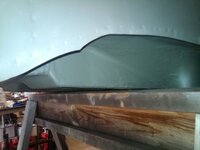
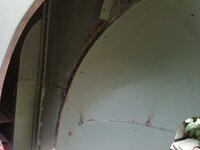
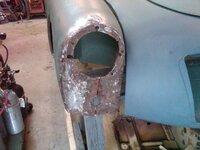
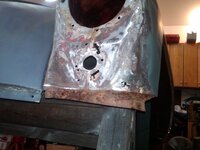
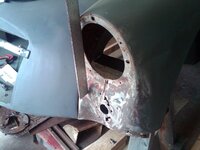
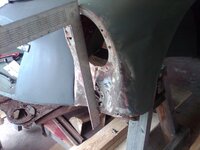
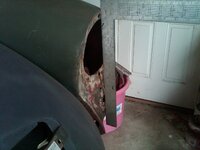
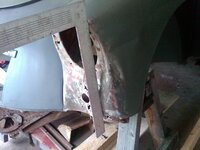
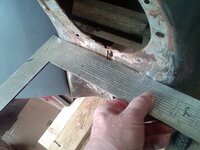
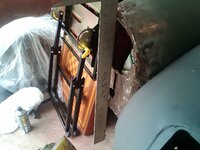
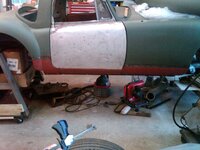
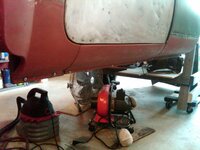
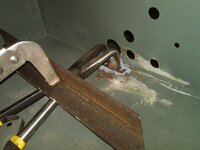
so I was working on the rocker sill and the rear dog leg. getting these fitted isn't hard but just takes time and effort I positioned the rear fenders where I wanted them and then tightened them in place and then used screws to mock everything up and then welded the rear dog legs in place. what you are looking for is parallel lines, the front fender can be pushed towards the back some but since I am a one man show that was the best I could for a trial fit
IMG04096-20140518-1939_zps44ced0a0.jpg
IMG04101-20140518-1941_zps1fe0d061.jpg

IMG04102-20140518-1942_zps6d6b6a1e.jpg

IMG04100-20140518-1941_zps4398c217.jpg
IMG04097-20140518-1940_zpsc84d4216.jpg
IMG04098-20140518-1940_zpscffb4742.jpg
 
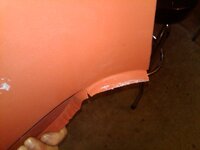
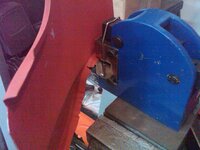
3 hrs tonight , we start by curving the bottom of the poor fitting piece in a shrinker

IMG04104-20140519-1751_zpsb3ae557a.jpg

IMG04103-20140519-1751_zps7ee7b9f6.jpg

IMG04108-20140519-1753_zps2cc458ad.jpg

IMG04106-20140519-1752_zpsbe6982f6.jpg

IMG04107-20140519-1753_zps88f6c41e.jpg

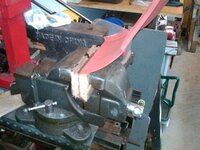
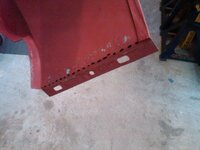
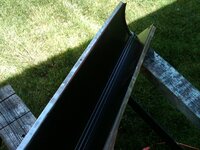
I had to reform the bottom mounting flange to make it fit properly it was not parallel
IMG04109-20140519-1754_zps5c9345c7.jpg

IMG04110-20140519-1819_zpsc08d3348.jpg

parallel lines

IMG04115-20140519-2210_zps73003191.jpg

IMG04112-20140519-2210_zps7d6a6fca.jpg

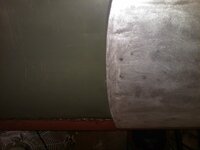
this is actually a nice parallel line not sure why its not showing up in the photo

IMG04113-20140519-2210_zps5f87644b.jpg

it looks to me like the door needs to come up some and go back just a wee bit
 
As an Amazon Associate we earn from qualifying purchases. Product prices and availability are accurate as of the date/time indicated and are subject to change.
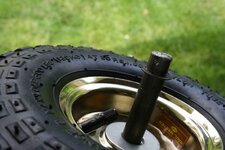
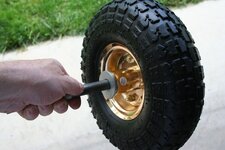
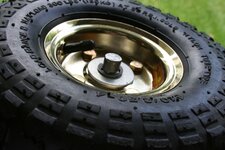
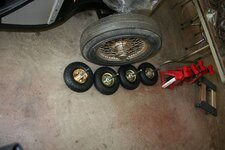
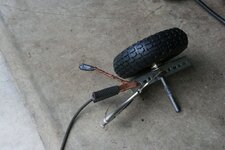
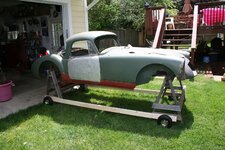
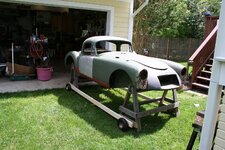
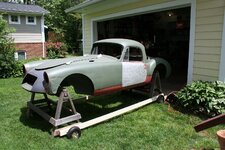
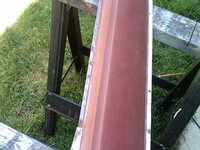
time to get ready for body work ......all sanding outside........so my saw horses have to be able to go down the garage apron and on to my grass. so lets make some axles for 8" wheels, lets use 5/8" round stock and some channel angle

the wheels were on sale from HF for $6 each, 5/8 round shaft $8, angle iron $8, $8 (2) 2x4, washers and C clips $6

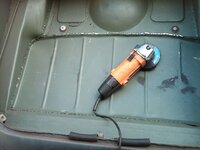
lets cut a groove in the 5/8 stock with and angle grinder with a cut off wheel and use a C clip

IMG_7903_zps8a7fde55.jpg

a couple of big washers

IMG_7904_zpsd8f44358.jpg

IMG_7905_zps94eecfbb.jpg

9" shafts because it was cut from 36" stock

IMG_7907_zps1b3d96c1.jpg

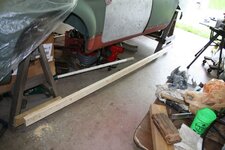
add 10' 2x4 to saw horses

IMG_7906_zps414265e8.jpg

some channel angle with the zinc ground off

IMG_7908_zps5b3a06b6.jpg

IMG_7910_zps1c6892a3.jpg

and voila


IMG_7912_zps82947ddb.jpg

IMG_7913_zpsf8971cf5.jpg
IMG_7914_zps63ebd1de.jpg
 
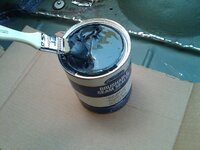
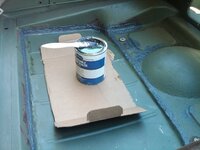
eating pizza and letting paint dry before I spot weld the outer sills in place.....I decided to use a weld through primer on the areas that are being "faced" together all other areas got primed and gloss black rustoleum

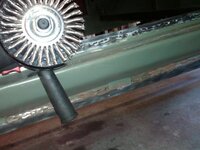
wire brush primer off

IMG04143-20140531-1251_zps15e4b0ed.jpg

taped off the "to weld area" and primed and top coated

IMG04145-20140531-1303_zps7e701dfd.jpg

used weld through primer on areas under the tape
IMG04149-20140531-1313_zps050b06f7.jpg

same treatment on rocker sill

IMG04146-20140531-1304_zps99402b73.jpg

IMG04147-20140531-1304_zps0a712a6e.jpg

IMG04148-20140531-1312_zps05db99a4.jpg


practiced some test welds on similar stock

IMG04150-20140531-1318_zps3745bbc8.jpg

IMG04152-20140531-1327_zpsb6936840.jpg

IMG04151-20140531-1327_zpscbbd5d21.jpg

and I have used up about 25 mins so back out to work


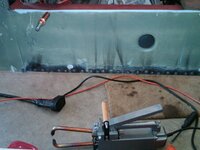
well I have hit my duty cycle on the spot welder and need to take a break and let it cool off...just call me popeye that thing is heavy!!!!!

this is what factory welds look like

IMG04155-20140531-1415_zpsec5f5adf.jpg

IMG04156-20140531-1415_zps829ef407.jpg

and my set up and welds.....I always clamped it and welded in between

IMG04153-20140531-1409_zpsbad472ba.jpg

IMG04162-20140531-1432_zpse6a67288.jpg
IMG04161-20140531-1432_zps7f1793aa.jpg
IMG04163-20140531-1432_zps17e01a40.jpg

IMG04164-20140531-1433_zpsefb1ddfb.jpg

back to do the top

and done with pass side, I have had enough for the day...too many fumes and too heavy of welder

IMG04167-20140531-1539_zps940205e7.jpg
IMG04168-20140531-1539_zpsfb1cf2bd.jpg

IMG04170-20140531-1539_zps0c70b7e2.jpg

IMG04171-20140531-1540_zpse445f676.jpg

tomorrow the other side
 
Last edited:
one thing about spot welders - make sure you keep a nice radius on the tips. we used those all the time (in fact, I think my dad still has a floor-standing model in his shop) to spot weld stainless hoods together.

If you don't want the divot, simply use two flat copper plates between the weld-tips.... of course, now you want the divots - but those things are really handy, so if you ever don't ... now you know.
 
thks guys what that spot welder really needs is to be hung from a gantry crane on a bungi cord to take some of the weight off of it

just call me popeye that spot welder is heavy as crap, you have to hold in place, clamp down on the lever, and then use a pinky finger to push the toggle switch.....

heres the inner sill of the drivers side painted with gloss rustoleum, and it gets painted with weld through primer on the bare steel

IMG04174-20140601-1124_zps15b36199.jpg

the rocker panel,

IMG04175-20140601-1147_zpsab8a2443.jpg

100 plus spot welds later, I used a fan today blowing on the area I was working on to keep the fumes away from me

IMG04177-20140601-1354_zps123c1c15.jpg

all spot welds sanded and primed, there really wasn't much to sand down

IMG04183-20140601-1413_zpsf32624c9.jpg

IMG04182-20140601-1413_zps2265af2a.jpg

IMG04184-20140601-1413_zps2c92f7e5.jpg
 
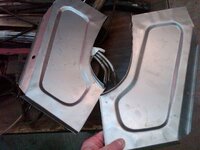
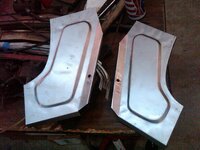
i don't always drink beer but when I do......my version...I don't always buy sheet metal parts but when I do I buy good ones...from Michael Beakhouse, sports car metal works, duttons farm. bangor rd south, iver bucks, slo oay ,U.K.

http://www.sportscarmetalworks.com/


IMG04189-20140605-2106_zpsb3bd1b6b.jpg
IMG04188-20140605-2106_zps8ffed591.jpg

IMG04190-20140605-2108_zps1db341a2.jpg

IMG04191-20140605-2108_zps05f39207.jpg

cleaned off with a degreaser and primed

IMG04192-20140605-2128_zps025a2d67.jpg
 
Last edited:
so every night even if tts just 15 mins.....keep moving the ball downfield.....

IMG04194-20140606-1755_zps1e57bd1e.jpg

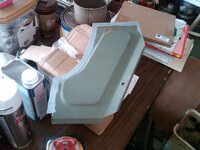
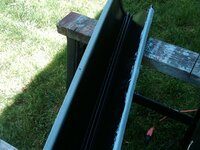
my repair piece did not have the very top piece that the battery cover slips in so I will use the original one and cut it so this can slip in its place

IMG04195-20140606-1807_zps762818b9.jpg

tomorrow I will figure out how to make it fit into place
IMG04196-20140606-1811_zpsc72cfb2a.jpg
 
they were too far gone and I couldn't make them look presentable

IMG04228-20140608-1402_zps02ed0050.jpg


IMG04227-20140608-1401_zpsbeab2005.jpg


finished the other side and scraped and wire brushed and painted bottom area by pumpkin.


IMG04205-20140608-1030_zps48dcaf7d.jpg

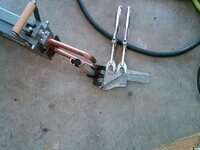
test fit
IMG04203-20140608-1029_zps8d33cc33.jpg

welded in
IMG04208-20140608-1054_zpse76335f1.jpg

IMG04226-20140608-1401_zps4d4687dd.jpg

now some scraping and wire brushing and painting

IMG04211-20140608-1212_zps2aada10f.jpg

IMG04213-20140608-1240_zpsa42b3d85.jpg
IMG04214-20140608-1240_zps13a85685.jpg
IMG04223-20140608-1308_zpsa4edf41c.jpg
IMG04222-20140608-1308_zps191dab68.jpg

IMG04224-20140608-1309_zpscc2ba993.jpg
 
Last edited:
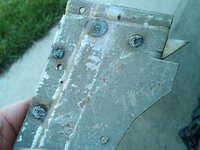
I guess it's a bit late now to ask, but are you using a rust converter before paint on the areas you are not replacing?
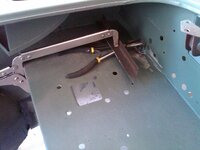

yes my neighbor is a high end body man and he had me sand the top side of the car down to bare metal hit with rust converter and then sand that down again, then I used a self etching primer. on the bottom side anything that has any rust is getting the rust converter on it and then sanded, if I can get at it. if not it gets primed on top of the converter. mostly the bottom side I can get at with a wire brush either a cupped one or a horizontal flat one mounted on a grinder, or a wire brush. I can tell you from sanding off the primer for some of the welding I have done that stuff is attached firmly....it even surprised me.
 
Last edited:
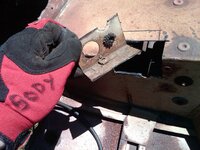
more grinding today and using seam sealer, also welded a cage nut into the engine heater shelf


IMG04249-20140614-1204_zpsbd63b6b5.jpg


IMG04251-20140614-1301_zpsdf732f07.jpg

IMG04254-20140614-1306_zps9bd7feaa.jpg

the cage nut episode

IMG04255-20140614-1400_zps2d2a5084.jpg

IMG04256-20140614-1416_zps8ebf3b26.jpg

IMG04257-20140614-1418_zps5e6314d4.jpg

two holes drilled up through the bottom for plug welding in place

IMG04258-20140614-1455_zps1604f052.jpg

IMG04259-20140614-1455_zps82a0e727.jpg

IMG04260-20140614-1552_zps3e8584e7.jpg
 
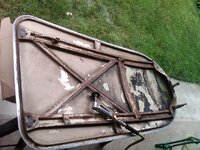
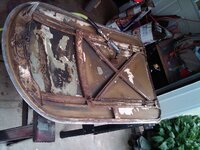
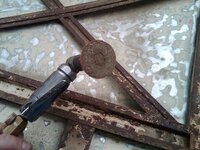
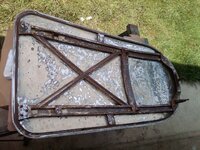
I had a quick moment to work on the underside of the bonnet.....I hit it again with an abrasive disk, brake clean and then two different applications of mineral spirits with a scotchbrite pad and then followed by a degreaser. kind of thankless work but it really does cut the grease and grime. I also removed the locking plunger and it is sitting in paint remover.

IMG04265-20140629-1327_zpsd73260a9.jpg

IMG04266-20140629-1327_zpsac151c42.jpg

and my favorite self etching primer

IMG04268-20140629-1335_zpseb14bd02.jpg
 
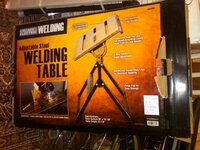
my fathers day present finally arrived. its a welding table from Harbor Freight.. I had the opportunity to man handle one of these at the store and I was impressed with its strength and asked the kids for this as a fathers day gift. the kids are starting familys, having kids, in college or in high school so this was easy on there budgets and I don't really need much. heres a product review of the table. item #61369

I am as impressed with this now as I was when I saw it in the store. I think with coupons it was about $70 shipped to the house. this is a medium duty table specs say top dimensions approx. are 30x20 and 33" high with a max capacity of 350lbs.....350 may be bit much but certainly 250+ is reasonable. the metal in the table is substantial and this is not a joke table.

IMG04290-20140807-2017_zps3e04506f.jpg

packaged nicely and no damage

IMG04292-20140807-2018_zpse7813b79.jpg


IMG04291-20140807-2018_zps8e532798.jpg


IMG04293-20140807-2103_zps32d375a8.jpg

IMG04294-20140807-2135_zps983ac0d1.jpg


IMG04295-20140807-2153_zps5c46e7ce.jpg


soon I can get back to my project...
 
I've thought about buying one of those. My scrap-box welding table is nice, but the tilting top would be a great feature to have.
 
I've thought about buying one of those. My scrap-box welding table is nice, but the tilting top would be a great feature to have.

i have a heavy duty welding table that my vise is on and the hydraulic press but it stays tucked in the corner more as bench then any thing else.....so I either do the welding on the floor or on a ply wood top on my work mate. if you can pick one of these up with coupons and on sale I say go for it. I am very pleased with the quality and the gauge of metal. I think they got their version of this one right. and since it was backordered for several months I am guessing others think so also.
 
Not all of that Harbor Freight stuff is junk !!! I just bought a HF gas engine auger with a 6" auger attachment, less than $200..... Used it a lot .... Drilled holes for fence posts, drilled holes to pull out small palm trees etc.... Worth every penny even if it died tomorrow I'd say it was well worth it....
 
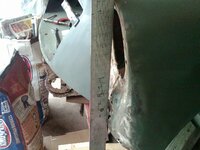
well tonight was a planning night......and no running away is not a plan. this is really the last big repair area left. so tonight I did a lot of staring and contemplating but not much else. I think I will tackle the drivers side first. right now the fender is attached with a few fender bolts I think I will fasten it down pretty well with some additional bolts and see how it lines up. I have measured the front shroud area and the front nose is symmetrical on both sides. I don't see any real fender damage on the driveers side from an accident, only some areas that have been rusted out. this will take a while to get this right and I have a lot on my plate right now and not much extra time. so this will take me a while to finish.....just one nibble at a time.


IMG04304-20140820-1831_zps09cf5439.jpg

IMG04306-20140820-1831_zpsf3a1308d.jpg

IMG04309-20140820-1832_zpsb1cf3768.jpg
 
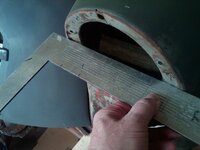
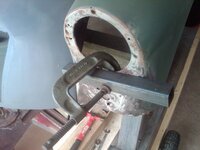
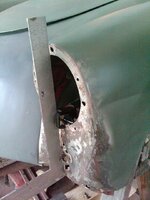
any way looking more at my front drivers side fender and I think I am seeing distortion from a previous bump of some sort. can anyone who as a straight fender without the head light bucket in place take some photos with a straight edge so I can see what I have to make mine look like. better yet any one here in NOVA have a front fender I can borrow for observation....I wont do any thing to it I just will use it as a guide. thks bob

.
IMG04317-20140822-1432_zps9b4509fc.jpg

on the seam
IMG04316-20140822-1432_zps951025cc.jpg


IMG04312-20140822-1430_zps1c17f8bb.jpg

IMG04315-20140822-1431_zps26b76c01.jpg

IMG04313-20140822-1431_zpsa4ffc96c.jpg

IMG04311-20140822-1429_zps63bd447f.jpg

IMG04310-20140822-1429_zpsef425cc5.jpg

IMG04314-20140822-1431_zpsf7538080.jpg
 
I worked a little bit today

lets pull it little bit

IMG04318-20140824-1516_zpsf0064e10.jpg

and then nothing beats a hammer and dolly....I am getting closer

32b3951c-d0d8-48e9-9f5e-451b483ff4c2_zps55bf156b.jpg


00e3d5f5-3412-444a-a27e-bd9630e3131a_zps57180f91.jpg
 
Back
Top