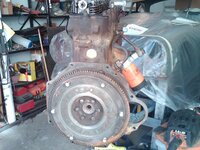
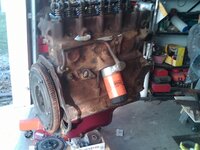
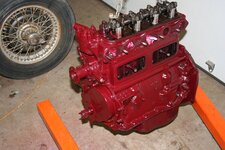
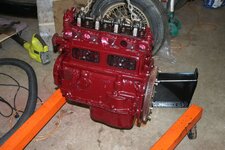
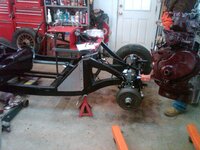
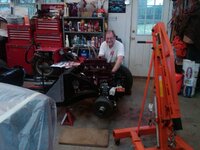
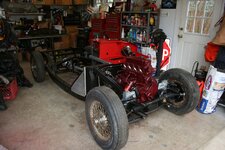
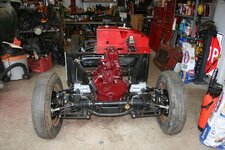
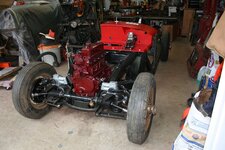
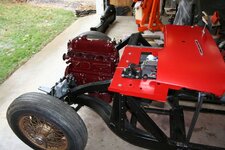
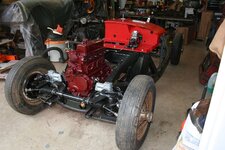
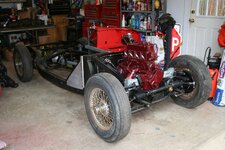
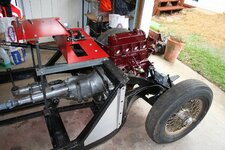
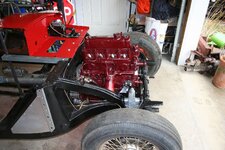
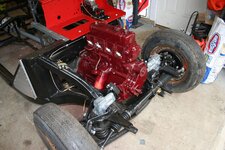
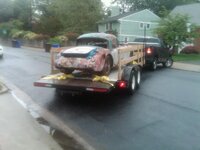
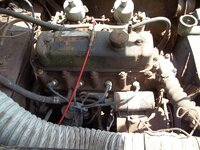
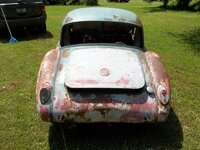
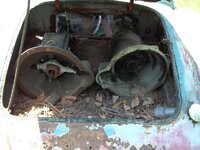
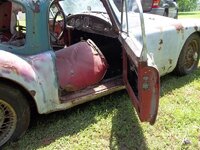
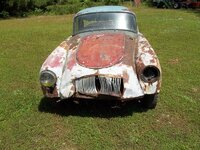
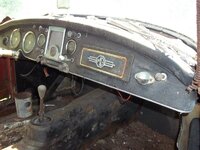
1958 MGA Coupe

VetteMod - Corvette Restoration, Modding & Performance Forum

Help Support VetteMod Forum:

when i get a chance i will link up a guys thread where he slightly modified the drive line.....this is pretty sweet

http://www.mgexp.com/phorum/read.php?2,2542209


well I didnt have any problem just work.....
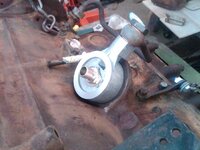
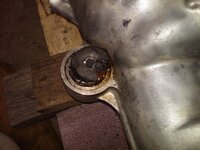
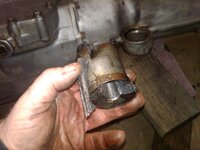
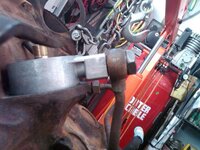
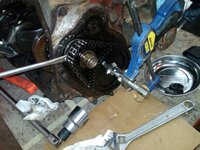
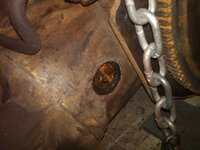
hard to see but i cut and sectioned the inner sleeve with a body saw and collapsed the mount in on itself

IMG03156-20131224-1055_zps913d5c76.jpg

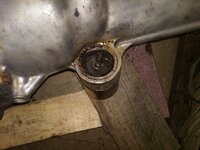
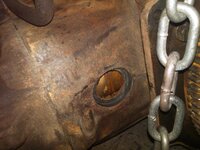
mated the trans bracket to a socket for support and tapped the mount out


IMG03158-20131224-1058_zpsc85e34b8.jpg

i win, remember its just metal

IMG03160-20131224-1059_zpseeef8d85.jpg

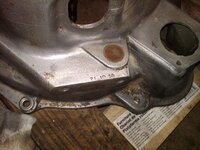
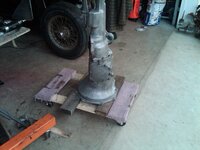
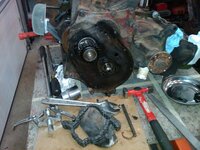
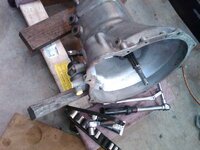
seems like a newer trans then should be there

IMG03161-20131224-1120_zps9501a2fe.jpg

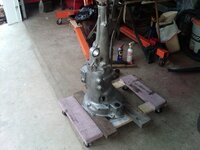
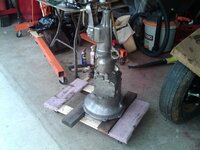
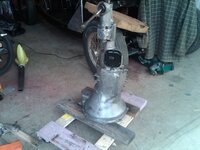
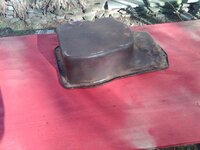
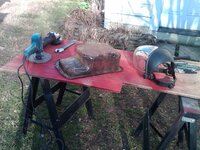
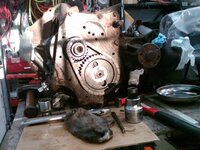
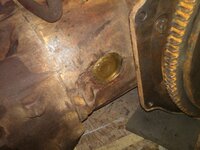
cleaned

IMG03164-20131224-1142_zps3f9566fd.jpg
IMG03163-20131224-1142_zpsdad5610a.jpg

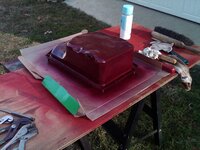
clear coated

IMG03165-20131224-1147_zpsac44f1b1.jpg

IMG03166-20131224-1147_zps73c5c6cf.jpg
 
Last edited:
nice, I had images of pounding that out with a BFH and having to reweld the tab back on (not that I'd ever do anything like that :bounce:)
 
Merry Christmas what a great day today for the family..
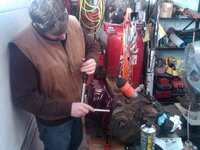

when the boss curled up for a little snooze i beelined out to the garage for some clean work.
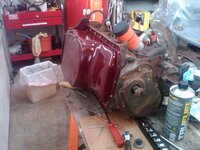
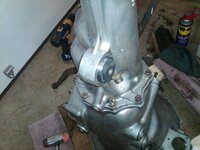
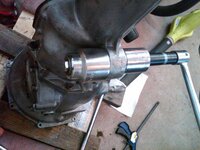
started by carefully examining the trans mount bushing to make sure there were not any nicks in the casing shell and there was so i took a file to those and then polished it with 600 grit paper and oil to make sure i had a really nice smooth surface, then cleaned it really well and set it out side on a block of ice with the "press socket"

came inside and "brake honed" the trans mount and made sure there were no nicks inthe outer most part of the mount and deburred it with a fine file on both sides and cleaned it with brake clean and then oiled it up. i prestaged all the tools i would need and i put on gloves so i didnt transfer any body heat

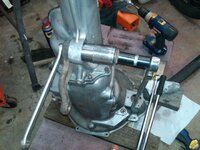
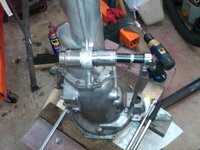
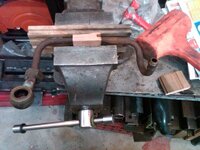
i found the pitman arm off of a corvette worked pretty well to start the process

IMG03171-20131225-1535_zps9d44f14b.jpg

it was a pretty good upper body work out even with the 2' long breaker bar, i had one foot on the trans base or i was just picking up the trans when i tightened the bolt

IMG03172-20131225-1541_zpsee88ed64.jpg

done

IMG03175-20131225-1554_zps13e33236.jpg

IMG03174-20131225-1547_zps1cc6864f.jpg

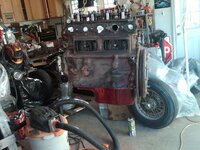
and Santa was very good to me all the parts i ordered on Monday to wrap the engine/trans install up were deliverd yesterday afternoon, I dont often set timeframes but the goal is have the engine in the car by sundown Sunday.
 
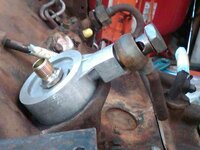
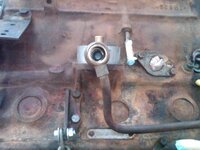
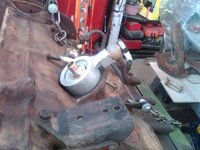
dry fitting of the oil filter head to bend the tubing to fit

IMG03176-20131226-1103_zps82fb8c8d.jpg

off alittle bit

IMG03177-20131226-1103_zps22ae372d.jpg

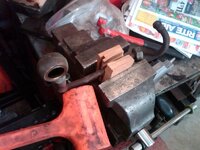
just a vise and dead blow hammer

IMG03178-20131226-1108_zps9bdfa3d7.jpg

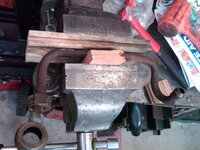
give it a little bend

IMG03179-20131226-1117_zpse181e8e3.jpg
IMG03180-20131226-1117_zps9ba126d0.jpg

done
IMG03182-20131226-1141_zps4779bd52.jpg

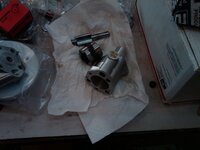
checked specs and washed with soapy water and a bottle brush , lubed up with engine build grease

IMG03183-20131226-1242_zpse7f2881f.jpg

IMG03184-20131226-1353_zpscaf52b19.jpg

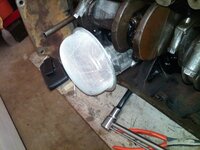
hammered down the bottom with a piece of wood and dead blow hammer on the floor
IMG03186-20131226-1406_zps368b4ea7.jpg

sanded and cleaned

IMG03188-20131226-1430_zpsea1b7dc9.jpg

IMG03189-20131226-1503_zpsfe5c20f7.jpg

not sure how other do this but this is what i conjured up

IMG03190-20131226-1539_zpsc72ec0a5.jpg
IMG03191-20131226-1604_zps20b5f586.jpg

divine inspiration the sun shone in i did put the new tenisoner in also must have missed the photo

IMG03192-20131226-1620_zpsb603a621.jpg

this really screwed with me for a moment trying to use the new one but the woodruff key wasnt long enough


IMG03194-20131226-1629_zps0d6deb0f.jpg

didnt finish it all though before the boss came looking for me.

IMG03195-20131226-1639_zpsc3645511.jpg

IMG03196-20131226-1639_zps4ecc28a6.jpg

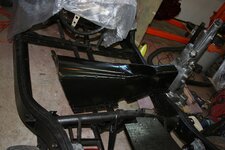
ready for the inner trans tunnel to get painted and an engine install
IMG03197-20131226-1641_zps8f16aa80.jpg
 
Last edited:
As always, this is some awesome work !!! I really can't wait to see this car on the road (well, photos or video) .... Lol...... You're making so much progress I wonder if you have the plates and drive it before I get this VW done.....
 
As an Amazon Associate we earn from qualifying purchases. Product prices and availability are accurate as of the date/time indicated and are subject to change.
it was a good day today


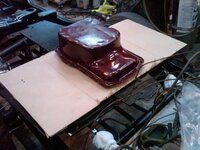
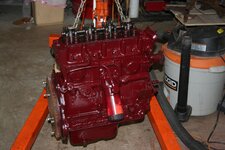
i decided to paint the oil filter head to engine color

it lines up nicely and has two new crush washers

IMG03201-20131227-1026_zps065a7182.jpg

tabs folded over

IMG03203-20131227-1044_zps7c5cd79d.jpg

torqueing oil pan bolts.....72inch lbs not much

IMG03204-20131227-1200_zps2d83418b.jpg

IMG03206-20131227-1209_zps6e8cae35.jpg

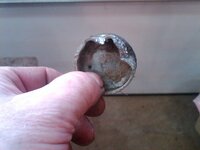
collapsed the wrong core plug in on itself

IMG03207-20131227-1224_zpsbfbf9d36.jpg

not too much gunk

IMG03208-20131227-1224_zps62f76781.jpg

cleaned up

IMG03209-20131227-1228_zps9cc273ea.jpg

done

IMG03212-20131227-1310_zps66fb4d23.jpg

cleaning one more time

IMG03213-20131227-1425_zps9aa8d8ca.jpg

IMG03214-20131227-1425_zpsbf40746c.jpg

IMG03215-20131227-1425_zps048abb89.jpg

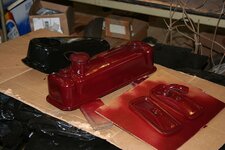
paint time

IMG_7817_zpsa6abfc3b.jpg

IMG_7816_zps233d9b35.jpg

IMG_7812_zpsce570214.jpg


inside and outside painted

IMG_7814_zps51d0b3f6.jpg

IMG_7813_zpsed058e41.jpg

garage turned up to about 75* for drying purposes.
 
thks tying up loose ends

IMG03227-20131228-0928_zps9c3254ab.jpg

easy way to help seat the bolts

IMG03228-20131228-0931_zpsbbbf16ee.jpg

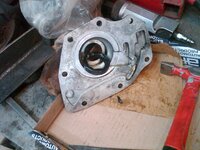
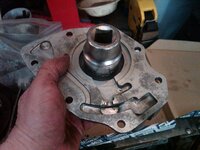
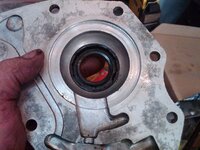
replaced front trans cover seal

IMG03229-20131228-1014_zpsb5108cc4.jpg

pressing in new seal

IMG03230-20131228-1026_zpsa7815605.jpg

IMG03231-20131228-1026_zpse24b0d0e.jpg

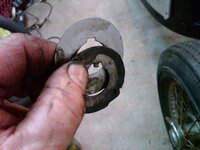
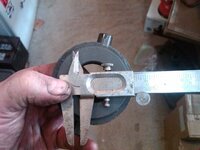
new one measeured 3/16

IMG03234-20131228-1056_zps88219e6a.jpg

IMG03236-20131228-1058_zpsc26d97da.jpg

IMG03237-20131228-1105_zps69821ac4.jpg
IMG03238-20131228-1110_zpsf7c33422.jpg


IMG03239-20131228-1122_zps07350257.jpg
 
everything went very well today

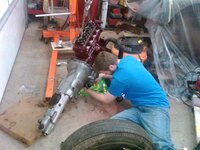
tightening trans to engine

IMG03241-20131229-1036_zps1acaba77.jpg

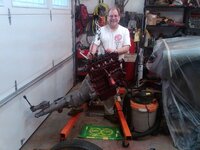
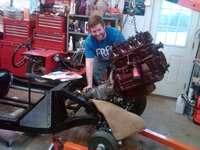
the kids even pulled out my MG shirt from 22 yrs ago...

IMG03244-20131229-1045_zpsa7ba9f76.jpg

torqueing bolts

IMG03245-20131229-1048_zpsd94db5e0.jpg

IMG03247-20131229-1101_zps724fe086.jpg

IMG03249-20131229-1110_zps3ab60344.jpg

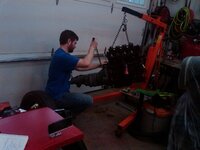
one trans bolt and 10 motor mount bolts

IMG03252-20131229-1144_zps49695b56.jpg

IMG_7822_zpsea85c97b.jpg

still need to get the right seal for the timing chain cover or get a new cover to match the seal i got


IMG_7823_zps78be376f.jpg

IMG_7824_zps5023e2a1.jpg

IMG_7826_zps3dd250b6.jpg

IMG_7828_zps80c83f6c.jpg
IMG_7831_zpsdbc41d98.jpg

IMG_7833_zpsfe06cd21.jpg

IMG_7836_zps913a4b26.jpg

IMG_7837_zps5832e541.jpg
IMG_7843_zps66d0576e.jpg
IMG_7844_zps4728bffb.jpg


IMG03255-20131229-1301_zps989e41db.jpg
 
Last edited:
Great job Bob, this is going to be an awsome car.

About the 22 year old T-shirt...
Youre lucky, lol if I find a T-shirt that I wore 22 years ago.... it wouldnt fit LOL

Great job and I'm following this with lots of interest sir.
Happy new year
 
Lots of photos, awesome progress.....from your son wrestling with it to you wearing your 22year old shirt !!! This is a very memorable project to say the least !!!
 
thks guys, i didnt even know that shirt was still around apparently the kids found it and thought it was cool and they had it in their closet.

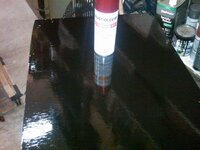
nothing fancy on the floor boards just black gloss rustoleum, i think this is coat 4 and is probably the last. and you definitely have to turn the heat up to help this dry or it stays sticky for a long time. tomorrow night the other side gets done.

IMG03257-20131230-2109_zpsfc58e3e0.jpg

IMG03258-20131230-2109_zps7c61938c.jpg
 
a couple more nibbles tonight, checked the trans mount bolt and it is correct.

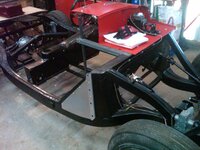
2nd coat on the inside of the trans tunnels

IMG03260-20140101-2004_zps40f012da.jpg

this is an easy way to line up the drill for drilling a hole through a repair panel

IMG03261-20140101-2110_zpsb55be448.jpg

getting ready to install E brake handle

IMG03262-20140101-2217_zps3685ca12.jpg

maybe later if I have some extra cash I will get this rechromed unitl then it gets a painted stainless steel finish. i will admit they do look so good newly chromed

IMG03263-20140101-2218_zpsef2cae3f.jpg
 
installed the E brake handle tonight and the inner brackets of the trans tunnel and that was a PITA......if i had to do it again I think I would contemplate to do it on a bench and then slip the drive shaft in above the inner brackets. and I used a clamp to push the lever on to the serrated spindle of the handle. the reason I did it on the car was I wanted to make sure I got the lever pressed on in the correct orientation.

IMG03265-20140102-2158_zps853d740c.jpg


also added the trans oil i used castrol GTX 20-50 and 5.4 pints puts the oil fill line on the trans dip stick in exactly the middle of the low/high hash marks
 
What on Earth happened to your driveshaft?

i have no idea....i suppose i should get it rebalanced. thats the extent of the mutilation though. must have been used as fulcrum point for a lever, or perhaps they put in a vise to change the u joints. its a tube shaft for 87 hp so its not that beefy compared to our vette ones
 
Holy Crap Bob! You never stop!

Good luck to you and the boys it looks like quite the project you have ahead of you.

I can't wait to see the progress pics! :bounce::amazed:

Les
 
Oh wait! Duh!

I didn't notice that this thread was 47 pages long and there are already a ton of pics.

Okay no one bother me, I have 46 more pages to read through. :rofl:
 
Oh wait! Duh!

I didn't notice that this thread was 47 pages long and there are already a ton of pics.

Okay no one bother me, I have 46 more pages to read through. :rofl:
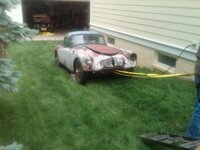
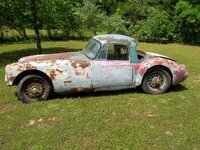
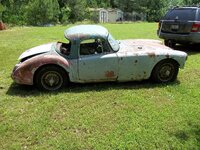
The most amazing part are the very first pages, when you see the kind of sad rust bucket Bob started with.
As I already said before this thread is shattering my conception of "beyond repair"
 
ok I have slipped off the path again.....you know those wooden Chriscraft boats with the beautiful panels.....well i have decided to paint the floor boards to a high gloss finish just for ***** and grins....I will be looking at it for a while as I wrangle the body some more so it will be some inspiration. this will get wet sanded for the first time and painted again etc etc etc...

IMG03275-20140103-2032_zpsff552b5f.jpg

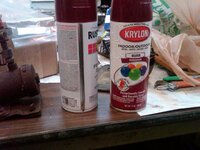
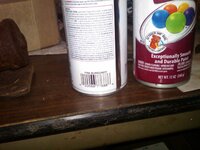
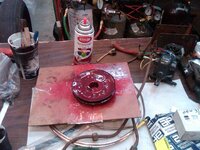
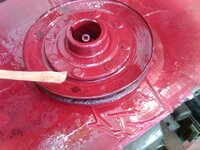
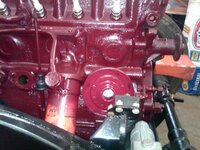
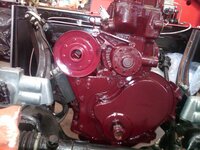
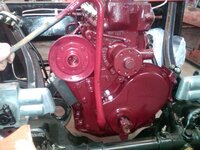
I forgot to paint my down draft tube and crank pulley and found these alternatives at Home Depot (HD) and walmart

IMG03276-20140103-2034_zps0243ee0c.jpg

IMG03278-20140103-2035_zps53560014.jpg

so we remember which each got painted with to compare to the Moss paint


IMG03283-20140103-2120_zpscd3b1742.jpg

first blush it looks close

IMG03285-20140103-2124_zps37ce85a3.jpg


IMG03287-20140103-2148_zps65ef9ade.jpg


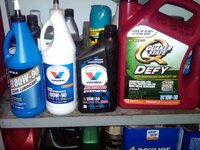
added my first sacrifical fluids....the quaker state defy and next to it is the Valvoline VR1 racing oil which I will use for real driving and then the sacrificial walmart rear end gear oil and next to it the valvoline I will use for real driving. when I change this oil it will be the second oil flush since I got the engine running.


IMG03280-20140103-2038_zpsb9883c5f.jpg

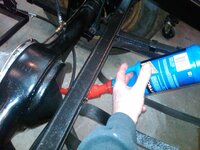
easy to fill when theres no gas tank. it was totally empty but only took 40 oz, I was expecting it to take 52 ozs, maybe it needs to be driven and have the oil pushed out to the ends

IMG03281-20140103-2051_zps0c57e2a1.jpg
 
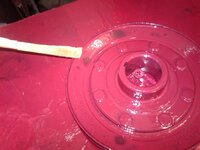
ok lets veto the idea of the Krylon paint it seperated regardless of how i pre treated it. i even sanded it after painting and totally cleaned it. so i totally cleaned it off and painted it with the rustoleum. heres what it looked like.

heres the problem

IMG03294-20140104-1051_zpsf9ca5426.jpg
IMG03295-20140104-1051_zps36087fc5.jpg

it may have darkend up with more coats of the krylon

IMG03299-20140104-1126_zps64323a5a.jpg

IMG03300-20140104-1127_zpsfbe09646.jpg

heres the two compared to each other.

IMG03301-20140104-1128_zps707920b8.jpg

once the vent tube drys all the way i will get out the good camera.

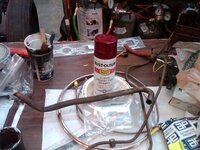
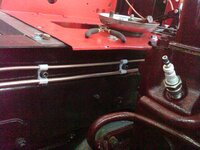
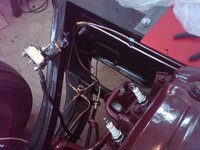
bent the clutch line and used socket head cap screws, they make some nice stainless steel P clips in the hot rod world that i may use

IMG03303-20140104-1136_zps832ee999.jpg

IMG03308-20140104-1318_zpsd2cd5b8e.jpg

IMG03310-20140104-1318_zps636a4e66.jpg

IMG03311-20140104-1324_zps979403fb.jpg

IMG03312-20140104-1325_zps9e88df7d.jpg


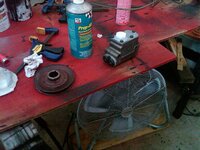
cleaned off the crank pulley again and the M/C so i can clear coat it.

IMG03305-20140104-1147_zpse74e182b.jpg

IMG03307-20140104-1250_zps3c01bbc7.jpg


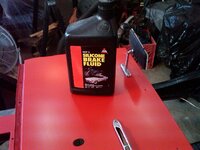
going to use the silicone brake fluid but will let the M/C dry for a day before I reassemble everyting


IMG03306-20140104-1250_zpsc7c38f6d.jpg

one more coat

IMG03313-20140104-1348_zps88e250f0.jpg

and every time i walk by this i spray it with PB blaster

IMG03314-20140104-1349_zps2627e2e5.jpg
 
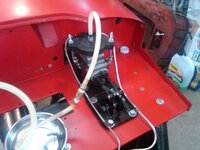
finished the plumbing today on the clutch slave

IMG03317-20140105-1008_zpsf7a2712a.jpg

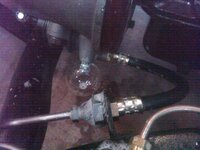
put the MC back in and plumbed the banjo on the bench, use new crush washers you only want to do this once

IMG03318-20140105-1012_zps680f91a4.jpg

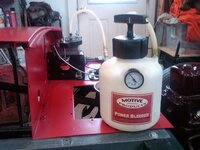
used the power bleeder and pump it up to 10psi with no fluid to look/listen for leaks

IMG03321-20140105-1206_zpse559d5a9.jpg

IMG03320-20140105-1153_zps72638156.jpg

IMG03319-20140105-1153_zps2999f56a.jpg

IMG03322-20140105-1206_zps939eb0e0.jpg

after tightening the bleeder we were good to go and bled the system with no problem>
 
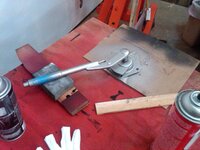
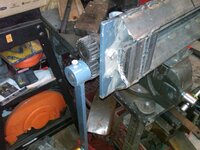
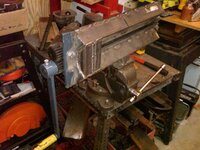
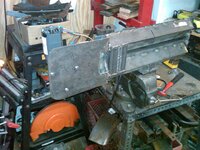
a little diversion.....i have some sheet metal parts to make for the MGA coupe and since little joe went back to college i need another set of hands....or a motor

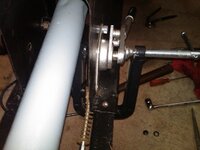
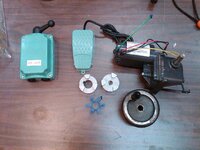
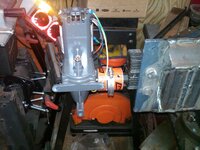
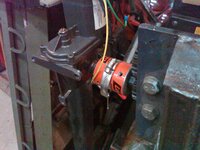
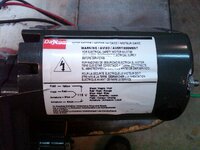
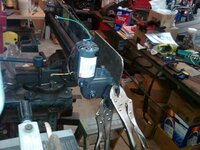
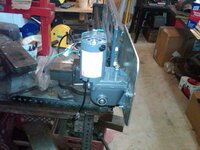
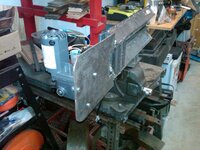
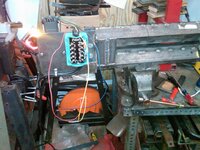
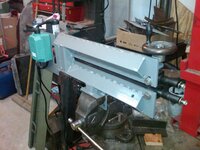
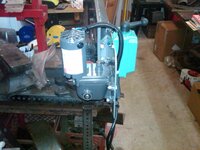
heres the install materials: mometary foot switch, dayton gear motor which spins at 2.8 RPM, reversible drum switch, and a vintage crank for creating tension, jaw coupling from McMaster Carr
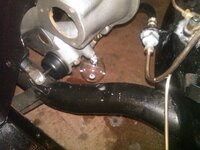
IMG03326-20140110-1621_zpsce90b2ee.jpg

the old business end a 25mm shaft on the crank

IMG03327-20140110-1621_zps29f85f3d.jpg

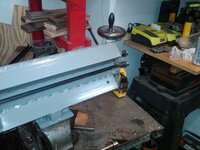
an already beefed up HF bead roller which doesnt deflect

IMG03328-20140110-1621_zps614dad84.jpg

the mock up using a hose clamp to keep everything together and lined up

IMG03329-20140110-1637_zps033dac28.jpg

IMG03330-20140110-1637_zpsb9728899.jpg


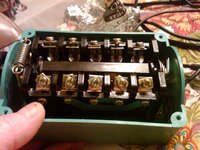
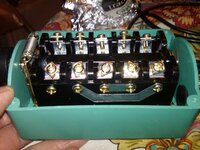
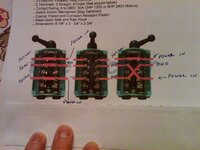
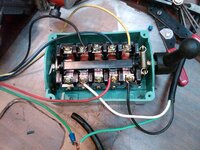
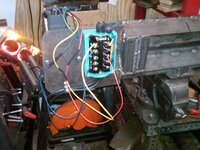
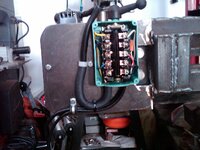
wiring

IMG03332-20140110-1740_zps936087bd.jpg
IMG03334-20140110-1909_zps215c2d61.jpg
IMG03335-20140110-1909_zps62098115.jpg
IMG03336-20140110-2146_zps1772d49e.jpg

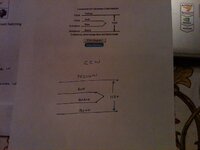
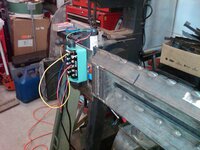
"power in" is the power cord white and black

IMG03337-20140110-2146_zps5ee78924.jpg
IMG03338-20140111-0940_zps05c62c1b.jpg

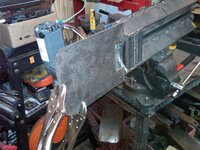
mocking it up to weld

IMG03339-20140111-1026_zpse526909b.jpg

cut out of 1/8" sheet steel

IMG03340-20140111-1026_zpsa020cdb7.jpg
IMG03341-20140111-1125_zpsd2e22981.jpg

the offset was just where ever it landed but it is parallel to the bead roller

IMG03342-20140111-1126_zpscdca5688.jpg

IMG03343-20140111-1126_zps491e8aac.jpg

drum switch mounted
IMG03344-20140111-2101_zps0cd9976f.jpg

test run to make sure everything works right
IMG03345-20140111-2120_zpsff008809.jpg

IMG03346-20140111-2120_zpsb45fab0b.jpg

it works perfectly tomorrow it gets disassembled and painted then the final wiring, and the tension wheel crank gets added
 
Last edited:
Hey, if you need some spry can paint to match your engine, they offer that matching spray can for like $20 or less.... Don't bother with that Krylon stuff....
Your oil filter seems to have enough paint on there for a paint color match :D

Electrical work gives me the chills..... Looks good what you're doing there :D
 
this is probably the least dangerous machine compared to a band saw or table saw....lets not even talk about fan blades and fan belts and pulleys


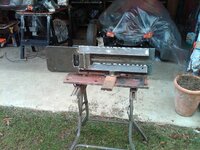
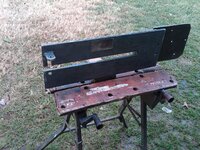
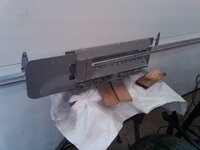
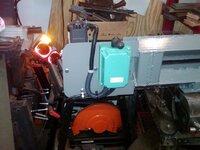
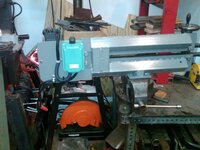
finished up the mock up and painted it.

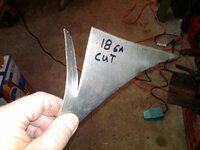
cuts 18 really easily

IMG03347-20140112-1042_zps2239b901.jpg

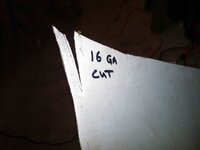
16 ga was a little more labored but it still did it but was not an issue

IMG03349-20140112-1046_zpsec6ce507.jpg

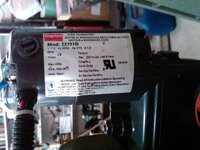
heres the motor information

IMG03348-20140112-1042_zpscd95dddf.jpg

final wiring

IMG03350-20140112-1115_zps8d55525c.jpg

IMG03351-20140112-1212_zps704b6720.jpg

IMG03352-20140112-1212_zps42fa76ff.jpg

final reassembly tonight

IMG03355-20140112-1224_zpsc389044e.jpg
 
Last edited:
Back
Top