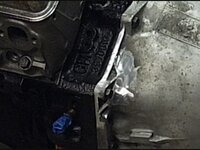
1958 MGA Coupe

VetteMod - Corvette Restoration, Modding & Performance Forum

Help Support VetteMod Forum:

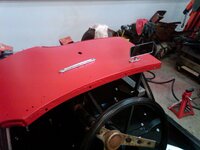
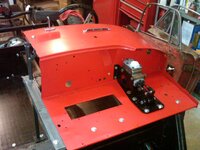
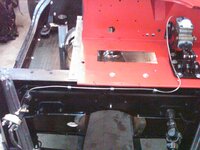
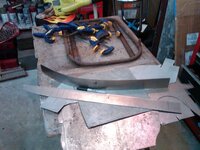
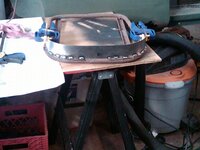
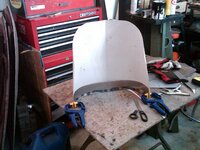
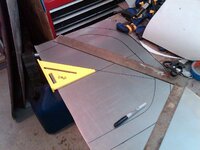
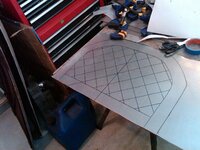
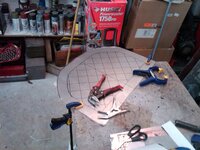
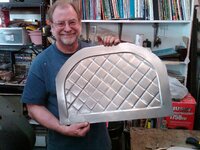
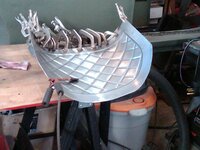
I trully do like the fabrication aspects of the restoration, making that temp scuttle was a lot of fun for me.

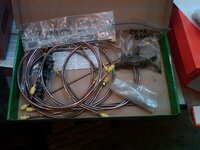
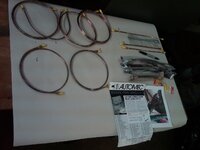
I got some electrical goodies today so spent some time looking and figuring..

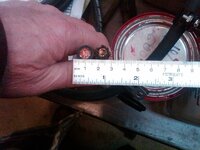
real battery cable #1 welding wire
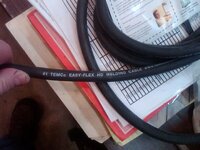
IMG02920-20131209-1948_zps888d9e44.jpg

old vs new

IMG02924-20131209-2000_zps3035ae98.jpg

any body know if the rear wire harness is bigger then a rectangular 1/4 x 1/2" opening...if so i will be making some new double P clips
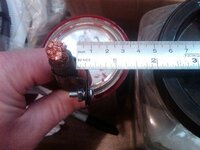
IMG02921-20131209-1953_zps79000cbb.jpg


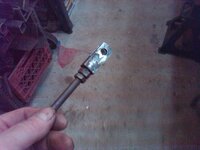
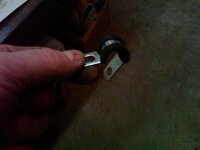
this is a sweet fit 1/2" insulated single p clip. i will use this at the end where the battery cable has a p clip on one of the floor board screws
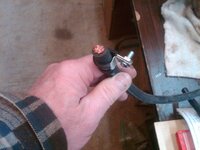
IMG02918-20131209-1945_zps7650ba73.jpg

so lets play around with terminating the ends on the old scrap cable becasue of the gauge difference the scrap piece had the insulation still on it. it would have shrink wrap on it for the final version
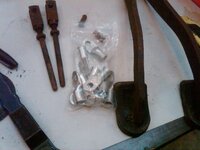
IMG02932-20131209-2012_zpsff5c4f97.jpg

i havent done this in a while and with most things its takes a couple of practice trys to remember how to do it.
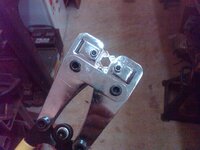
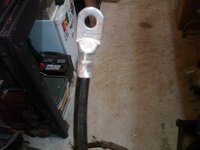
IMG02931-20131209-2008_zpsb07dc718.jpg

IMG02925-20131209-2006_zpsa550380c.jpg

i tried pulling this apart by clamping it in the vise and i could not pull it apart
 
I hate to mention this, but you bought a faulty ruler. Only the bottom 1/2 is useful :stirpot:

I say this because last night I was working on my CR500af and the instructions - from an American company - said to cut 20 mm off the exhaust pipe. 20mm?!!! ummm, now where did I put that tape measure with the funny markings? In the end, I guessed that it meant 3/4" and it all seemed to work out okay :2nd::suicide:
 
I hate to mention this, but you bought a faulty ruler. Only the bottom 1/2 is useful :stirpot:

I say this because last night I was working on my CR500af and the instructions - from an American company - said to cut 20 mm off the exhaust pipe. 20mm?!!! ummm, now where did I put that tape measure with the funny markings? In the end, I guessed that it meant 3/4" and it all seemed to work out okay :2nd::suicide:

obligatory:
[ame]http://www.youtube.com/watch?v=r7x-RGfd0Yk[/ame]
 
for lay out work it easier to use the metric system its easier to divide in base 10, it just is. that video says it all


snow day today so that means garage time .....

where we left off

IMG02886-20131208-1640_zps9f9554c0.jpg

easy way to clean things up

IMG02935-20131210-1031_zps3708d4e0.jpg

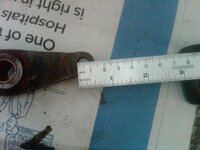
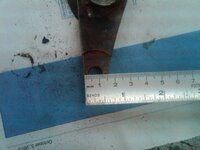
lets get some reference measurements from the thbest one

IMG02936-20131210-1058_zps05cf382e.jpg

IMG02939-20131210-1059_zpsdf2d7c6d.jpg

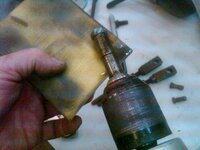
clean up the inside to shiney steel

IMG02940-20131210-1059_zps06f6da18.jpg

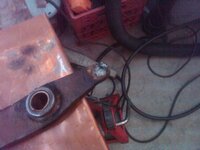
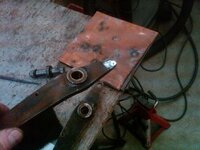
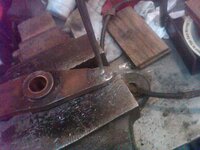
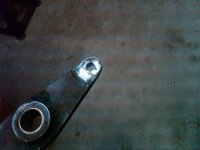
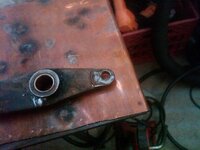
grind the outside an fill up the hole

IMG02942-20131210-1108_zpsff4d7272.jpg

IMG02943-20131210-1113_zpsf646ca48.jpg

get this right

IMG02946-20131210-1123_zpsbcb98c73.jpg

IMG02947-20131210-1212_zpsa48b2626.jpg

and number 2

IMG02949-20131210-1213_zpsd17d2857.jpg

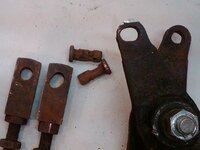
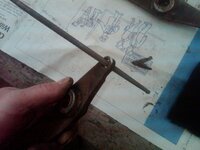
same process again and drilled to 19/64s i will do a final cut when i have the new clevis in my hands

IMG02957-20131210-1315_zpsb5f9bd31.jpg

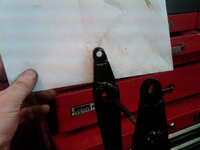
same routine for the pushrods except I welded only on one side of the hole and used a file and then a drill

IMG02959-20131210-1452_zpscb08a9ba.jpg

painted and ready to final drill and install, I suspect the clevis are 5/16 but who know these days with all the different suppliers

IMG02960-20131210-1522_zps2099362e.jpg

IMG02961-20131210-1522_zps25786633.jpg
 
Last edited:
I hate to mention this, but you bought a faulty ruler. Only the bottom 1/2 is useful :stirpot:

I say this because last night I was working on my CR500af and the instructions - from an American company - said to cut 20 mm off the exhaust pipe. 20mm?!!! ummm, now where did I put that tape measure with the funny markings? In the end, I guessed that it meant 3/4" and it all seemed to work out okay :2nd::suicide:

obligatory:
[ame]http://www.youtube.com/watch?v=r7x-RGfd0Yk[/ame]

If you make a system even idiots can use... :devil:
 
Bob - I sure wish I had your welding skills!!! Amazing watching you fabricate as you roll along! Great stuff. I have a real nice SNAP-ON I got in trade but haven't spent the time to get the "feel" for it. Been stick welding for years.

I had a woodworking friend who did everything in millimeters!! Same reason - base 10 was easer to work with - even with wood!
 
Last edited:
As an Amazon Associate we earn from qualifying purchases. Product prices and availability are accurate as of the date/time indicated and are subject to change.
I had a woodworking friend who did everything in millimeters!! Same reason - base 10 was easer to work with - even with wood!


all you have to do is try to lay out ballisters in inches and then you will be converted.............the Mig is so sweet .....we were doing an alternator swap on my daughters Infinity and the sepentine idler pully got pinched by the alternator pivot bolt and before we realized it the tension rod had snapped in half....so i welded it back together...my son inlaw just looked on in amazement. get some gas and fire that MIG up you will love it. the welding aspect is what i missed most on my vettes
 
Bob - I sure wish I had your welding skills!!! Amazing watching you fabricate as you roll along! Great stuff. I have a real nice SNAP-ON I got in trade but haven't spent the time to get the "feel" for it. Been stick welding for years.

I had a woodworking friend who did everything in millimeters!! Same reason - base 10 was easer to work with - even with wood!

I don't do wood - when (not if, when) I cut it too short, I can't just weld a bit on the end
 
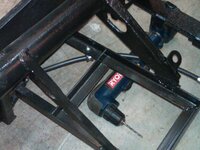
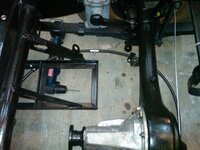
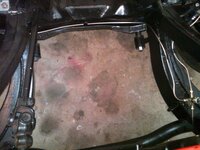
circling back to where the floor board madness started

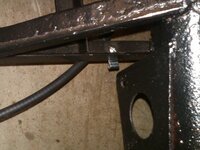
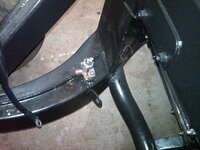
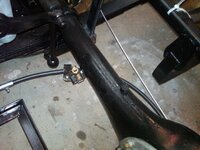
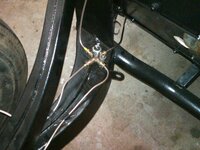
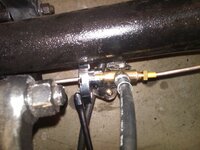
I drilled the hole for the E brake cable and hydraulic line

for the ebrake cable 3/8 P clip

IMG02964-20131211-2153_zps6c60c674.jpg

IMG02969-20131211-2206_zps1ad9dcbd.jpg

IMG02970-20131211-2222_zpsd02862d6.jpg

that gives a really nice arch

IMG02968-20131211-2205_zps8a46c0b1.jpg

every once and a while I do buy clips

IMG02965-20131211-2204_zps0c568788.jpg

mocked up the M/C i guess i will clear coat this since i will be using silicone fluid

IMG02962-20131211-2106_zpseaafe94b.jpg


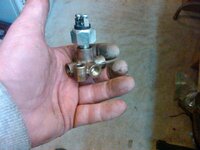
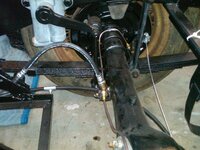
and I treated my self this time and bought the preterminated lines. i am running out of things to do on the frame/chassis i guess this is next

IMG02963-20131211-2127_zps623482b2.jpg
 
bounced around some tonight, started by painting bottom of frame where i had welded in the nuts for the floor, then moved to taking out some of the seat tracks on a set of seat bottoms unitl i couldnt get the screws and bolts seperated so they are soaking, then moved to clean up brake brass...oh and the best part Team Evil donated a mirror and vent for the scuttle!!!! thks
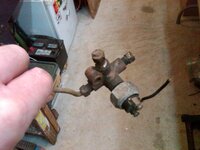
i think tomorrow i lay out some brake lines

IMG02971-20131212-2114_zps113b06e0.jpg


IMG02979-20131212-2321_zps7f32e368.jpg

IMG02974-20131212-2255_zps0849f63a.jpg

IMG02975-20131212-2255_zps602e2cc4.jpg
IMG02972-20131212-2213_zpscfc77975.jpg


IMG02973-20131212-2240_zpsb3c8d50e.jpg

IMG02976-20131212-2311_zpsd9f4369e.jpg

IMG02980-20131212-2323_zps4b3a0c7c.jpg

IMG02981-20131212-2324_zps0b6cabb4.jpg

IMG02982-20131212-2324_zps5ae47162.jpg

IMG02983-20131212-2324_zpsd64b5432.jpg
 
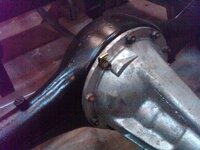
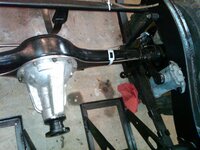
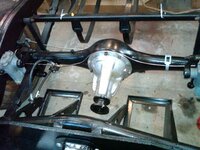
all told 6 hours of work not technically hard but it was a lot of work. i had one piece i could use as a guide. still need to get some p clips and other hard ware. decided to move the P clip of the differential back to the 11:00 position.


IMG03001-20131213-1632_zps85c5d056.jpg

IMG03002-20131213-1710_zpsf25a2664.jpg

IMG03003-20131213-1710_zps04db26e3.jpg

IMG03004-20131213-1711_zpsc837d789.jpg

IMG03006-20131213-1711_zps04e60e43.jpg

IMG03008-20131213-1713_zps1b1b1fd4.jpg

IMG03007-20131213-1711_zpsb7f7fcc3.jpg
 
That last pick has me thinking...hmm I could use that approach - I'm running out of room in the engine area/space - after having moved the engine and tranny 15 inches aft!
I need as much footwell space as I can gain for my size 12's and long legs. That just may do it.
Thanks for sharing.
Cheers - Jim
 
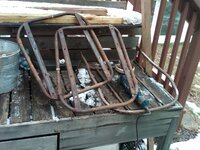
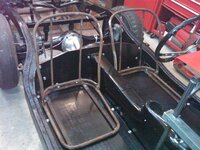
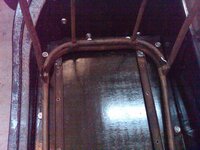
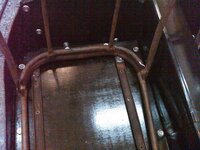
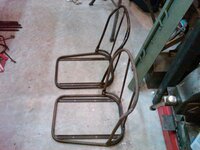
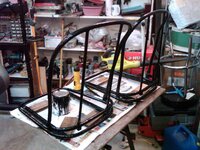
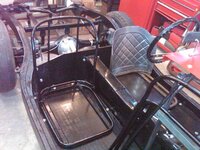
seat time.....worked on the seat bottoms from AN5L564 and mated them to my seat backs

the seats meet the wire brush

IMG03011-20131214-1402_zpsa2e89372.jpg

test fit

IMG03012-20131214-1628_zps7abb6743.jpg

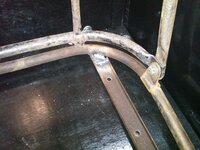
i strengthen the brackets in the ends

IMG03013-20131214-1629_zpsbe9a95dc.jpg

IMG03014-20131214-1629_zps4b0c7ef4.jpg

IMG03015-20131214-1629_zpseb2aa09e.jpg

cleaned and degreased

IMG03020-20131214-1649_zps41a2bede.jpg

painted black and i turned the heat up in the garage

IMG03021-20131214-1722_zpsc3370e5f.jpg
 
so i got up this morning and was drinking some coffee and eating donuts browsing the internet to figure out how to use the one good seat bottom i have left and i found this.....

[ame]http://www.youtube.com/watch?v=slEOKrZnnXI[/ame]

and then this

[ame]http://www.youtube.com/watch?v=859YBxgpgPw[/ame]

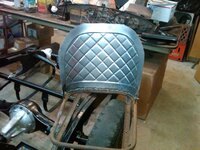
I have never done this before but bought a tipping die last summer, so what the hell..............

IMG03022-20131215-0928_zps64bec9e6.jpg

IMG03023-20131215-0931_zps45730d82.jpg

IMG03025-20131215-1009_zps05ec9d76.jpg

IMG03027-20131215-1052_zpsa3696233.jpg

IMG03029-20131215-1143_zpse8363664.jpg

IMG03030-20131215-1149_zps63a416cd.jpg

IMG03031-20131215-1158_zpsea36a3a7.jpg
IMG03032-20131215-1220_zps5af05176.jpg

IMG03033-20131215-1220_zpsa64754a9.jpg

IMG03036-20131215-1237_zps5c5d9779.jpg

IMG03049-20131215-1244_zpsbfae0e69.jpg

IMG03052-20131215-1257_zpsc2a4f9a9.jpg

IMG03053-20131215-1323_zpsb851736b.jpg


the same lean angle as the stock back

IMG03055-20131215-1531_zps3138d108.jpg

IMG03057-20131215-1559_zps83864b2a.jpg
IMG03056-20131215-1558_zpsd61b9722.jpg

that was fun... and i learned a lot
 
Last edited:
i did see his videos before and i bought the tipping die after watching him make a fender bead roll and in fact was thinking of doing that on the top of the bomber seat if it needed strength but it doesnt.

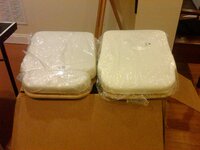
so that seat foam has me thinking ahead for a snowy january or february day.....my project came complete with a complete interior kit from Moss, carpet, leather seat kit and door panels. all of these are now 35 yrs old and have lived in storage for a long time. so i had to buy the seat foam and plywood base. on my last MGA i made these but this time they were purchased, last time I also made my own wiring harness and i had to stand on the dining room table in order to wrap the wire loom around it, i remember it well it was new years eve and the Mrs was snoozing on the couch.

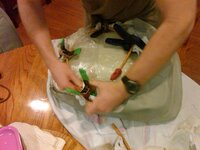
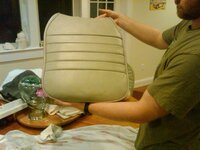
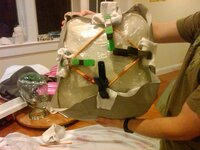
any how here we are tonight to start the stretching process ot get things back to where they were 35 yrs ago....SLOW is a good thing on this project.
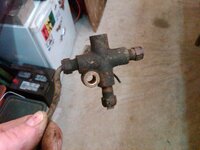
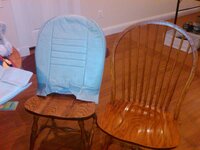
i never really noticed it but two of my old kitchen chairs are larger then the rest so i will start with the smaller ones, i put a trash bag on this and it easily slipped over, almost too easy but SLOW is the operative word here.
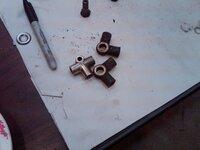
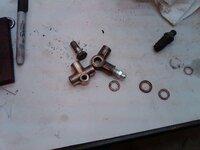
IMG03064-20131216-2030_zps11718b0d.jpg

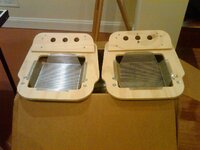
these look so nice, they are off of ebay and i have no issues with the quality what so ever

IMG03065-20131216-2040_zpsd65229d0.jpg


i find it strange that the seat bottoms and foam are handed but the seat coverings are not

IMG03066-20131216-2043_zpsbb6feae1.jpg

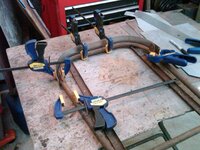
you know how much I love clamps

IMG03067-20131216-2125_zps2c53f649.jpg

not such a bad first fitting

IMG03068-20131216-2126_zps5f54a1d0.jpg

IMG03069-20131216-2126_zps7afb52b3.jpg

no rush on these just to start to get them use to the new shape.
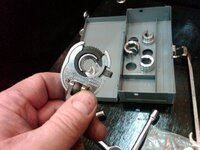
IMG03070-20131216-2133_zpsda76f9d0.jpg
 
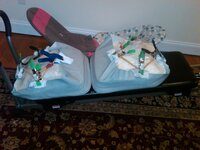
easy work tonight added 4 more clamps to each seat bottom....the stretch is coming nicely, notice the crease is gone from last night

IMG03071-20131217-2046_zps9f4eff3f.jpg
 
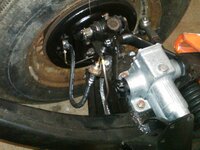
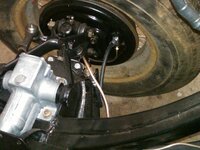
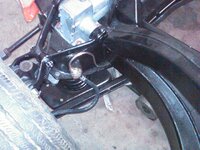
not sure how this took 2 hours but anyway....I got the rest of the brake parts in that I needed and I replaced the rear copper washers and tightened up the hydraulic hoses, drilled brake pedals for final clevis pin fit.

ever wonder how they get those brake lines so tight with out any rounded edges? i suspect they use something like this. this is a Proto tubing socket wrench. it slips over the brake line and then the ratchet spins and you get a really tight fitting with out any thing slipping off the hydraulic fitting and since it ratchets you can move the handle so you don't hit things. still need to put the brake anti rattle springs on.

IMG03073-20131218-2156_zps680733cc.jpg

IMG03074-20131218-2157_zps02d90e6d.jpg

IMG03075-20131218-2157_zps8d834679.jpg

IMG03076-20131218-2158_zpsd628bbcb.jpg
 
I cut the anti rattle springs although i am not sure why, they didnt look like they would hit any thing.

IMG03082-20131219-2029_zps6e4fa90b.jpg

with a grinder and a cut off wheel

IMG03081-20131219-2021_zpsa4920732.jpg

i will bend the tabs after its on the road with the real body

IMG03079-20131219-2013_zpsa36a244d.jpg

had little Joe make a seat bottom

IMG03096-20131219-2329_zps5b4c37eb.jpg

hes going to have to get a pair of those skinny driving mocassins for those aircraft carrier size feet

IMG03083-20131219-2253_zps344285e3.jpg


and todays work....

IMG03092-20131219-2328_zps67a01a43.jpg

made some room to work

IMG03094-20131219-2328_zpsaa6146bc.jpg
 
good day today......

IMG03121-20131220-1343_zps617d7195.jpg


looks like a good match

IMG03105-20131220-1144_zps68235104.jpg

clean baby clean

IMG03110-20131220-1239_zps2bb9b4e5.jpg

1/2 and 1/2

IMG03111-20131220-1239_zps801ffacd.jpg

IMG03112-20131220-1240_zpsf8dfaa5a.jpg

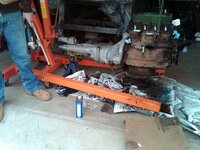
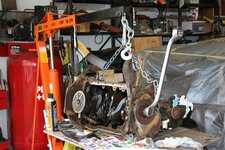
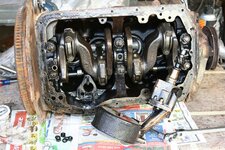
plan is to change the oil pump and i see no reason to get out the engine stand

IMG03115-20131220-1333_zps0b048d63.jpg

this will get scotch brited and clear coated

IMG03117-20131220-1333_zpsb36275f5.jpg

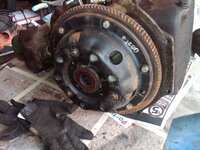
that my friends looks like a new pressure plate

IMG03118-20131220-1333_zps5a59cc8d.jpg

and of course the 2nd hardened gasket

IMG03119-20131220-1335_zpsa4bf9113.jpg

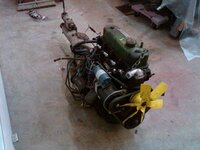
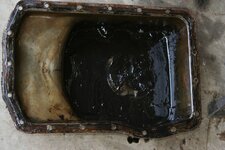
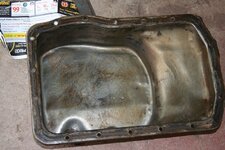
typical of an engine that has been sitting for decades

IMG_7747_zps5b00a514.jpg

looks like originalstyle pump

IMG_7748_zpsee6fe587.jpg

new pistons

IMG_7754_zpsb76e6b87.jpg

another new piston, that makes 3 new pistions and one with oil stains

IMG_7766_zpsa55f583d.jpg

cleaned up

IMG_7769_zpsf454d67b.jpg


measure this tomorrow

IMG_7770_zpsa7429061.jpg

need to do some research on this freeze plug on why its out so far, when i got the car it still had antoifreeze in it and the radiator was full and had not split.

IMG_7756_zps7715046c.jpg

IMG_7756_zps7715046c.jpg

a good day in bob land

IMG_7772_zps19cbd602.jpg
 
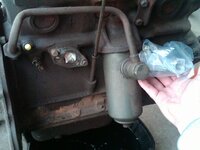
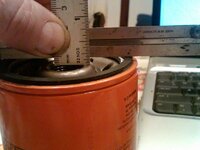
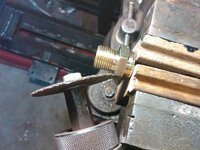
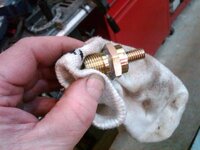
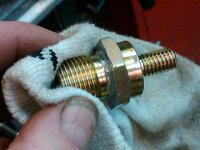
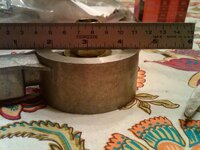
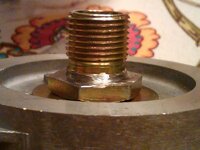
well I took care of the spin on oil filter adapter, I modified the approach Lee Narjam took and only did the grinding to the filter side of the retaining nut, this allows the machined surfaces to be mated to each other


IMG03125-20131220-2011_zps5c773214.jpg

IMG03122-20131220-2010_zpsa202b6af.jpg

IMG03126-20131220-2014_zps90ecb628.jpg

full face mask so icould see what i was doing and the final poisition was with the grinder on top paralell (sp?) to the wood

IMG03127-20131220-2025_zps5f4d0a2a.jpg

IMG03131-20131220-2105_zpsa1814505.jpg


IMG03132-20131220-2105_zps58d8820b.jpg

IMG03135-20131220-2144_zps24f1ef40.jpg

IMG03136-20131220-2144_zpsa5d29185.jpg

its now 3/16 and it took about 30 mins of just slow work so i didnt screw up
 
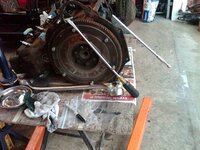
had a family holiday party so my time was limitied today....pulled oil pump off and removed pressure plate.

pump came off easy

IMG_7781_zps37826e5a.jpg

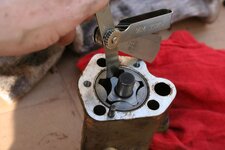
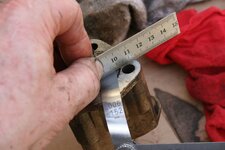
heres how you measure it

IMG_7782_zpsc6effbb4.jpg

tough to hold and take a picture

IMG_7785_zps1eefff15.jpg

the oil pump is right at the point of out of specification and will be replaced

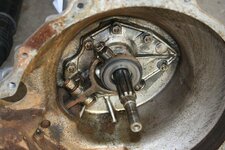
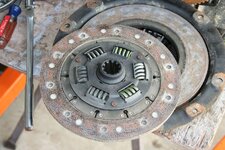
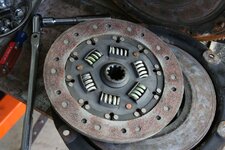
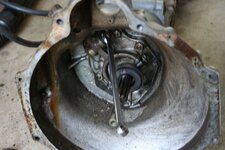
thats pretty clean in there considering that both the throw out bearing and clutch disk show about 1/3 wear

IMG_7780_zps92c46853.jpg

IMG_7775_zps0273c756.jpg

IMG_7774_zps385d1fb1.jpg


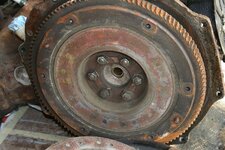
no ridges or grooves almost looks like a new flywheel same with the pressure plate.

IMG_7773_zpsf6bcf26b.jpg
 
Last edited:
so if the oil pump is just out of specs what else is going on?????

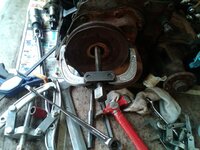
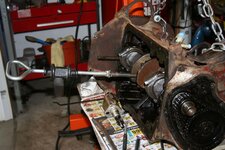
a one person show this am so this is how i wedged the crank to remove the crank nut

IMG03137-20131222-0941_zpsa19e5700.jpg


IMG03141-20131222-0954_zpse682d242.jpg

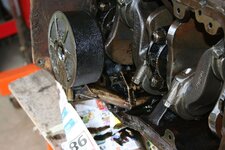
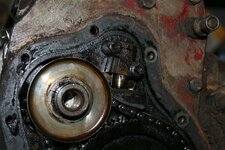
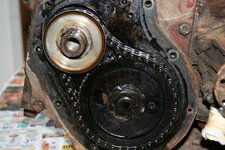
well that doesnt look right

IMG_7787_zps1091390d.jpg

IMG_7788_zps20daf7a4.jpg

IMG_7792_zps0d684d9d.jpg

IMG_7793_zps2e109efe.jpg


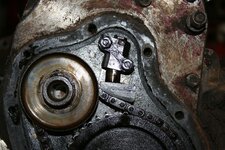
so what else is going on????

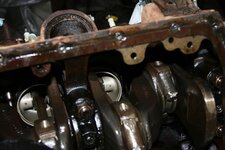
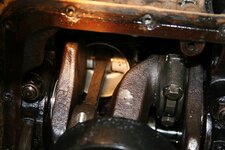
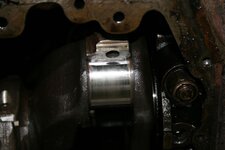
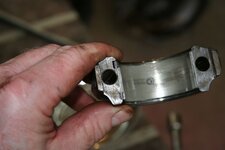
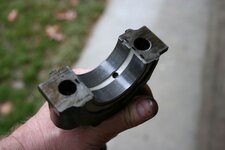
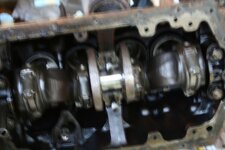
pulled # 1 CR cap and this looks good the the crank has not been turned


IMG_7795_zps328e7704.jpg
IMG_7796_zps106521e2.jpg

you probably know where this is going

IMG_7797_zps6ebd1c55.jpg

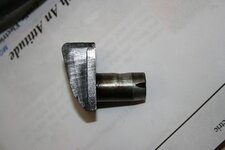
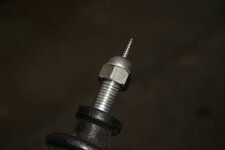
i think this is one of the left over front end parts it had a castellated nut on it

IMG_7798_zpsaa70833f.jpg

IMG_7799_zps973d3c15.jpg

yeah baby thats what we are talking about

IMG_7800_zpse004164e.jpg

so you dont screw up

IMG_7802_zps9ab6e31a.jpg

and always take two pictures of imporatant stuff......it looked really nice

IMG_7801_zps59c1c672.jpg

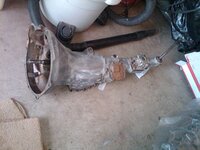
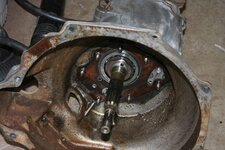
on to the trans

IMG_7804_zpsb215172b.jpg

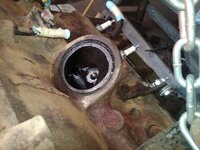
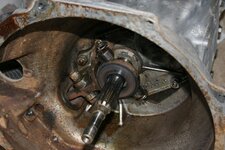
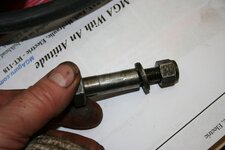
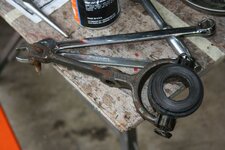
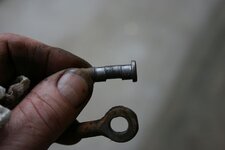
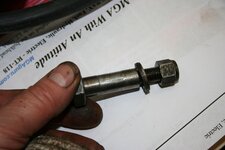
throw out bearing pivot bolt

IMG_7805_zpsa3d9b0d0.jpg

IMG_7807_zps43a1ecd9.jpg

slightly worn clevis

IMG_7808_zpsf8a647d4.jpg

IMG_7805_zpsa3d9b0d0.jpg

IMG_7809_zps8c0ff8f8.jpg

IMG_7810_zpse6acbcae.jpg

looks pretty good

IMG_7811_zps0a3f8ba4.jpg

so heres my on the scene conclusion......some 40+ yrs ago and 10K ago they put in a new clutch,pressure plate,throw out brg and flywheel (based on a 30K mile clutch life of kids)then they drove the car until the engine started needing some help....then when it went to the shop it needed 3 pistons and this threw the budget out of whack, they replaced the 3 bad pistons and maybe the crank....cam is original and they replaced the main and con rod bearings. I know this car has good compression and i will not be taking the head off so who knows what new up there....and for some reason they had to replace the rear engine core plug
 
you won't pull the head? the cynic in me is laughing at you because he knows you will.... while you're in there, and while you're at it, and since it's the right way to do things.

:bump::skeptic:
 
you won't pull the head? the cynic in me is laughing at you because he knows you will.... while you're in there, and while you're at it, and since it's the right way to do things.

:bump::skeptic:

nope not this time..... i have great compression and it doesn't burn oil, i dont have any reason to think theres a problem or an issue. On these cars the 1500cc is the first generation old dog and most guys upgrade to a 1600cc or the 1800cc engine. so if you are going to spend any serious engine money you would just step right up to the one of those and spend the money there.
 
you won't pull the head? the cynic in me is laughing at you because he knows you will.... while you're in there, and while you're at it, and since it's the right way to do things.

:bump::skeptic:

nope not this time..... i have great compression and it doesn't burn oil, i dont have any reason to think theres a problem or an issue. On these cars the 1500cc is the first generation old dog and most guys upgrade to a 1600cc or the 1800cc engine. so if you are going to spend any serious engine money you would just step right up to the one of those and spend the money there.

then you will be an example to us all ;)
 
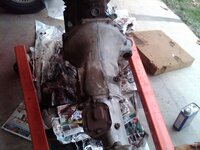
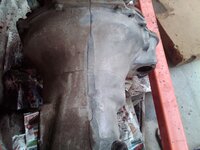
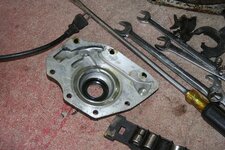
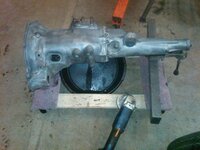
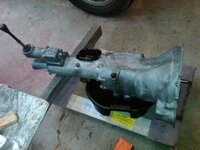
did some more quick clean up on the trans

IMG03152-20131223-2114_zpsa917dc95.jpg

IMG03154-20131223-2142_zps63c5df8a.jpg


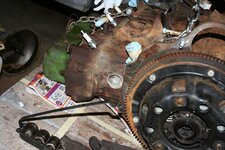
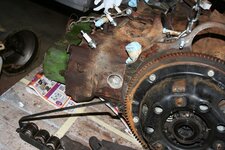
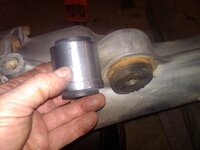
in case you ever wanted to know....the trans mount has a stepped outer ring

IMG03153-20131223-2121_zps681a31c9.jpg

the trans mount is soaking in PB blaster i have no idea if that works with steel and aluminnum galvanic corrision but since i did this before i am more careful with trans casings,see that nice shiny area....i broke it off by accident

00000211.jpg
 
Last edited:
nope not this time..... i have great compression and it doesn't burn oil, i dont have any reason to think theres a problem or an issue. On these cars the 1500cc is the first generation old dog and most guys upgrade to a 1600cc or the 1800cc engine. so if you are going to spend any serious engine money you would just step right up to the one of those and spend the money there.

So before long we're going to be seeing a bored, stroked and supercharged 1800cc in there. :bump:
 
Back
Top