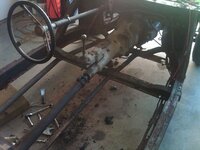
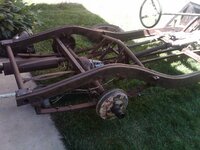
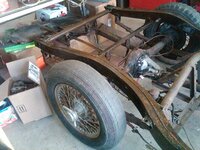
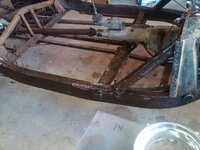
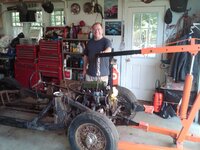
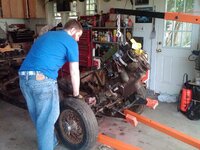
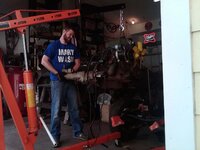
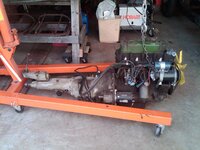
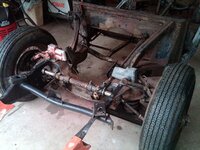
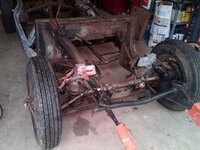
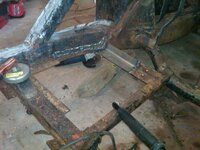
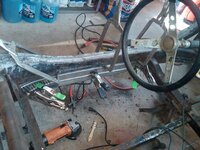
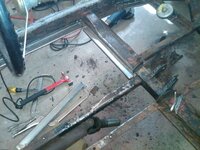
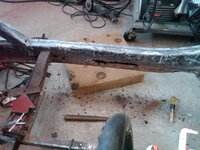
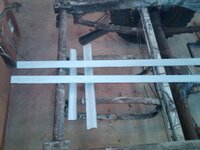
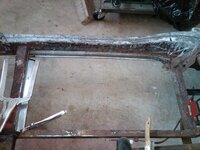
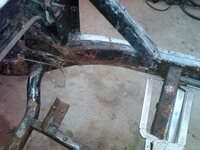
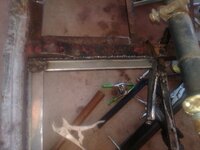
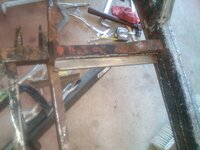
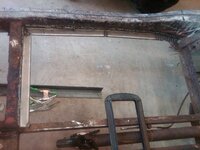
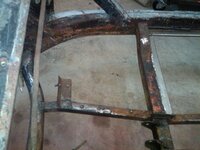
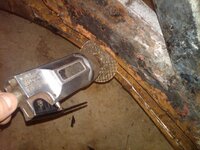
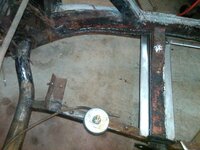
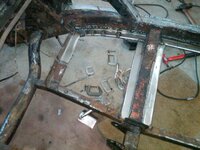
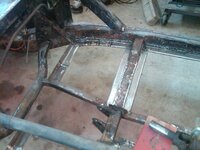
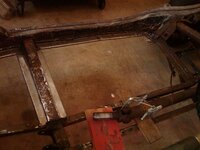
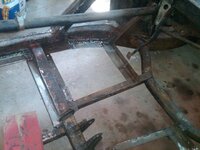
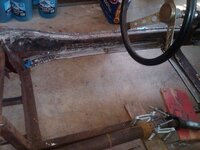
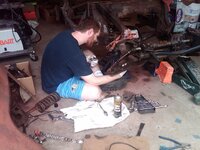
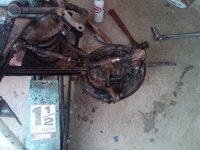
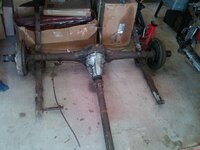
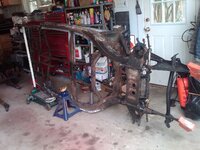
1958 MGA Coupe

VetteMod - Corvette Restoration, Modding & Performance Forum

Help Support VetteMod Forum:

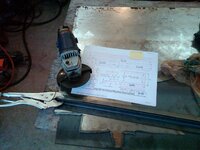
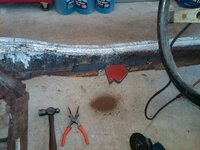
those disks work great stay horizontal with them as much as you can and wear full protection, they produce a lot of heat so move around alot


i needed to pick some low hanging fruit today
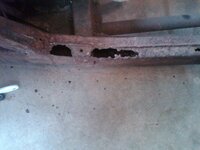
IMG01869-20130519-1245_zps1c44cbf8.jpg

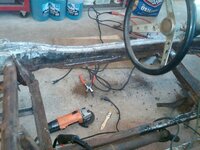
IMG01871-20130519-1312_zps1b62ab5f.jpg

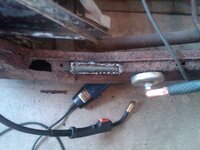
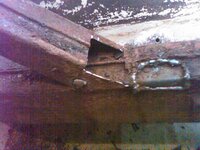
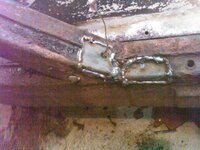
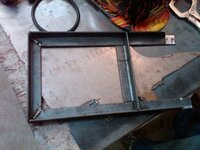
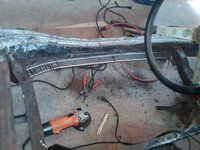
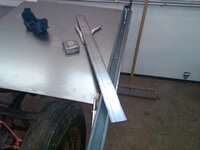
14 gauge steel is a dream to weld

IMG01872-20130519-1323_zpsfa0750af.jpg

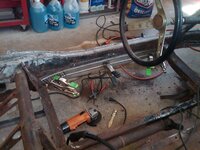
IMG01873-20130519-1338_zpsfc8e08ca.jpg
 
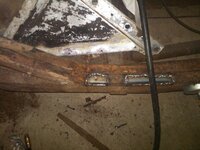
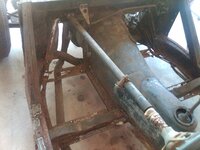
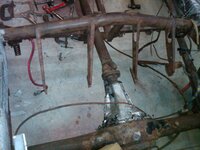
another 90 mins tonight....believe it or not but i havent really poked around this frame too much in the last year but this frame is in way better shape then i thought it was in.

the grinder will let you know when you are cutting good metal as opposed to thinner metal you can feel the resistance

IMG01877-20130520-2106_zps4a1f9dc3.jpg

IMG01879-20130520-2107_zps183b15ed.jpg


IMG01875-20130520-2041_zpsd94d41c9.jpg

you can see the sacrificial tail that i use to hold it in place

IMG01876-20130520-2051_zpsf19ab138.jpg
 
45mins - hour

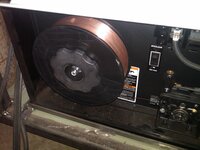
we are supersizing the Mig wire....12.5 lb spool the normal spools are about 2 lbs

IMG01890-20130521-2027_zpsbc846893.jpg


IMG01892-20130521-2033_zps5f27eca3.jpg

IMG01893-20130521-2104_zps16d6e962.jpg

this piece fought me the entire way in making it fit

IMG01894-20130521-2127_zps7c5c54fe.jpg
 
again: good work, nice progress :D

the smaller 2lbs spools are quiet pricey, I usually buy my welding supplies from usaweld.com, they sell 2 10lbs spools for around $35, their 30lbs spool is $45, when you buy the 2 pack you can mix the wire size (1x .025" and 1x .030" for example), they often have free shipping too :)
 
I use 316 stainless wire in my mig.... if I was doing production work, steel all the way, but as I can barely remember buying my last, large roll - the double price difference really isn't much of a difference at all.
 
i just got the wire from Home Depot i will look at that website i dont mind getting supplies at a good price.

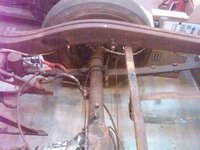
about 90 mins or so...cleaned up the area around the chassis and removed some felt padding, rear shocks and what was left of the axle straps

IMG01895-20130522-1808_zps02a28390.jpg

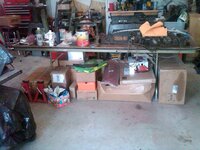
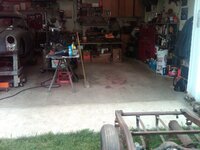
the base of operations for the chassis rebuild

IMG01899-20130522-1819_zps29c28f9f.jpg

home for the time being

IMG01900-20130522-1819_zpsbbaf6dc1.jpg

IMG01901-20130522-1930_zps8e90ebb1.jpg

IMG01903-20130522-1931_zpse0735114.jpg

IMG01905-20130522-2043_zps4c6168a3.jpg

IMG01904-20130522-2042_zpsf7ffdcae.jpg
 
As an Amazon Associate we earn from qualifying purchases. Product prices and availability are accurate as of the date/time indicated and are subject to change.
those brake controllers are the weirdest thing

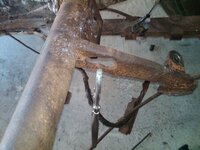
but why limiting straps? you planning on jumping this beastie?

i bet the internal valving of the shock absorbers has limits....hence the need to control the lowest point of travel for the rear spring/axle
 
those brake controllers are the weirdest thing

but why limiting straps? you planning on jumping this beastie?

i bet the internal valving of the shock absorbers has limits....hence the need to control the lowest point of travel for the rear spring/axle

or it could pull the brake bias valve apart... that'd kind of suck at the end of a hard braking experience.... braakkkkeessss.....NOOOOBRAKKKEEESSS :suicide:
 
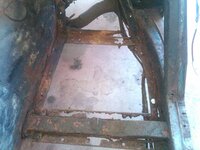
a couple of hours today removing the floor boards...an un enviable task by any definition

IMG01917-20130525-1501_zpse2ee9688.jpg

IMG01918-20130525-1501_zpsa017cf88.jpg

IMG01919-20130525-1502_zps5b4d11b1.jpg

IMG01920-20130525-1502_zps5c3ee2d4.jpg

IMG01921-20130525-1502_zpsf3ea2920.jpg

IMG01922-20130525-1502_zps75891902.jpg

[IMG01926-20130525-1503_zpscf408441.jpg

IMG01923-20130525-1502_zps62df5b8c.jpg

IMG01926-20130525-1503_zpscf408441.jpg
 
Last edited:
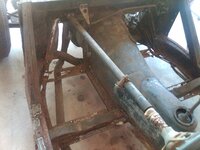
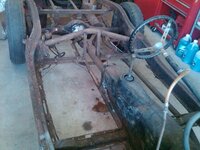
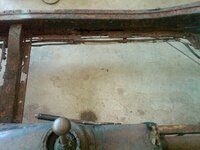
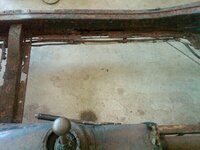
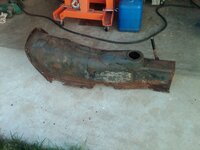
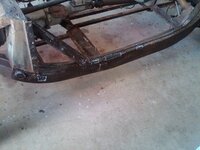
about 2hrs today , i needed a little sense of accomplishment so i removed the trans tunnel, wirebrushed the frame and painted some of it with Jasco rust converter

IMG01927-20130526-1032_zpsf86ccc9a.jpg

IMG01928-20130526-1032_zps93592b3f.jpg

wire brushed certain parts

IMG01943-20130526-1127_zps67d8fd4d.jpg

painted with the rust coverter

IMG01947-20130526-1206_zpsfa75e34d.jpg

IMG01946-20130526-1205_zpsaeb0a930.jpg

IMG01945-20130526-1205_zpsa83042d6.jpg
 
What a project LOL
And some tought that my birdcage was bad....

Keep it up Bob.
Tell me, are you putting the suspension, brakes etc original?
Or you gonna Vettemod it?
 
all original this time, i got absolutely hammered when i sold the vette

about 3 hrs today

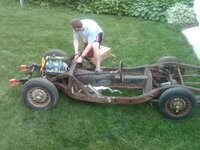
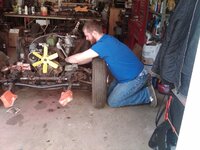
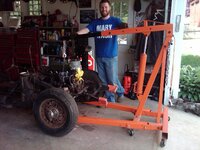
removed engine and power washed the rest of the frame

IMG01961-20130527-0950_zpsb67c906a.jpg

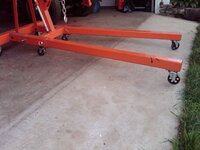
if you have an engine stand that fights getting the legs pinned let the leg hangs over the garage apron so the wheels dont touch

IMG01962-20130527-0952_zps8a6fa55d.jpg


little joe
IMG01968-20130527-1022_zps6eb2b843.jpg

yours truly

IMG01969-20130527-1023_zps6baa47a8.jpg

IMG01970-20130527-1033_zps4758a208.jpg

grab the beast by the tail

IMG01971-20130527-1035_zpsccb13cf3.jpg

IMG01972-20130527-1038_zps76c376be.jpg
IMG01982-20130527-1636_zpscfd2dc07.jpg

IMG01981-20130527-1636_zps5fdd40b8.jpg
 
well as you know I am tearing away at the frame and thinking about what I am going to do to the engine while I have it out....so the car sat for 35 yrs....and the engine did not rotate when I got it. so last summer/fall I soaked the cylinders in trans fluid for a week and then got it to rotate by hand and then later I started it up . it has run maybe 45 mins-1hr total, it ran well and didnt burn oil. the first two tests were before the engine ever started. three and four were done today and the engine hasnt run in 6 or 7 months I would guess

first test (cold) results after the engine rotated #1 # 2 #3 #4
90 60 110 90

second test (cold) after doing the first test 105 105 130 115


third test (cold) after about 45mins -1 hr run time 163 160 140 162

fourth test immediate following third test 165 160 140 162

fifth test with some oil in #3 155


so the first two tests arent really worth beans because I could see the PSI increase with every compression stroke. I recall # 3 had the exhaust valve open and I know I saw some "seeds and nuts" in there. so I guess probably some mouse pee has fouled the cylinder walls. the question is will they repair them selves from the engine running??? what do you think?

heres some info if you ever wanted to know more about compression tests results

http://www.gregsengine.com/cylinder-compression-testing.html
 
about 90 minutes tonight and most of it was just standing and looking....finally i said screw it and just started cutting

IMG01917-20130525-1501_zpse2ee9688.jpg

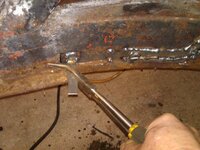
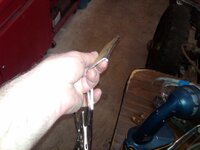
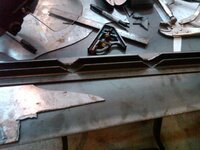
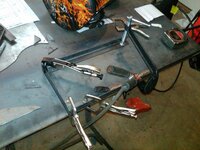
fitting an inside curve is tricky..... so use the sacrificial tab as a part of a lever with the needle nose pliers , on the outside tabs grab on and put the nose on the frame and then pull towards you. you get more leverage then just straight on pulling. this is 14 ga and doesn flex much. the black you see on the far left is the marking line. the middle tab gets welded first being pulled towrds you then you move to the ends

IMG01990-20130528-2150_zps7000be59.jpg


IMG01991-20130528-2229_zps4bc2233c.jpg
 
Last edited:
about 1 1/2 hrs tonight or so

IMG01992-20130529-2026_zps12777f0e.jpg

IMG01993-20130529-2048_zps2782306e.jpg

i think it would take the same amount of time to do the big sections as the small sections, not hard just time consuming

IMG02000-20130529-2205_zps06e2f13f.jpg
 
about 2.5 hrs tonight with my son helping not all of it was work though

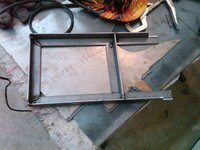
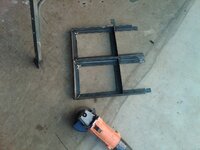
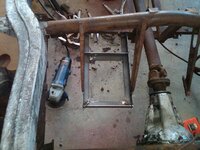
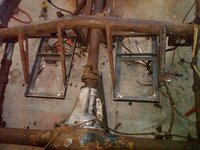
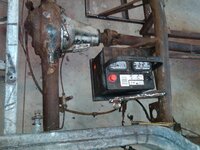
going to make two of Barneys battery trays one for each side for symmetry sake

IMG02001-20130530-2020_zpse622de7c.jpg

IMG02002-20130530-2032_zpsc24a2022.jpg

IMG02004-20130530-2053_zps8cf8da9f.jpg

it would have been easier for me to have cut it on a 45* angle all the way through, i wasnt able to bend it tight enough, so after bending it i then cut it

IMG02005-20130530-2149_zpscceb6664.jpg

number 1

IMG02006-20130530-2233_zps91c78c56.jpg

number 2

this is sitting on the cord and it makes it look out of square

IMG02007-20130530-2311_zps6df21aff.jpg

and this is tomorrows work, the brace on the right is sitting about 1/2" up higher then the others, i need to look at that more closely and see if it was welded wrong right from the start or if it is bent out of alignment

IMG02011-20130530-2314_zpsc8acb3dc.jpg
 
unless you have a press brake, those 90* corners are a pain to make straight when you bend them.... so you're right, cutting them all the way through then rewelding is actually easier.
 
yeah i can see where it would take alot of pressure to square those ends

about 3 hrs or so

IMG02012-20130531-0940_zpsc94d20af.jpg

IMG02013-20130531-0951_zps65eed0f2.jpg

IMG02014-20130531-1003_zps3cf580d0.jpg

took a little slice out of the bottom

IMG02015-20130531-1028_zps91f6bc4f.jpg

added some 1/2" tubing to the side of the bracket to strengthen it up right next to brake hose bracket


IMG02017-20130531-1342_zpse0ca4ca7.jpg

IMG02018-20130531-1407_zps51f39e23.jpg
 
a cool 95* out side and lots of humidity.....73* in the garage...the ac is nice but this inexpensive window unit doesnt have an out side circulation feature so between plasma cutting, grinding wire brushing and welding it can get kind of hazy inside so its time to stop

IMG02023-20130601-1240_zps86bb2e7b.jpg

IMG02024-20130601-1333_zpsaddb713d.jpg

i made my brakdets with the 90* up not down

IMG02026-20130601-1415_zps72f5a912.jpg

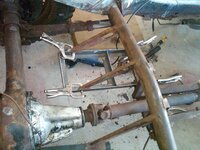
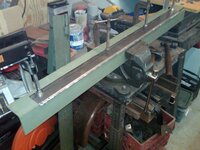
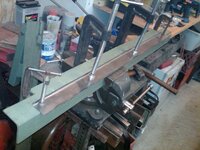
use some angle iron to make sure it stays horizontal

IMG02027-20130601-1422_zps940ebc0e.jpg

tack it in place....i am down to 500 lbs of shielding gas so we are only tacking non essential stuff in place this weekend

IMG02028-20130601-1424_zps5459a99f.jpg

the plasma cutter works best with a guide

IMG02029-20130601-1514_zps8438e52c.jpg

the bends are simple and with a piece of angle iron. 16 ga this long is too much for my metal break

IMG02030-20130601-1517_zpsaaa4f685.jpg

IMG02031-20130601-1523_zpsba4652a4.jpg

and the bottom piece

IMG02032-20130601-1554_zps1a268012.jpg
 
Last edited:
about 3hrs almost out of shielding gas

typical rust

IMG02039-20130602-0920_zpsc4bd2d05.jpg

made the bracketry and primed it this took about 45 minutes

IMG02043-20130602-0922_zpse97357b9.jpg

and some cutting grinding measureing and getting really dirty

IMG02044-20130602-1152_zpsb6e37ecb.jpg

and for another time

IMG02045-20130602-1154_zps0f275208.jpg
 
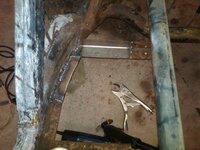
90 mins tonight cutting the repair panel and welding it in place and fitting one of the floor braces.

some times there are burrs inside the frame from the grinder cuts, i use a 3" grinder to grind those away

IMG02051-20130606-1937_zps5c028597.jpg


i need about another hour to finish the bracketry up.

IMG02052-20130606-2032_zpsd9d37bc9.jpg
 
right on 1 hr of work...tomorrow i will fully weld it in....next will be to remove any of the old weld nuts to make way for new ones.

IMG02053-20130607-1931_zps2da44366.jpg
 
thks

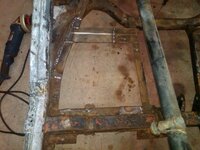
2 hours of grinding, i think i found something i like less then sanding....still need to make the small piece that bridges the rear floor rail and the side rail, where the blue tape is.

IMG02084-20130609-1435_zpsac335793.jpg

IMG02085-20130609-1435_zps1f851302.jpg

IMG02086-20130609-1436_zps60c1bbb5.jpg

IMG02087-20130609-1436_zpseda3cae7.jpg
 
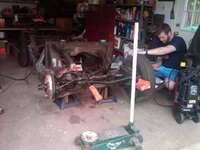
about 3 hrs today.

IMG02107-20130610-1232_zps529b3f44.jpg

IMG02110-20130610-1310_zpsc4ac2436.jpg

IMG02114-20130610-1324_zps656da30a.jpg

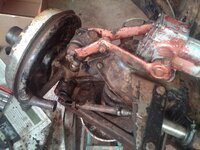
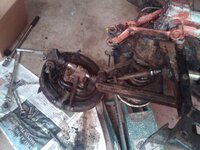
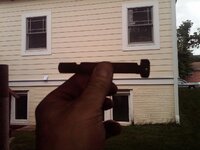
lower a arm bolt

IMG02115-20130610-1330_zpsdbd290ce.jpg

I get more done with a young buck doing all the work

IMG02117-20130610-1345_zps03b59a0d.jpg


i did this side

IMG02120-20130610-1352_zps939de0f6.jpg

all the leaf spring bushings are pretty new and have not deteriorated

IMG02122-20130610-1505_zpsffe8f0c2.jpg

IMG02123-20130610-1506_zps8d142e83.jpg
 
Is this your next project?
_h353_w628_m6_otrue_lfalse.jpg
 
Back
Top