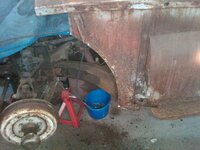
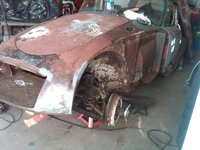
1958 MGA Coupe

VetteMod - Corvette Restoration, Modding & Performance Forum

Help Support VetteMod Forum:

thks guys and yes we are into rebirthing old cars.... just call me FrankenBob....

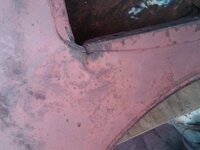
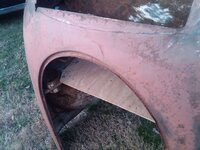
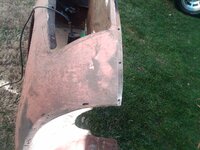
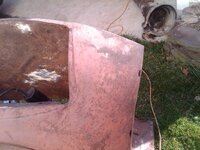
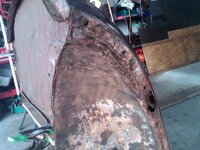
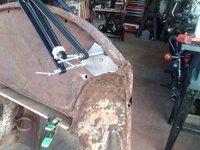
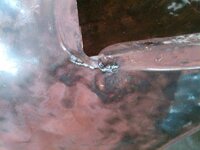
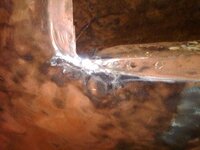
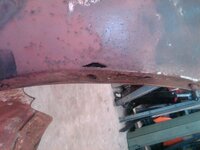
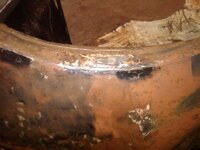
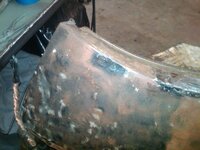
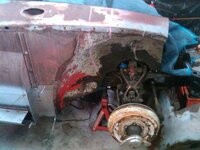
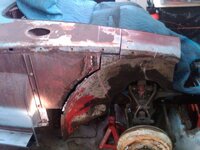
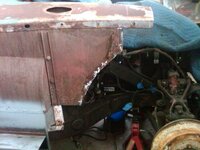
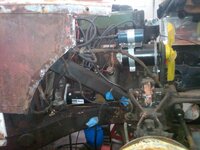
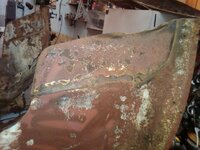
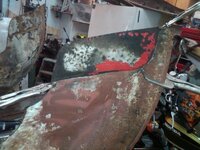
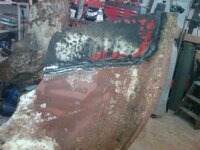
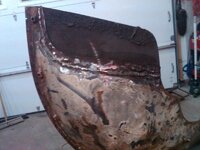
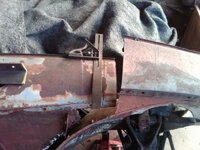
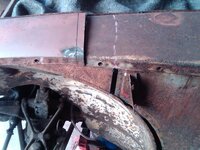
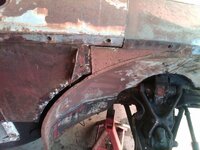
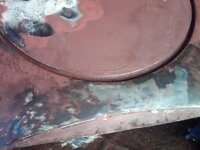
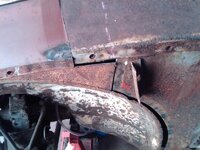
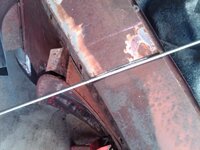
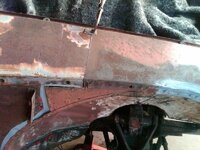
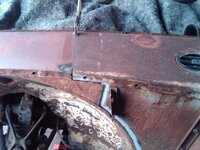
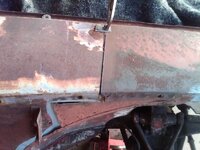
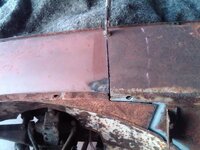
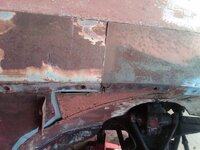
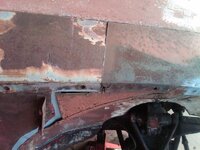
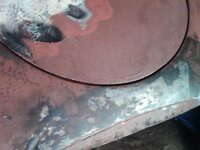
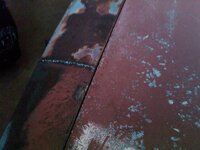
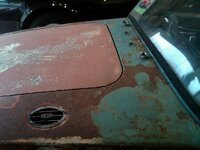
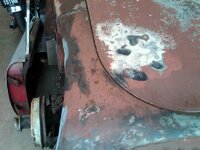
the front end needs a little bit of massaging and inorder for me to have a complete picture I ground out the thin layer of bondo that was added from a previous repair.
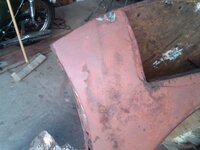
IMG01149-20130106-1130.jpg

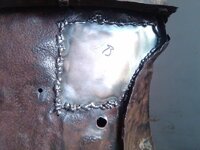
not sure if you can see but it almost likes like the area was brazed at one time
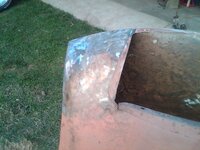
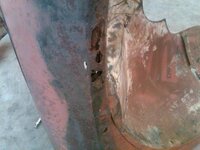
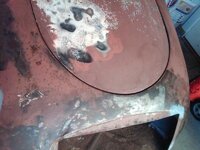
IMG01152-20130106-1139.jpg


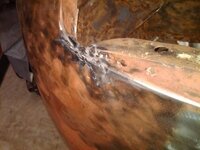
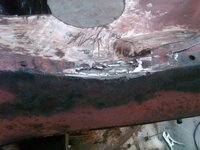
a small tear

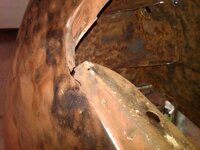
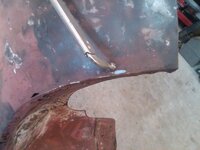
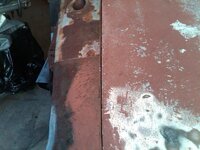
IMG01150-20130106-1130.jpg

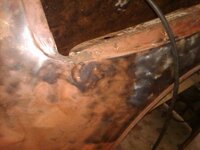
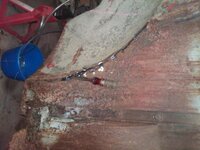
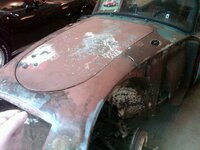
some more bondo

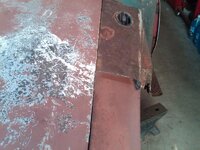
IMG01155-20130106-1145.jpg

IMG01154-20130106-1139.jpg

IMG01153-20130106-1139.jpg


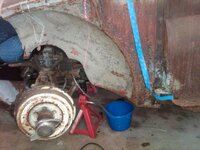
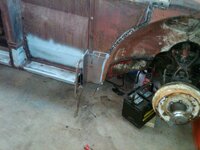
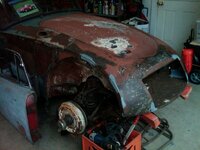
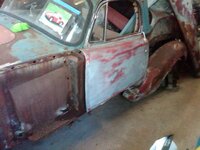
all in all its in really good shape and will require just a small amount of TLC
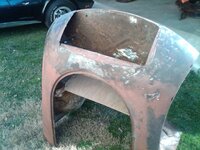
IMG01157-20130106-1151.jpg
 
ya know, I used to have a neighbor with a yard like the one on the left.... it was strange, we both did the same lawn care, yet for some reason (he was downhill of me) his yard looked like crap and mine always looked awesome. :D .... it was really strange, what is even weirder, once I moved his yard became green and lush.... totally weird, huh?
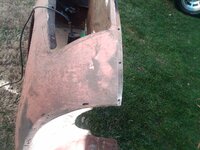
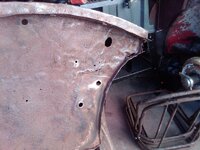
For some reason, this picture reminds me of those days
IMG01154-20130106-1139.jpg
 
Last edited:
SBG, that's funny as hell, all I have to DO is look at grass and it dies.....

but I know grass grows on alkaline dirt, and trees pour out acid,.....

around here, trees WIN.....oaks/pines galore....

:surrender::surrender:
 
zoysia on the left and fescue on the right.... i reseed each fall and spring in this area and i am always amazed that anything grows in this area. its gets hard use. i would think it should look more like an over used dirt play ground
 
zoysia on the left and fescue on the right.... i reseed each fall and spring in this area and i am always amazed that anything grows in this area. its gets hard use. i would think it should look more like an over used dirt play ground

*sigh* and my joke lands with a resounding thud after being winged by reality
 
I think the best you can do is to try and minimize the skim coat and make it as smooth as possible by using a dolly and hammmer

some bites of the elphant

IMG01174-20130119-1220.jpg

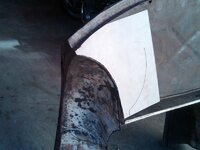
hard to see but this is the the correct dimension and pretty flat

IMG01173-20130119-1217.jpg

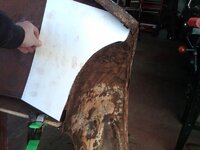
use templates for judging correctness

IMG01171-20130119-1216.jpg

IMG01172-20130119-1217.jpg

cut out the bent piece and will replace it with a butt seamed flat piece

IMG01175-20130119-1247.jpg

IMG01176-20130119-1330.jpg
 
As an Amazon Associate we earn from qualifying purchases. Product prices and availability are accurate as of the date/time indicated and are subject to change.
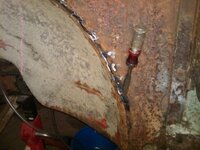
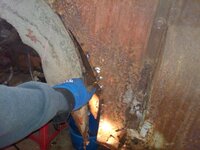
I have been asked how do I weld thin metals together with out getting burn through on the rusty piece so I paid attention to my techniques on this....the repair panel is 20ga and the old radiator valance is very thin

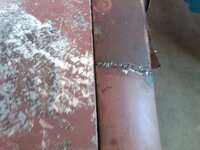
so I am using my mig welder like a tig and oxy actelyene set up.....the trick is to create a puddle of molten metal and then tease it and move it around with the feeding Mig wire going from side to side to bridge any gaps. so I use this technique as soon as it starts to get a burn through. if you look at this you can see where there are nice clean welds and then you see some piles of metal that I created to bridge gaps. Metal doesnt care how it gets created and grinding stuff down makes it all smooth again...

IMG01178-20130120-1131.jpg
 
When I'm really fighting to weld light pieces together, I use my mig and also everdur filler rod. Nice thing about everdur is it cools the weld - of course, then you have the bronze color in the weld....
 
i have never used that but i have used TIG welding rod.

a couple more bites of the elephant in the snowy weather

IMG01180-20130126-1235.jpg

IMG01179-20130126-1234.jpg

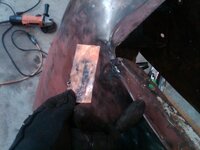
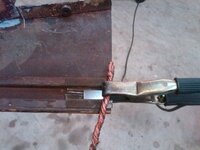
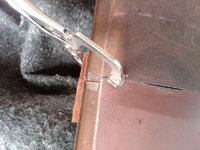
use a backing plate of copper and lots of small welds this is very very thin.....MIG with .025 wire set to lowest setting and feed of 3.5

IMG01181-20130126-1253.jpg


IMG01182-20130126-1258.jpg

all ground down , use a flash light on the back sode to make sure there are no small holes

IMG01183-20130126-1323.jpg


IMG01184-20130126-1323.jpg
 
everdur is also know as silicone bronze .... some people call it siliconing by weld

I have some of that to fill some spots on a part using TIG, Seen it on MuscleCar on Spike a couple years ago

I grew up working in my dad's metal-fab shop, we used silicone bronze to fuse galv. coated steel (knocks down the splatter) when we TIG'd it together. A word of caution, it is not a strong way of welding....
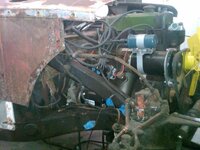
It was recently where desperation (welding a rusty roof on a MOPAR) gave me the thought to use it with my mig.... worked well, best looking MOPAR in the scrap yard (I'm serious about the scrap yard, tough call on best looking :devil:)
 
the steel filler rod always seems to work for me and since its steel the end result is pretty strong. it just dissolves in the pool of molten metal. i cant recall actually ever brazing anything...other then maybe a radiator

this project should give every body hope for their cars....I think the key is to have honest expectations of what the end product is going to look like....you know "its hard to make a silk purse out of a sows ear". I am pretty sure I am going to make this into a period style vintage racer that way the battle scars will look right in line...I dont get too wound up in having everything just the way it came from the factory....that I can tell you drives some Corvette guys nuts, so to the purists I will apologize in advance.

I only have pictures of half of the nose repair areas I must have gotten too busy and forgot to take pictures of the other side

IMG01186-20130127-1045.jpg

IMG01187-20130127-1046.jpg

IMG01185-20130127-1045.jpg


so out comes the MIG .025 wire and settings A and B wire feed 3 to 4.25

heres the rough welding

IMG01190-20130127-1838.jpg

IMG01189-20130127-1838.jpg

before it gets ground down

IMG01191-20130127-1839.jpg
 
two hours tonight peeling back the layer of steel that was spot welded to the inner fender. I used a grinder to grind the spot welds and then peeled the layer off like opening a can.

IMG01194-20130202-1448_zpsbed43fc4.jpg


IMG01195-20130202-1448_zps555a321f.jpg


i used the channel locks to coil up the layer i was removing

IMG01196-20130202-1514_zps142e70ec.jpg


here you can see the grinds on the spot welds, all you have to do is hit the metal with the grinder and indentation will show you where the spot weld is.

IMG01197-20130202-1526_zps50fe75b0.jpg


and a finished side

IMG01199-20130202-1543_zps4b3b0ab3.jpg


two finished sides

IMG01200-20130202-1703_zps6b050400.jpg
 
another 2 hrs of work

IMG01202-20130203-0946_zps900ff147.jpg

same process grind the metal and the spot weld divet indentation shows up and then grind and peel away

IMG01203-20130203-1000_zps918939cb.jpg

IMG01204-20130203-1000_zps7bd101cc.jpg

IMG01205-20130203-1003_zps62230559.jpg


again I take this seriously

IMG01206-20130203-1004_zpsda4f012e.jpg

IMG01210-20130203-1032_zpsfd51b9d8.jpg

IMG01211-20130203-1051_zps28fda8bc.jpg

IMG01212-20130203-1109_zpse36f6de9.jpg

IMG01213-20130203-1115_zps4aa0b3c1.jpg

in case any body ever wanted to see some unusual shots

IMG01214-20130203-1119_zps7370dffd.jpg
IMG01215-20130203-1120_zps9ce6c2bc.jpg

IMG01216-20130203-1120_zps05baa986.jpg

IMG01217-20130203-1121_zps17d2e3a7.jpg
 
I was thinking about how I am going to make the splice work and I came up with this idea.

I cut the inner frame support from the bonnet

IMG01220-20130203-1558_zps8116cedb.jpg

then trimmed it

IMG01221-20130203-1558_zps606628b5.jpg

slipped it inside the support and made it two

IMG01222-20130203-1609_zpsae50361c.jpg

IMG01223-20130203-1633_zpsf9129e29.jpg

and did a test fit

IMG01224-20130203-1636_zpsfec1cd58.jpg

IMG01225-20130203-1636_zps87759dc6.jpg
 
one more hour to fix the last piece of rust on the front shroud

IMG01230-20130204-2013_zps76c25d23.jpg


and the piece from the donor inner fender

IMG01229-20130204-2013_zpsaac7e2a4.jpg

IMG01231-20130204-2034_zps40643441.jpg

IMG01232-20130204-2134_zps9df991d4.jpg

IMG01233-20130204-2134_zps66ab1ba0.jpg
 
I must be unclear on the concept here..... you cut a rusty, dented, greasy piece of metal off the fender; then welded a red, rusty, dented, greasy piece of metal in its place? :rofl:


:thumbs:
 
4 hrs today ....I really took my time to make sure i didnt screw up

heres how you can make lines that are transferrable

IMG01240-20130206-0945_zps261d88b4.jpg

you can get the idea of how the splice will work

IMG01243-20130206-1005_zps1a7cc47a.jpg

really taking my time so i dont have an accidental over cut

IMG01244-20130206-1005_zps5484334a.jpg

slowly you can see the gap getting smaller

IMG01247-20130206-1031_zps89ee1c6f.jpg


so heres the big gap that needs to be made smaller
IMG01248-20130206-1031_zps1109ad1c.jpg

IMG01249-20130206-1031_zpsccf1a811.jpg


getting close and i used a 1/4" rod to transfer the cut line

IMG01250-20130206-1037_zps76a7b820.jpg

so i used those alinging pieces inside the bonnet frame support and you can see the gap getting closer

IMG01251-20130206-1203_zps38b91220.jpg

at this point both sides are really close
IMG01252-20130206-1203_zps3d67c888.jpg

so to make the final cut its all clamped in and i very slowly use the cut off wheel and make a cut right in the middle of splice line

IMG01253-20130206-1206_zps7634c184.jpg

IMG01254-20130206-1206_zps0b886987.jpg

close to the final splice the rest of the trimming will be done with a hand file
IMG01255-20130206-1219_zpsa80e88ce.jpg

final gaps

IMG01255-20130206-1219_zpsa80e88ce.jpg

IMG01257-20130206-1219_zpsfd381fff.jpg

IMG01260-20130206-1309_zpsae4aefb0.jpg

IMG01262-20130206-1309_zps30d6ee5a.jpg

and i need to tweak this alittle

IMG01263-20130206-1310_zps6a8fe9bf.jpg

here i am using copper in between my temp splice and the two sections of the bonnet so i can weld the outer drip rail

IMG01259-20130206-1256_zps2742ff6f.jpg

all tacked in place and time to stop, everything went very well so some times you need to know when to stop

IMG01266-20130206-1329_zps121f13fe.jpg

IMG01264-20130206-1328_zps4780e8d1.jpg
 
nice work :thumbs:

I swear, you and this guy http://www.bangshift.com/forum/showthread.php/17739-65-GTO
must be brothers from another mother

his work is awesome.....all I can say is at least I have a smaller car.....did i ever mention how i got my first MGA? i had just finished the body work and painting on a 65 Chevy fleetside. after that i swore i would never do the body work on a full size car again.

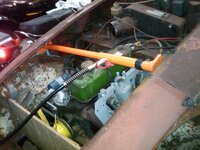
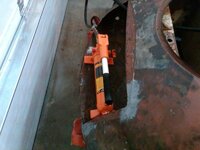
today i made a Harbor Freight run for one on those hydraulic rams with different size arms to help move my front bonnet (hood) opening back to the proper size...
 
It's why I went plastic.... I hate steel. Of course, I also have a Fiat, but its steel work is going to be covered by carpet so it's not going to be a huge deal.

Still, the amount of work and skill level that you're demonstrating on the MG is quite admirable
 
thks i like the challenge

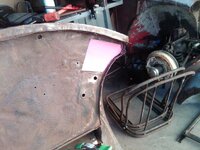
spent an hour or two fiddling with putting the hood on and tweaking the drivers side area where the two halves meet

IMG01272-20130208-1507_zpscdff27f5.jpg

IMG01273-20130208-1507_zpsc84a117a.jpg

I needed to elongate the bonnet hinge holes a little bit so I conjured up this idea.

IMG01274-20130208-1757_zpsf2acc99e.jpg
 
spent a couple hours this am and I welded up the two halves today there is a lot of tension in those joints, I think I will not grind them until after the body is taken off so I can weld the bottom side with a nice seam. and then after grinding If I need to touch them up I will use a TIG on it.

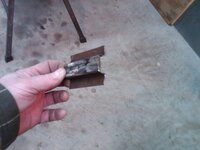
here is my handy dandy anti burn through gizmo made out of Bonnet scraps

IMG01275-20130209-1251_zps0f7d83e1.jpg

IMG01276-20130209-1251_zps9125b60e.jpg

i definitely got the gaps where they should be

IMG01277-20130209-1412_zpsf9e83454.jpg

IMG01278-20130209-1412_zpscb31343b.jpg
 
well finished up a little this weekend and welded the last repair panel on the front pass side where the bottom of the inner fender atraches to the end of the inner sill. and worked on finte tuning the Bonnet gap and putting the bonnet catch on. i think it took me longer to adjust the bonnet then it did to graft the front end on....

IMG01281-20130210-1053_zpsec322784.jpg

IMG01282-20130211-0809_zps8bca9b88.jpg

IMG01285-20130211-0809_zps659daef6.jpg

IMG01286-20130211-0809_zpsbf671c09.jpg

IMG01284-20130211-0809_zps77499e3c.jpg

IMG01283-20130211-0809_zps9029b4a4.jpg
 
thks guys I am mired in white collar **** all day long this is my escape....I probalby have said this before but I really like welding and if I had any artistic talent I would be a metal sculpter... but I do better at recreating what someone else had created previously so I am like a paint by numbers artist.
 
not too motivated today I have cold or something so we are picking low hanging fruit....kind of the crap work that you never like to do anyway, I force myself on days like this to do an hour or so just to get it out of the way.

so i primed the welds on the front end graft and removed the divers door and had to drill out all but three of the hinge and catch bolts. there were a spacer on each door hinge

IMG01289-20130224-1027_zpsfe1eaabd.jpg

IMG01290-20130224-1048_zpsc599273d.jpg


IMG01292-20130224-1048_zpsbe39238c.jpg

IMG01293-20130224-1053_zps36b6dbbc.jpg
 
Back
Top