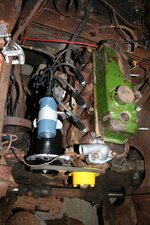
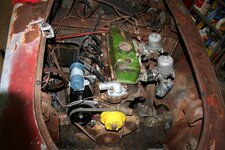
1958 MGA Coupe

VetteMod - Corvette Restoration, Modding & Performance Forum

Help Support VetteMod Forum:

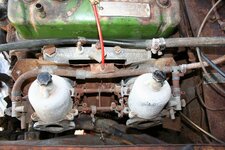
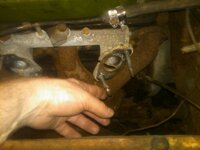
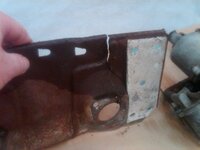
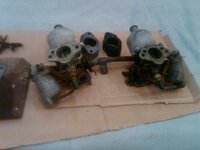
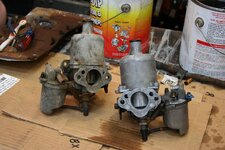
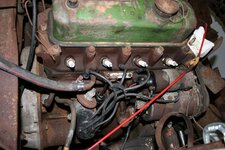
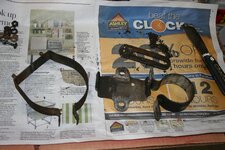
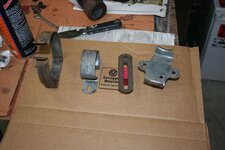
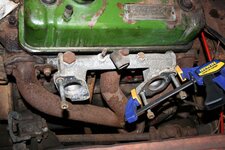
update: pulled the carbs off to clean them and put them to the side and found a broken intake manifold, cracked heat shield on what turns out to be an MGB set up soaked one carb last night and the other one is getting soaked tonight. overall they were pretty clean inside. i bet that cracked manifold created a big vacuum leak and made the car run pretty poorly. look closely at the frame and you can see how they wrapped the throttle return spring around it.

IMG_2356.jpg

IMG00712-20120606-2231.jpg

IMG00714-20120606-2231.jpg

IMG00715-20120606-2232.jpg

IMG_2480.jpg
 
put a couple hours in after work today while everyone was at the pool...

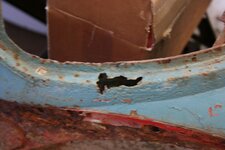
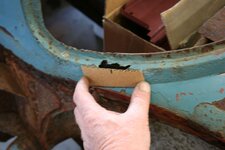
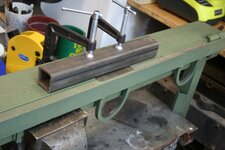
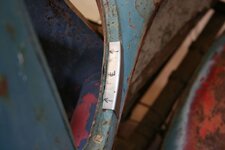
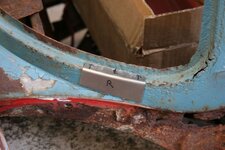
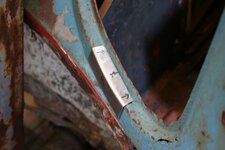
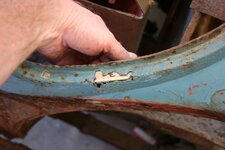
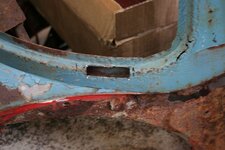
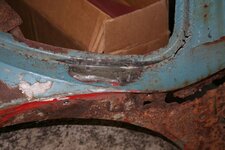
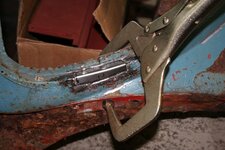
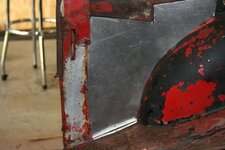
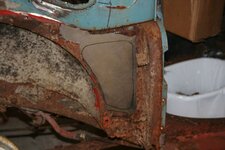
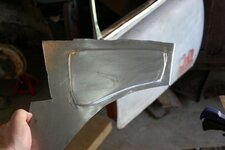
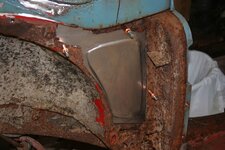
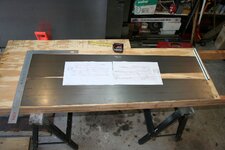
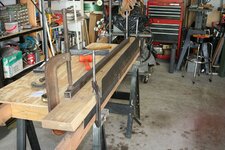
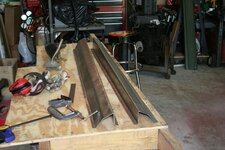
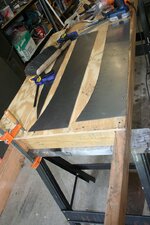
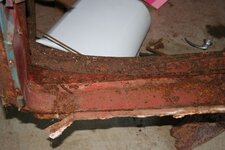
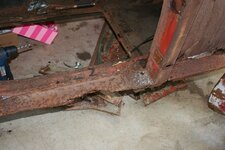
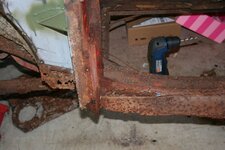
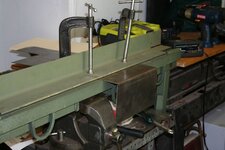
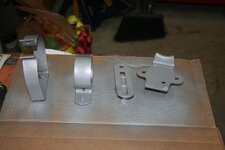
cleaned up the other carb definitely needs throttle shafts and played around with making a piece for the rusted out areas of the rear window, used a sheet metal break and a shrinker and stretcher to make the part will final fit it tomorrow

IMG_2482.jpg

IMG_2486.jpg

IMG_2485.jpg

IMG_2489.jpg


IMG_2493.jpg


IMG_2494.jpg

IMG_2496.jpg

IMG_2497.jpg

IMG_2488.jpg

IMG_2498.jpg

IMG
 
me and Ed we are old blokes sorting stuff out so its not dodgy.....


i made the brake start at post 90

http://weldingweb.com/showthread.php?t=60659&page=4


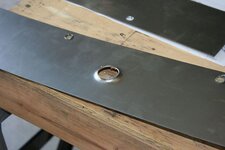
well nibbled away this afternoon i cut my pieces to size to be an insert fit.

IMG_2507.jpg

IMG_2508.jpg


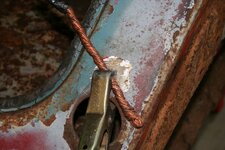
used the best ground ever trick for the mig, i use this grounding strap for all my welding and plasma cutting the idea is that the many copper strands arew always in contact with the ground and the area you are welding better then just the clamp

IMG_2509.jpg


IMG_2511.jpg

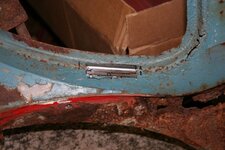
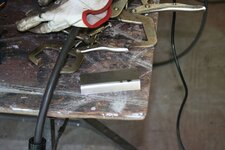
heres a backing strip so the insert piece doesnt fall through

IMG_2510.jpg

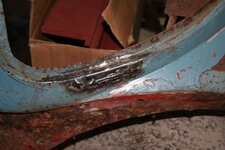
and voila some mig welding and grinding and here it is, this will be the rough cut and when the sanding for body gets done the final sanding will be done


IMG_2512.jpg

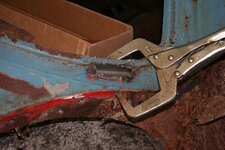
the clamp is only holding the backing plate in place so the insert doesnt fall through


IMG_2513.jpg

IMG_2514.jpg
 
As an Amazon Associate we earn from qualifying purchases. Product prices and availability are accurate as of the date/time indicated and are subject to change.
Can you find a intake here in the US ? Ebay ??? Hope you dont have to repair that one ....
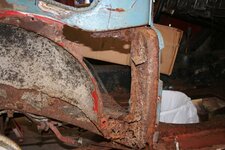
they are a dime a dozen, one thing about the Brits is that their supply chain was so limited they used the same parts on everything that was made, so engine, mechanical,gauges and lights are common to a zillion vehicles...the body panels and especially the rear glass are the unique items. the rear glass that came with the car is worth more then what i paid for the car...seriously its really close. i said to my brother that my biggest profit margin would be to just to part it out and do nothing to restore it...
 
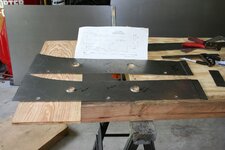
well my son and I tried a new technique today with my bead roller and a flange die to make this replacement panel..


IMG_2525.jpg

IMG_2527.jpg


IMG_2528.jpg

IMG_2529.jpg

IMG_2530.jpg

IMG_2531.jpg


IMG_2535.jpg
 
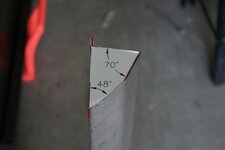
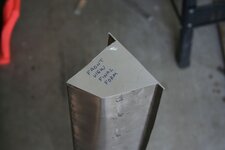
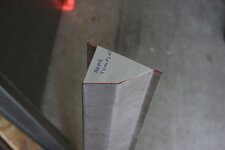
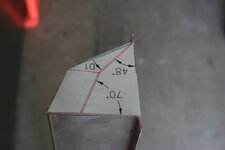
wow what a fun day. everything went perfectly i will say i did a lot of prep work for this to make sure i understood the angles and how to make them. layed out the bend lines. i followed Barney Gaylords write up from MGAGuru for these parts

IMG_2575.jpg

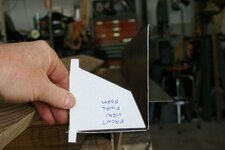
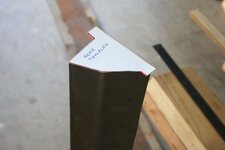
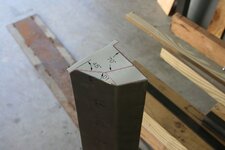
made a to size template to keep every thing straight in my head

IMG_2578.jpg


made the next bend.

IMG_2581.jpg


IMG_2582.jpg


templates verified i was goin in the right direction and i pretty much followed Barneys write up paragraph for paragraph. i bent the flanges 8" at a time and measure them so i would have a nice straight and even bend. when you do this much bending on sheet metal it takes on a shape of its own and the flange bend straightens it out again.

IMG_2583.jpg

IMG_2584.jpg


made the graduations for the twist

IMG_2585.jpg

IMG_2586.jpg

IMG_2587.jpg

IMG_2589.jpg


IMG_2590.jpg

IMG_2591.jpg

layed out and cut out the inner panels

IMG_2594.jpg


the punch and die for the big flanges

IMG_2596.jpg

rolled the flanges and done!

IMG_2597.jpg
 
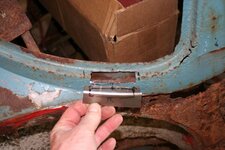
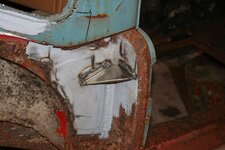
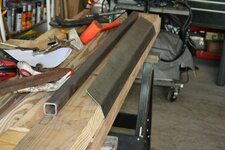
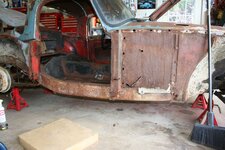
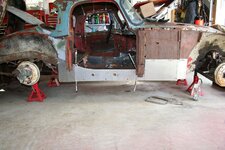
got 5 hours of uninterrupted time and the garage today and got a lot done. i started by taking pictures and measurements so i could use them as reference to align all the panels back again. i got lucky and the latch on the shut face panel came right off, not so lucky on the door hinges so i just drilled the heads off.

IMG_2642.jpg

IMG_2643.jpg

IMG_2651.jpg

IMG_2655.jpg

IMG_2656.jpg

IMG_2657.jpg

IMG_2670.jpg

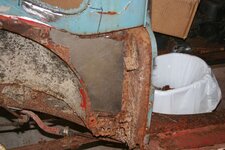
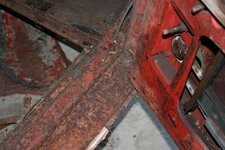
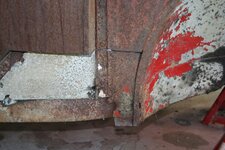
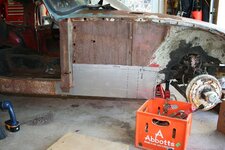
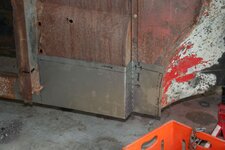
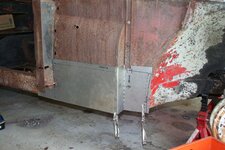
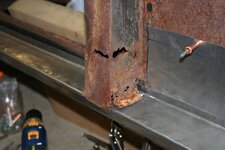
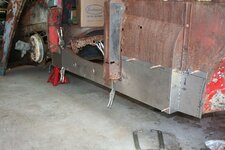
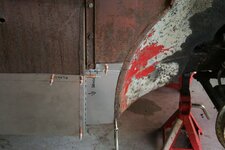
i then cut out all the rusty areas and came up with a plan to see if could make it out of one panel, after making the panel i decided to cut it into two panels so i could make the seams on the front corner to look like they were originally.

IMG_2672.jpg

IMG_2676.jpg

IMG_2677.jpg
IMG_2679.jpg


IMG_2680-1.jpg

now i have everything mocked up i will sleep on this tonight and ponder what else i need to do in that area


IMG_2681.jpg

IMG_2683.jpg

IMG_2682.jpg
 
you developed some amazing sheetmetal skills :thumbs:

when I repaired all the rust panels on my Karmann Ghia I just bought the repair patches, cut the old rusted stuff out and welded the new pieces in place ... making all these pieces seems like a lot more fun, I'm sure it also feels like you really accomplished something.
 
thks i actually like working metal. i just wish i had the artistic talent to make metal sculptures, i am hoping that will come to me some day. i will only buy panels that i cant make. i would rather take the $$ to buy tools. so with what i saved in a making the inner sills and the flat panels i bought a 230v spot welder. i have always wanted one of them.....
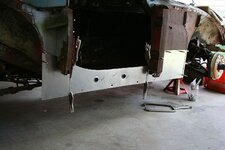
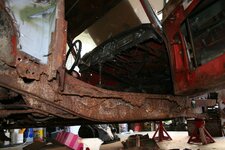
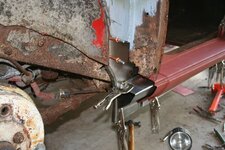
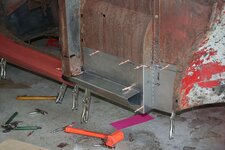
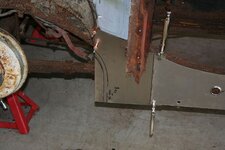
a couple of hours worth of more nibbles today, i made the final cuts on the front inner fender piece and the rear inner fender piece and trial fit the inner sill and outer rocker panel.

here i cut the piece and flanged the top so it would fit behind the panel on the tire radius and fit out side of the panel by the bracket.

IMG_2684.jpg

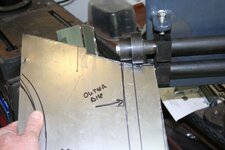
moving to the back i make a line for the flange and drew up some radius lines for the back

IMG_2685.jpg

heres a tip transfer the flange mark to the outer die so you can keep track of the line easily

IMG_2688.jpg

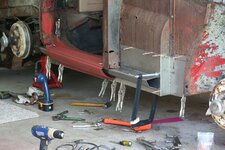
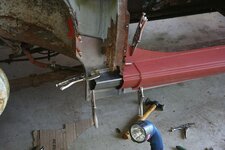
and after that its time for some trial fitting of parts


IMG_2706.jpg


IMG_2708.jpg

IMG_2712.jpg

IMG_2714.jpg

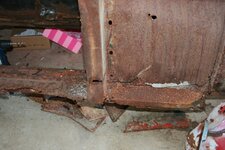
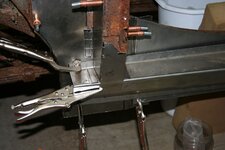
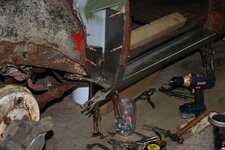
luckily the out rocker panels screwq holes line up perfectly with the pillar posts so I know i am close on the final fitting. its time to step back and take a breather and come up with a game plan for reconstruction the bottom of the door posts.
 
Last edited:
well I figured out all the angles and dimensions and have mocked up the rear pillar

IMG_2756.jpg


IMG_2755.jpg

IMG_2758.jpg

you can see here what I left to do on the front post.

but that will have to wait for a day or two....I have done enough sheet metal work for a while.

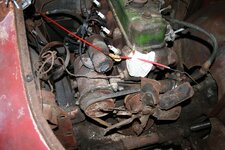
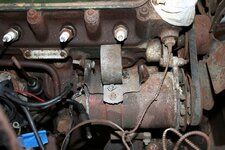
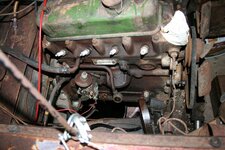
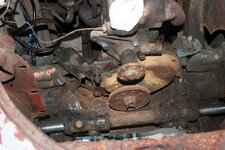
I want to poke around the engine some more and drain the oil in it and take out the old filter, and remove the starter and generator and see what they look like inside.

IMG_2762.jpg

IMG_2761.jpg


IMG_2759.jpg
 
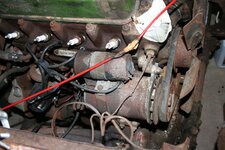
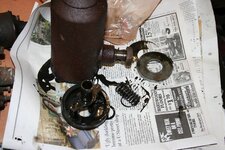
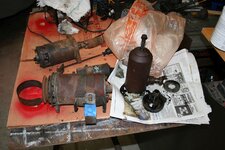
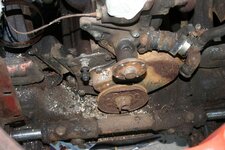
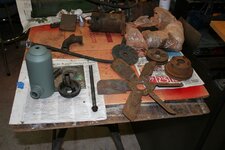
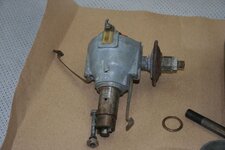
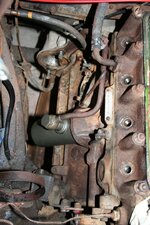
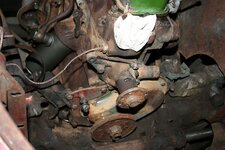
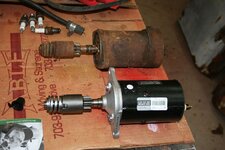
well i made some progress in taking stuff apart and I found the usual and expected issues..... the oil cannister had no seals on either the top or in the bottom of the bottom plate. what looks like a seal is just perfectly formed sludge, and had a large washer that really doesnt look like it belongs in the filter, i say that because its not machined in any fashion on its big surfaces jus left kind of rough, the generator has a broken ear and an undersized screw was in the back, the distributor is stuck in place and is being soaked at the moment with PB blaster, and the starter only hums when 12v is applied to it. looks like from the wiring on the coil the car was converted to 12v neg ground.
IMG_2768.jpg

IMG_2767.jpg

IMG_2763.jpg

IMG_2766.jpg
 
i have to tell you after working on SBCs and the ford flathead for the last 9 yrs this thing is so small its wonderfull. the starter weighs like 12lbs or something. small with inexpensive parts....i like it. i bought my first MGA 25 yrs ago after having restored a chevy fleet side pick up truck....it took me a week to color sand it...after that i said i need something smaller
 
I truly amazed how you turn what's to me a piece a rusted trash back into a car.
I would have seen this car in person I would have thought it's well beyond fixable.
Respect.
 
i like the challenge...
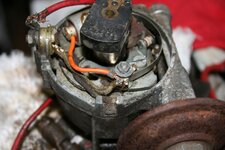
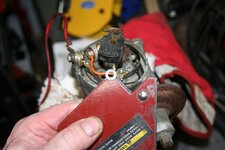
BINGO.....well look what i found.....no doubt the reason it was parked some 30 yrs ago and explains the new spark plug wires, and distributor cap. the previous owner tried tuning it up but i can see it never ran after he changed the points..... i couldnt believe it and got out an ohm meter to make sure i wasnt dreaming.....the metal washer on top was touching the condensor tab and grounding out the points
IMG_2801.jpg

this is the washer that was sitting on top of the nylon

IMG_2803.jpg

part of what i have learned over the years is to touch the parts only once...

IMG_2804.jpg

clean them up and paint them

IMG_2805.jpg

IMG_2807.jpg
 
I was able to get the valves adjusted this morning , heres what they were

set at previously #1 .021, 2 .014, 3 .013, 4 .023, 5 .016, 6 .015, 7 .018, 8 .021

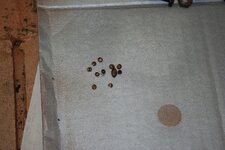
all in all I suppose it could have been worse. Interestingly I found kernels in the number 2 and number 3 cylinders, mostly the number 3, I theorize the exhaust valve was open and the mouse would crawl up the exhaust and eat his lunch inside the exhaust manifold/exhaust port and he would lose some kernels and they would roll down past the open valve into the cylinder

here are the kernels that I blew out of the cylinder. while I was crawling around on the floor I noticed that for some reason the timing marks were bent backwards and not easily visible, so i straightened them out

IMG_2811.jpg

here is the amount of dirt in this area

IMG_2808.jpg

IMG_2812.jpg

here is the cleaned up area

IMG_2813.jpg

I spent a little bit of time cleaning, the oil filter housing was so badly rusted I had to sand it because I was too scared of getting rust in the oil when I changed the oil so after that i primed it some self etching primer.

IMG_2814.jpg
 
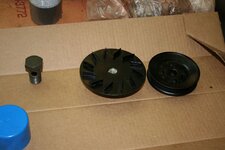
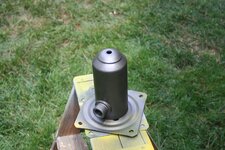
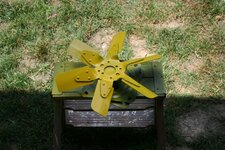
Heres the work for the day. I sanded the fan and painted it with a high build primer and then sanded it. I painted the pulleys with satin black and the oil cannister is painted with "cast iron". the thing the oil cannister and fan is on is a "lazy susan" base and it rotates so i can stay in one spot and move the piece being painted


IMG_2817.jpg

IMG_2819.jpg

IMG_2816.jpg

IMG_2815.jpg
 
looking good.... you made more progress than I did today, with all the rain here I didn't get much done.....
 
Today I took advantage of some nice weather and in anticipation of trying to make the beast run I back flushed the radiator, cleaned the inside of the valve cover, moved the engine to TDC compression stroke of number 1, scraped,sprayed and wiped the engine with brake clean. I got a bunch of parts in but I am still missing the thermostat housing so until I get that hopes of getting it to rumble to life are delayed. It took me about 30 minutes to get the oil filter in place and I scraped the old gasket seal for about 30 mins also. but in the end I got it in place what a PITA. I also JB Welded the broken intake manifold back together for the test run, I will replace that later. I have always wanted to actually test JB Weld on a repair like this, maybe we do some testing on trying to break it after I get a new one...I also added the oil to the car, its first oil change in at least 28 yrs.


IMG_2820.jpg

IMG_2821.jpg

IMG_2822.jpg
 
Lookin good Bob, I hope you have better luck with the JB Weld repair than I did some years ago. I tried it on a water pump but the antifreeze wouldn't thet it hold.
 
Lookin good Bob, I hope you have better luck with the JB Weld repair than I did some years ago. I tried it on a water pump but the antifreeze wouldn't thet it hold.

I am not expecting much from it, really did this as more of an opportunity to see what it would do....I just want to see if the engine will run I cant get any good leakdown tests results on it probably because of rust on the valves from sitting, so if i can get to run for 30 or 40 seconds at a time and get some heat and gases flowing in those combustion chambers I am hoping good things will happen. I will take some compression readings before firing it up and then afterwards to see if the running actually improved things.
 
All things considered, I'm surprised that you haven't pulled the engine to work on it.
I am still doing my early assessment of the vehicle and this is only to see if it runs at all and to get some compression checks with out doing too much work. I am not looking to have a fine tune on it just to see if the engine will mechanically function. who knows what will happen but it would be a great moral boost this early on if it actually runs.
 
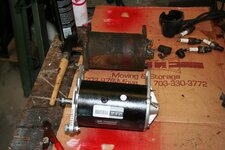
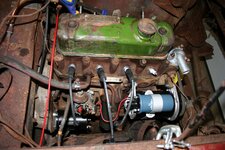
the goal is have the engine running tomorrow night.....tonight i put in a new starter, new generator, new coil, points, condenser, spark plugs, distributor and wires, and reinstalled carbs and radiator pulley. I static timed the engine to 10* BTDC. I did a compression check twice and the first time the readings were 90,60,110,90, the second time it was 105,105,130, 115 you could literally see it gain 5psi with each compression stroke. the number 3 cylinder was the one with the kernels in it. I am not worried about these readings because the valves have rust and mouse pee on them etc....so I think the real readings will come after some combustion has taken place. And we have 20 psi on the oil gauge when I was cranking it for the compression test.

starter and genereator from autozone with a lifetime warranty and rebuilt in the USA and very affordable I like the parts from there

IMG_2823.jpg

IMG_2824.jpg

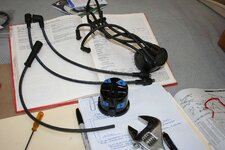
I pay careful attention to plug wires and firing order and triple check this, i have seen too many guys with big egos screw up the firing order

IMG_2825.jpg

I found it makes the most sense to lay the wires out before you cut them to size

IMG_2826.jpg

IMG_2827.jpg

IMG_2829.jpg


tomorrow night we hook up the radiator and hoses and a gravity fed fuel tank....and off we go
 
Back
Top