$2500 1977 Rebuild thread!

VetteMod - Corvette Restoration, Modding & Performance Forum

Help Support VetteMod Forum:

SCCA VETTE

Well-known member
Joined
Jun 11, 2008
Messages
206
Reaction score
0
City & State/Province
Kokomo IN
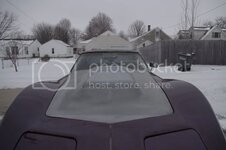
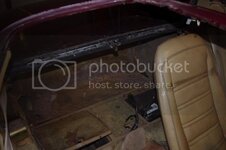
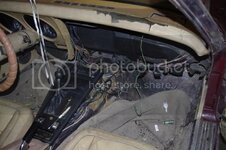
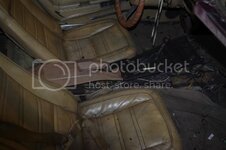
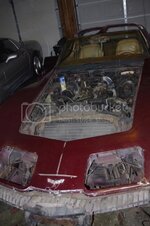
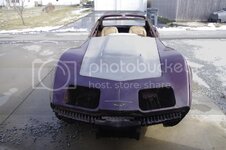
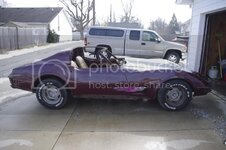
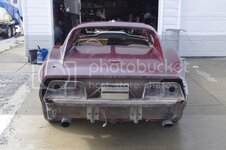
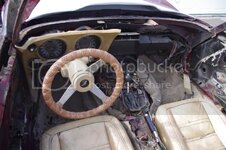
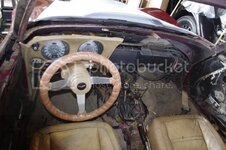
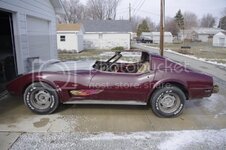
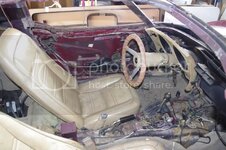
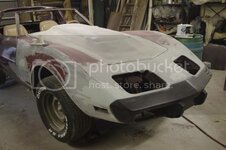
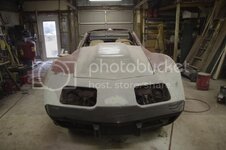
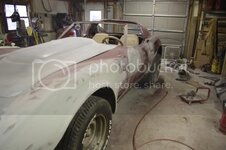
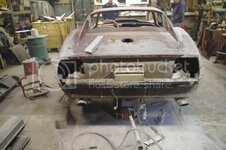
We started to work on the 77 today. First took a ton of photos of the car in is "as purchased" condition. Next we removed the factory hood and placed the new big block hood on the car to see how it fit and also to get it out of the way.

I have decided to start a thread for the rebuild of this car if anybody wants to follow along.

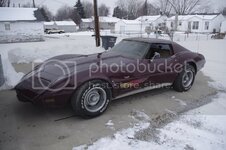
Here is a better picture of the outside of the car as we purchased it.
0_190788964266948_100000075370117_704806_1652192_n.jpg

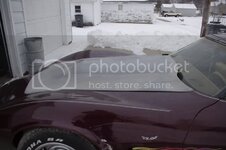
Here is a couple photos of the new hood we found at the swapmeet on the car.
5_190789994266845_100000075370117_704846_4968855_n.jpg
6_190790227600155_100000075370117_704857_3535029_n.jpg

Next step is to replace the bumpers with the new glass ones we bought to get rid of the wavy plastic.
 
Very cool, I am on my second 77 so I am really into seeing what you are going to do with it. That is after you get out of jail...what a steal!!! LOL:clap:
 
As an Amazon Associate we earn from qualifying purchases. Product prices and availability are accurate as of the date/time indicated and are subject to change.
Do you have an idea of how far you want/have to go?

probably just like mine back in 2004.... "it only needs new brakes and I can drive it" ... that's how all the good stuff starts...

looks like a fun project ... cheeep too :thumbs:
 
Do you have an idea of how far you want/have to go?

probably just like mine back in 2004.... "it only needs new brakes and I can drive it" ... that's how all the good stuff starts...

looks like a fun project ... cheeep too :thumbs:

That is the EXACT phrase I used :confused:
 
Last edited:
That is the EXACT phrase I used :confused:

yup.... a month later I had the differential and the trailing arms removed, the entire front suspension and the exhaust.... I think it was 6 months after I bought it that I finally had it on the road... :nuts::nuts: isn't this a great hobby ?? :nuts::nuts:
 
That is the EXACT phrase I used :confused:

yup.... a month later I had the differential and the trailing arms removed, the entire front suspension and the exhaust.... I think it was 6 months after I bought it that I finally had it on the road... :nuts::nuts: isn't this a great hobby ?? :nuts::nuts:

Jeebus, 16 years ago, the ONLY thing about my car was the PAINT, all the rest was ****** up one way or other.....

can't name one asspect that was not....
well, ok, the convertible top was great....

complete interior, including redoing the OEM hardtop it came with....

complete mechanicals, miss NOTHING....and I mean NOTHING....

then the mods began....

:hissyfit::hissyfit::censored: but WTF is a guy like ME to do without some hobby or other?? set on a damn treadmill? walk around the block? hammer on the internet? (I know STFU)....so if not the vette, the house, the motor home....WTF I have to do...??
 
Do you have an idea of how far you want/have to go?

probably just like mine back in 2004.... "it only needs new brakes and I can drive it" ... that's how all the good stuff starts...

looks like a fun project ... cheeep too :thumbs:

That's what I said...... about 20 grand and six years ago.
 
Do you have an idea of how far you want/have to go?

Here is the game plan. Keep in mind it is subject to change along the way.

1st part = Replace front and rear bumpers, add Pace Car chin spoiler, Add Pace car rear wing and fit new big block hood. fix all body defects and paint car the new Atomic Orange with pearl dark silver stripes.

2nd part = remove engine and trans and clean and paint engine bay. Put car on lift and clean and paint underside of car. Replace all brake lines and brakes along with all suspension bushings and u-joints.

3rd part = Clean and reseal engine and repaint engine chevy orange with orange pearl clear coat. Install TPI until on motor and reinstall in car. Still debating on transmission selection. Complete all wiring, fuel and AC (yes it will have air).

4th part = Replace all broken interior parts, install new seats, install harness bar, new carpet and replace all switches and controls in console.

5th part = Drive car like it is stolen, repeat as necessary!!
 
Do you have an idea of how far you want/have to go?

Here is the game plan. Keep in mind it is subject to change along the way.

1st part = Replace front and rear bumpers, add Pace Car chin spoiler, Add Pace car rear wing and fit new big block hood. fix all body defects and paint car the new Atomic Orange with pearl dark silver stripes.

2nd part = remove engine and trans and clean and paint engine bay. Put car on lift and clean and paint underside of car. Replace all brake lines and brakes along with all suspension bushings and u-joints.

3rd part = Clean and reseal engine and repaint engine chevy orange with orange pearl clear coat. Install TPI until on motor and reinstall in car. Still debating on transmission selection. Complete all wiring, fuel and AC (yes it will have air).

4th part = Replace all broken interior parts, install new seats, install harness bar, new carpet and replace all switches and controls in console.

5th part = Drive car like it is stolen, repeat as necessary!!

When I put the new engine in the '84 I had to paint it Chevy orange. I could just never get used to a corporate blue (or black) engine in a Corvette.
Keep us posted on your progress!
 
bairs.com , volvette.com, corvetteamerica.com, ecklers.com, corvettecentral.com, I should just send them my pay check. :rolleyes:
 
bairs.com , volvette.com, corvetteamerica.com, ecklers.com, corvettecentral.com, I should just send them my pay check. :rolleyes:

OR find yourself a chippy, and send it to Tiffany's, Lord and Taylor, Sears appliance shack, etc......

:crap:;)
 
I paid $3000 for my 77 when I got it in 2002. I told the ex. I was only going to spend $10,000-$12000 to get it nice looking and driveable. I am well over $50,000 now and still spending!!
 
I paid $3000 for my 77 when I got it in 2002. I told the ex. I was only going to spend $10,000-$12000 to get it nice looking and driveable. I am well over $50,000 now and still spending!!

I wanna steal them solid gold rims you got....

:smash::surrender::cool:
 
Do you have an idea of how far you want/have to go?

Here is the game plan. Keep in mind it is subject to change along the way.

1st part = Replace front and rear bumpers, add Pace Car chin spoiler, Add Pace car rear wing and fit new big block hood. fix all body defects and paint car the new Atomic Orange with pearl dark silver stripes.

2nd part = remove engine and trans and clean and paint engine bay. Put car on lift and clean and paint underside of car. Replace all brake lines and brakes along with all suspension bushings and u-joints.

3rd part = Clean and reseal engine and repaint engine chevy orange with orange pearl clear coat. Install TPI until on motor and reinstall in car. Still debating on transmission selection. Complete all wiring, fuel and AC (yes it will have air).

4th part = Replace all broken interior parts, install new seats, install harness bar, new carpet and replace all switches and controls in console.

5th part = Drive car like it is stolen, repeat as necessary!!
The 5th parts sounds like the most fun to me!
 
1st day of tear down

Was finally able to go out and do some work on the 79 tonight. Here is what we were able to get done tonight.

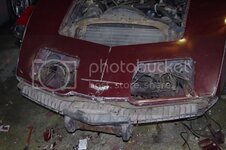
Front bumper is off along with the headlights out.
_IGP6845.jpg

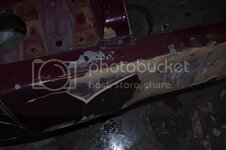
Found something VERY interesting! When they painted the car they decided to fix the warped bumper with bondo. They had done such a good job you could not even tell until it started popping off in sheets 1/2 inch thick.
_IGP6847.jpg
_IGP6827.jpg

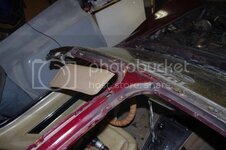
Removed the rear window that was held in by a few dabs of clear RTV.
_IGP6841.jpg

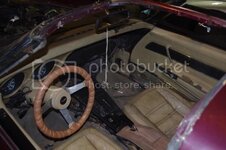
removed 1/2 of the dash
_IGP6839.jpg

removed part of the console
_IGP6840.jpg
 
_IGP6849.jpg

t-top bar hardware removed
_IGP6830.jpg

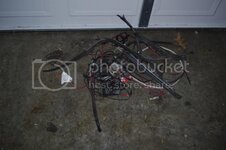
Removed all the wiring from a previous stereo system.
_IGP6844.jpg

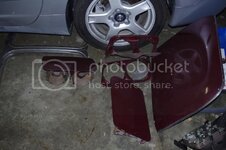
Parts all ready to start sanding on.
_IGP6843.jpg

_IGP6846.jpg

That is all for now.
 
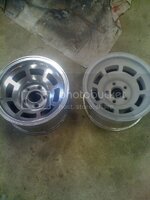
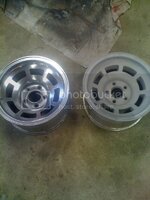
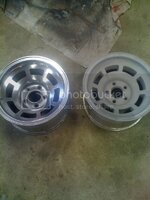
spent today polishing a set of factory allum wheels that we traded the rally wheels for. Spent about 3 hours doing all 4 wheels. These will be used for track use eventually and going with some after market ones for the street.
wheels.jpg
 
Last edited:
spent today polishing a set of factory allum wheels that we traded the rally wheels for. Spent about 3 hours doing all 4 wheels. These will be used for track use eventually and going with some after market ones for the street.
wheels.jpg

Looks great, Phil. I've got several sets of those that need some attention one of these days (okay, months). Any advice?
 
spent today polishing a set of factory allum wheels that we traded the rally wheels for. Spent about 3 hours doing all 4 wheels. These will be used for track use eventually and going with some after market ones for the street.
wheels.jpg

Looks great, Phil. I've got several sets of those that need some attention one of these days (okay, months). Any advice?

I did a lot of testing at work on one of the wheels to find the fastest and easiest way to get them to look good. We grind and polish the props at work all day so it was a good place to do some testing. Here is what I came up with that allowed me to do all 4 in around 3 hours.

1. Sand blast wheels
2. Purchased 3M GRAY color 2 inch Roloc scotch brite pads
3. Used the 3M pads on an angle die grinder on the wheels with alluminum polish that came from a truck stop. It is used for the fuel tanks on trucks. The polish acts like a lube to keep it from scratching heavy.
4. If any areas have curb rash you can fix it with the red scotch brite.
5. After going over the entire wheel with the Roloc wipe it clean with windex and a towel.
6. I then purchased a polish kit at Harbor Freight for 12 bucks. I used the large wheel on the die grinder with the same aluminum polish. Trick here is not use use much at all or it just loads up the wheel.
7. I then polished the wheels by hand with a rag and mothers aluminum polish. I went over them 2 times and it looks as if the more times you go over them the better they look.

Now that they are polished we are going to paint the cut out areas and the center a metallic gray where they were black from the factory.
 
Finally was able update the post! This was where we were at 2 weeks ago. The car was stripped and ready for body work and paint.
_IGP6990.jpg
_IGP6991.jpg
_IGP6992.jpg
_IGP6994.jpg
_IGP6986.jpg

_IGP6993.jpg
_IGP6989.jpg

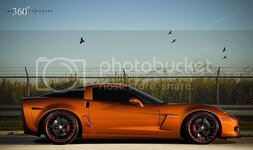
The color of choice will be "Atomic Orange Metallic"
3505081860_66048f6290.jpg
 
This is where we are at today!
Front bumper fitted and installed
_IGP7016.jpg
_IGP7017.jpg

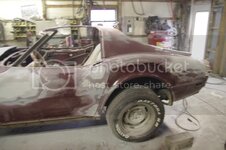
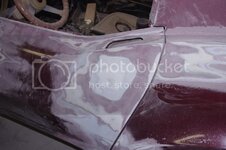
More body work completed on the sides along with closing in the door lock holes, no need for those.
_IGP7019.jpg
_IGP7026.jpg
_IGP7018.jpg

Next is to fit the rear bumper and install.
_IGP7022.jpg
 
HAHA....I did the same thing on my '72 vert, no door locks, why bother to lock a convertible??

:crap::drink:
 
looks great so far. :thumbs:

nice color choice but will the atomic orange look good with those flames stickers or are you not going to put these back on after painting it ???

LOL

:D
 
Back
Top