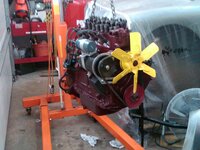
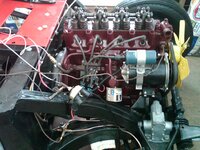
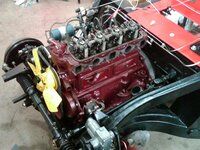
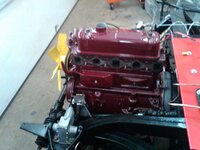
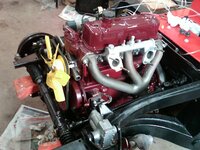
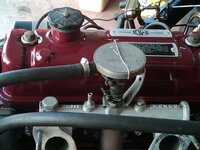
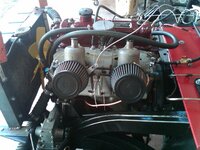
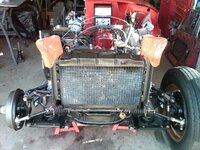
1958 MGA Coupe

VetteMod - Corvette Restoration, Modding & Performance Forum

Help Support VetteMod Forum:

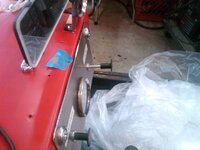
thks it was fun today, pulled the starter cable and it rumbled to life


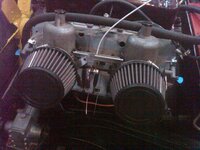
ok a little more fine tuning today using the "lift the inner cylinder" for adjusting the mixture. this is the best i can do unitl i get a distributor that pulls in advance

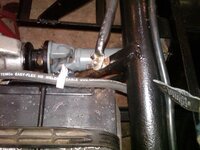
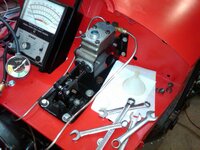
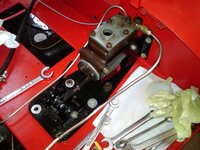
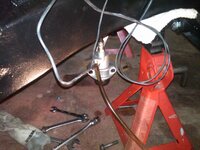
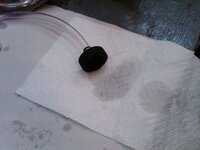
first to fix the oil leak....cut the flexible tube in half and dump my magical bag of fittings
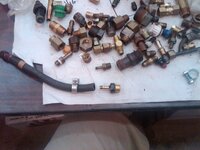
IMG03621-20140209-1027_zps264941d3.jpg

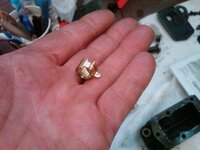
two fittings one with a barbed nipple and then another to match things up....and yes i do sometimes go to HD and just buy these brass fittings because you always need them.
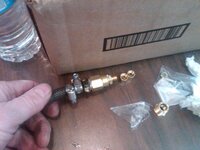
IMG03622-20140209-1041_zps8d417f80.jpg

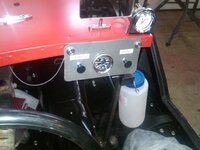
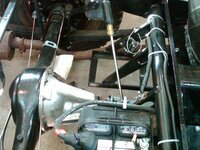
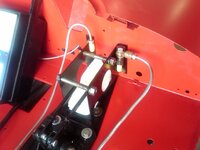
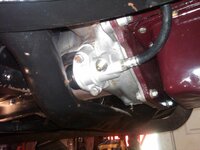
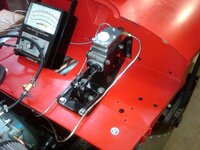
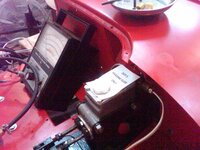
added some cables and a new oil pressure gauge it was just easier to buy one then to try and figure out the British fittings
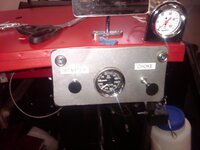
IMG03623-20140209-1312_zpse1edebd3.jpg

pull choke out and voila it works

IMG03625-20140209-1313_zps74e277c6.jpg

IMG03626-20140209-1313_zps747d4079.jpg

IMG03627-20140209-1315_zpsf8e43fd2.jpg

now to find some foam for my temp seat cushion and then adjust the brakes and do a final bleeding
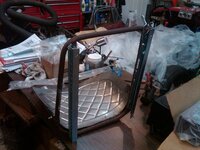
 
front arm pivot bushings tightend....drilled holes for the temp drivers seat still need to mount the tee nuts underneath

IMG03628-20140210-2245_zps97d5eeb4.jpg

IMG03629-20140210-2307_zps30924510.jpg
 
When you said "pull the starter cable," I was half-expecting a lawn mower cord sticking through the dash. :devil:

now thats funny.....but this is one car if you have small kids you dont want to leave in gear, or you need to disconnect the battery....otherwise they pull a knob on the dash and the car moves unitl they let go.
 
When you said "pull the starter cable," I was half-expecting a lawn mower cord sticking through the dash. :devil:

now thats funny.....but this is one car if you have small kids you dont want to leave in gear, or you need to disconnect the battery....otherwise they pull a knob on the dash and the car moves unitl they let go.

or people like me around (I refuse to grow up)
 
or people like me around (I refuse to grow up)

You are not the Lone Ranger there!!! SBG - I think we have Peter Panitis!!! Grow up - WHY???

Great work you are doing Bob - I still envy your picture taking skills. even with my iPhone by my side - I get into something and never take the PIX I should!! :thumbs:
 
As an Amazon Associate we earn from qualifying purchases. Product prices and availability are accurate as of the date/time indicated and are subject to change.
put the T nuts under the front seat so the rails are fastened down and it slides pretty nicely, adjusted all the brakes and discovered my left front rubber hose was seeping at the copper washer so gave that another 1/5 turn. adjusted the M/C free play, still need to do final bleeding. also I added a battery cut off switch just using extra cables I had, I did not cut these cables just used them as they were and I will probably reuse them on the next project. also added a switch for the coil but ran out of time to wire it.

IMG03636-20140211-2327_zps1ef03701.jpg

IMG03637-20140211-2327_zps50250355.jpg

IMG03638-20140211-2349_zps777c4053.jpg
 
well my desire to drive the car to the top of the street this weekend has been delayed by the weather. I think I got the brakes squared away but the clutch is not up to snuff. I can get the car in gear with some grinding and when I put the brakes on it stalls the car, so the take away is that the brakes are close to being perfect but I need to bleed the clutch some more. I wired up the coil switch but the led light fell apart oh well that was just for fun.


IMG03644-20140213-1200_zps48a6366b.jpg

we will keep this our little secret

IMG03646-20140213-1226_zps2573f5a1.jpg

IMG03647-20140213-1227_zps7e7875a5.jpg

IMG03648-20140213-1235_zps130952b0.jpg

heres a view of the ground cable

IMG03649-20140213-1235_zpsb75be5e4.jpg

I may not be able to drive the car out of the garage but I can put it up on stands and check the clutch operation and brakes

IMG03650-20140213-1252_zps9d1a46ef.jpg

IMG03651-20140213-1252_zps06842d13.jpg

just crack the big door and we are good to go

IMG03652-20140213-1253_zps72b5d038.jpg
 
Last edited:
what another day chasing my tail.....at one point out of frustration with trying to bleed the clutch with the slave cylinder disconnected and hanging down so I could push the piston up I went up top and pumped the clutch pedal...that wasn't one of my finer thoughts....so I can definitely say the the innards of the clutch slave cylinder look fine and it has a steel piston.....you would have thought I learned a lesson from that one....oh no I just doubled down....this next moment of genius came with the motive pressure bleeder up top and creating pressure and I disconnected the clutch slave and pressed the piston up with a screw driver and bled the line, the thought was when it expanded back it would fill up with brake fluid....and yes it did expand all the way out of the cylinder....

trying the motive as a pressure bleeder through the nipple just didn't give me anything.

so after those less successful attempts I went back to the old method with the pressure bleeder up top and now if I pump on the clutch pedal about 20 times and hold it down while the engine is running and I have it in gear and I apply the brakes there is some clutch disk slippage and the car doesn't stall just shakes.....wow an accomplishment.
 
did you set any records for the "piston pop" - I've gotten a good 5 feet of air followed by at least 5 feet of roll... I say "at least" because I never did find the rod again :flash:
 
well unluckily the clutch side isn't producing enough pressure for a good anything....


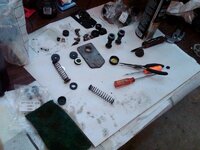
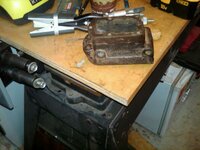
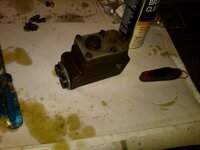
heres the bottom line.....the clutch side of the MC is not developing pressure. when I power bleed the system I get the best pedal movement but only temporarily.....when I regularly bleed it the first 1/4 of pedal travel produces no fluid. when I map the slave pushrod travel to the pedal movement the first 1/4 of pedal movement produces nothing the middle half gets the most movement and the last 1/4 get a small amount. I was so hung up on the clutch slave being finicky to bleed and since I spent the extra $$$ on an AP MC I just missed the obvious. I will rebuild my old MC and use that as a test unit. I have all the parts to rebuild it and I took it and the clutch slave apart this am.


here it is

IMG03657-20140216-0952_zpsd47db11d.jpg

slot the bottom to expose the hole and grind off the bleed nipple

IMG03662-20140216-1115_zps8aa963ef.jpg

IMG03658-20140216-0952_zps58418782.jpg

drill and tap

IMG03659-20140216-0959_zpse3d789e1.jpg

IMG03661-20140216-1115_zps832a206f.jpg

and fill with oil and then use grease from a grease gun

IMG03666-20140216-1219_zps4d38b8f5.jpg
IMG03667-20140216-1219_zps26a4a54c.jpg
 
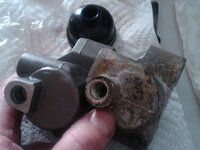
almost there....heres the scoop...the clutch slave cylinder lip seal was allowing air into the salve cylinder every time the clutch pedal would return to normal height. Why you ask....look at this horrible design its almost begging for this to happen

doesn't look so bad here...rebuild kit one is the shorter one

IMG03672-20140216-2131_zpsb02e4b3b.jpg

looks like same width

IMG03673-20140216-2132_zpsa826038a.jpg

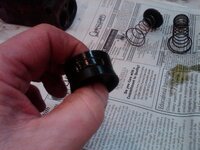
can you see the 6 half radius indentations in the lip seal, the original spring and spreader is on the left in the back ground and the new one is on the right

IMG03673-20140216-2132_zpsa826038a.jpg

IMG03676-20140216-2133_zps1c6e83aa.jpg

IMG03678-20140216-2145_zpsdfa747fc.jpg

no **** it allowed air in...so I replaced the original seal and spring with one from a rebuild kit I had purchased when I first got the car.


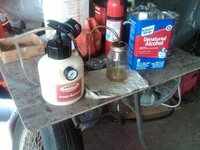
so lets do this one final time heres the set up

IMG03679-20140216-2223_zps368907f1.jpg

IMG03680-20140216-2223_zpsbccad6af.jpg

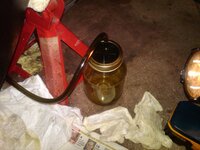
plastic bottle NEVER USE GLASS

IMG03681-20140216-2223_zps5e081b00.jpg

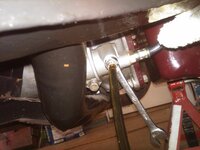
that hose clip is on the bleeder nipple and stops the bleed hose from coming off and also holds he combination wrench in place

IMG03682-20140216-2224_zps9fbf2397.jpg

the end result was the car will go in gear with no grinding, which is a first. But will still almost stall with the clutch fully depressed in gear with brake on. there is no bubbles in the slave cylinder and even after pumping it there was no bubbles. I have 11mm of slave push rod travel and I believe its more firmly pushing against the pushrod then it was before. I had to reuse my silicone fluid and I strained it each time but I believe its pretty well agitated and probably has some micro bubbles in it. tomorrow I will get another qt of fluid and then in a day or two will rebleed it. I will look for bubble again in slave cylinder but I think once I get the micro suspended bubbles out we will be ok.

lessons relearned.....1. just cause its a new part doesn't mean it will work properly
2. just cause something has a horrible reputation for being finicky doesn't mean that's the problem
3. don't ignore the obvious symptoms....air that keeps showing up in the slave cylinder has to come from some where
 
tuesday:
still chasing the beast or maybe its chasing me

well swapping the slave cylinder guts has gotten rid of all the air slipping by the lip seal, so I reliably have no air in the clutch slave and I also have 11mm of travel but that's it, but this is uniform and predictable now which I didn't have before. When we map the clutch pushrod travel to the clutch pedal movement its pretty uniform with 2-3mm in first 1/4, 5-6mm in second and third qtrs and 2-3mm in last 1/4 totaling about 11mm and clutch pedal is to the floor. this also happens to be when there is a lot of resistance on the throwout lever. I tried levering the throwout lever back and I couldn't move it with one hand and a 6" lever. How much pressure should it take to move the throwout lever arm? I am not sure if this is an issue or not but the bottom line is the pedal hits the floor at the same time we get maximum movement of 11mm so theres no room for further movement of the clutch slave pushrod

Now up top on the new AP 7/8" MC the clutch side is not predictable on where the piston will stop when it returns to full clutch pedal height. there is as much as 8mm of free play irregularity. by this I mean we start off with 1/8" free play measured at clutch pedal (barely about 1mm of travel of MC pushrod) and then pump away for several times and then take a measurement when the pedal feels and sounds different and you now have up to 8mm more of MC pushrod travel before it hits the piston. pump away some more and it will move back to where you started or any where in between. there doesn't seem to be any pattern to when it decides to stop prematurely. on one time i could actually unscrew the MC pushrod all the way in order to touch the piston. i don't think the MC clutch side is developing full pressure. any thoughts on anything i am missing or the next logical troubling shooting step? I wonder whats going on with that MC clutch piston???? thks bob


Weds: so as part of the trouble shooting process at lunch time i was able to verify that mechanically the clutch, throwout bearing and clutch disk all worked correctly

i even did it single handedly

i used a 1" piece of square stock slipped over the throw out lever fork ( the slave pushrod removed) used a strap and put it over the front hub....so when you turn the wheel the distance shortens and pulls the lever towards the front and the frame cross member acts as a fulcrum (i will need to do some paint touch up)


IMG03694-20140219-1355_zps53920194.jpg


i used a screw driver as a lever in the universal joint and i could turn the steering wheel to engage.disengage the clutch and i was able to turn the drive shaft while the car was in gear and the fan did not turn....turn the steering wheel to the right and the disk would engage and the fan would start to turn....so mechanically the clutch assembly is working fine and it engages and disengages with predicatability

IMG03695-20140219-1355_zps14c66ad3.jpg


there was 5/8" of movement in the lever arm this is an approximate measurement it was 1 1/8 to 1 3/4

heres a picture as i was trying to figure out the measuring technique.

IMG03691-20140219-1335_zps00df428e.jpg
 
rebuilt the old MC tonight to use as test/temporary unit


IMG03696-20140219-2231_zps5960a9fa.jpg

doesnt look like much

IMG03698-20140219-2232_zps6c5593a2.jpg

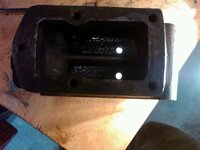
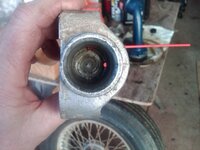
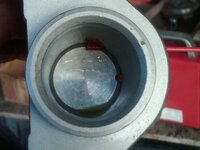
if you ever wondered how big those fluid return holes are this is with a flash light shining in the bore

IMG03697-20140219-2231_zpsbc2141b1.jpg

not very pretty but its just for a temporary use.


IMG03699-20140220-0022_zps0c4bd68e.jpg


i am cycling the pistons to make sure that they will return freely under spring pressure and just for fun some of the cycling has been done with fluid in it like doing a bench bleeding.....
 
well last night I swapped the rebuilt old MC with the new one and you could feel an immediate increase in pedal pressure, i filled it up from the bottom and for some reason i could not get a good seal on the motive pressure bleeder up top for a final pressure bleeding. i think this is because the screw heads are taller then the flatter bolts so i have a partially bled rebuilt MC that is giving me more pedal pressure and marginally more pedal travel 1-2 mm on a partially bled system. i will take that as a positive step forward.

heres the old nice looking unit ....

IMG03703-20140220-2053_zps1cacca74.jpg

and the rebuilt one since i was working solo all of my measurements were done with a clamp up top which also lost me some small amount of pedal travel since it didn't fit very well, this after noon when my helper gets out of school we will nail this down

IMG03705-20140220-2357_zpsfd8912e9.jpg
 
I am so close.......the rebuilt MC with out bleeding has me within 2-3mm of where I know the clutch pressure plate disengages from previous measurements taken with the lever and strap, but the 56 yr old springs that that were in the MC which I reused are just not up to the challenge of returning the piston forward with fluid in the system after I push the pedal down to bleed the system the manual way. add to that the top plate screws are too high for my motive pressure bleeder early Ford adapter to work. so I need to either rethink a bleeding strategy or just wait for the new MC to arrive.
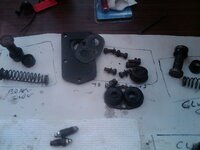
the defective MC will get shipped back tomorrow to the vendor for replacement , but the vendor for the clutch slave will not take a return if silicone fluid was used so I am getting some prices from a different source.

on the positive side I have incredible pressure at the clutch pedal I just need to get rid of some residual air....so close
 
this is the old lock heed unit with holes at 12 and 3

IMG03710-20140222-1110_zps3ed72756.jpg


heres the new unit with holes more like 1:30 and 3....now rotate this clock wise some when it gets mounted and you can see where you have trapped air.

IMG03713-20140222-1111_zps4fdbc29f.jpg

IMG03714-20140222-1112_zps0f159b17.jpg

so lets pretend the last 2 wks never happened.....everything is back to where it was...

IMG03715-20140222-1230_zps662105ab.jpg

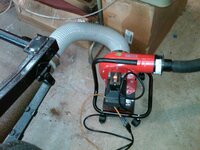
cleaned up the pressure bleeder and i will order the correct bleeding cap
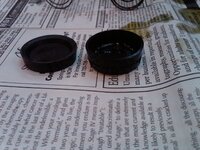
IMG03716-20140222-1231_zps86dda39d.jpg

all lines capped
 
Last edited:
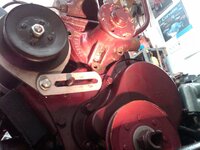
about 2 hrs of work....I have a leaking water pump which needs to be replaced and I want to switch over to the MGB PCV so I need to take lots of stuff off any way.....and my clutch still just doesn't seem right. Using my mechanical pressure plate release I can release the clutch and move the drive shaft by hand yet when I turn the engine over and its running the clutch seems to be engaged? really strange.....it almost seemed like something is off center and acting like a cam picking up interfence as it rotates....

up up and away

IMG03725-20140302-1400_zps2506ff0b.jpg

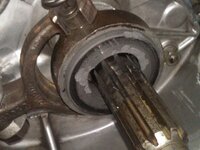
hows that for a nice smooth throw out bearing...that sure doesn't look right

IMG03727-20140302-1410_zpsfab13ab6.jpg


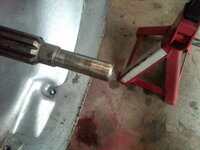
end of the shaft isn't scored

IMG03729-20140302-1413_zps4b104211.jpg

disk is mounted right

IMG03731-20140302-1419_zps1a2604e0.jpg

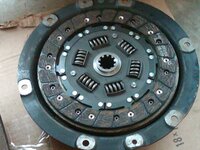
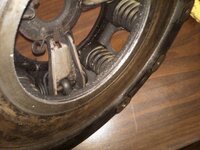
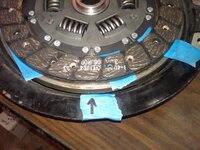
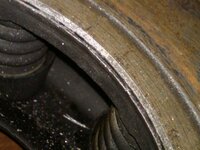
this isn't right ...........look at the shoulder that has been dug/grinded into the pressure plate

IMG03734-20140302-1427_zps61f95b02.jpg

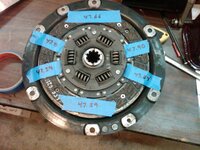
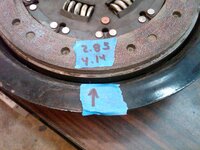
so as we looked at this we realized that the splined center of the pressure plate must not be centered, these are the distances to the edge of the clutch disk that sits in the pressure plate from the center opening

IMG03739-20140302-1454_zps40d6da42.jpg

heres the old clutch disk sitting in the pressure plate showing the free play from side to side, the measurement shows the amount of the pressure plate I could measure from side to side

IMG03740-20140302-1457_zps20b132bb.jpg

IMG03742-20140302-1458_zps802bf950.jpg

the new clutch disk has NO movement or free play

IMG03743-20140302-1459_zpse48f8fab.jpg

heres the shoulder that has been dug into the pressure plate

IMG03745-20140302-1507_zpsf55ce540.jpg

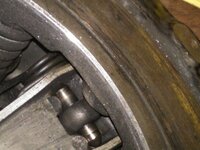
heres the undamaged side

IMG03747-20140302-1507_zps768fb80e.jpg

so heres the bottom line the clutch disk Spline was off center and there was not enough free movement in the pressure plate opening that it sits in to accommodate the off centerness and the clutch disk would then be shoved into the side of the pressure plate opening causing the shoulder and since the pressure plate is mounted to the fly wheel it would drive the input shaft...

what a complete waste or time.....a MC with a defective cylinder.....a slave cylinder that sucks in air.....a clutch disk manufactured incorrectly and now a defective throw out bearing...
 
SNOW DAY.....

IMG03761-20140303-1315_zps4d8fc41e.jpg

you know where that's going...

IMG03756-20140303-1113_zpsda98bcf0.jpg

55 minutes from putting the old components back on to having it installed... 15 mins to get it aligned and close and then 35 mins of wiggling and massaging the angles and then it slipped right in place with no effort.

IMG03758-20140303-1117_zps486d72d5.jpg

cleaned paint over spray off of the oil filter mounting plate

IMG03760-20140303-1232_zps875cc310.jpg

2 hrs from start to finish

IMG03762-20140303-1318_zps33612b1f.jpg

IMG03763-20140303-1318_zps2a176e39.jpg

and heres the MGB valve cover and front tappet cover having the cork gaskets mated to the stamped steel with permatex

IMG03764-20140303-1345_zps3b141880.jpg


total time 2.5 hrs and the best part the clutch works perfectly, I can disengage with it a lever and I can turn the drive shaft by hand and it feels right .....I am a happy camper!!!
 
we are iced in so heres a quick hour

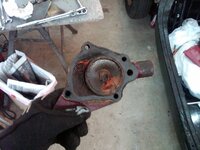
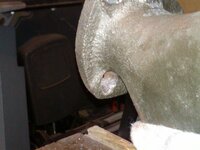
I found the leak on the water pump and its at the bottom weep hole

IMG03766-20140304-0950_zpsc340971b.jpg

definitely not a leaking gasket

IMG03767-20140304-0952_zps3598ce40.jpg

time for a new water pump.

IMG03769-20140304-1007_zps4ec026fb.jpg

I was looking at the rear side tappet cover and the MBG is indented where the 1500 one is protruded and it is much thicker, the PCV front cover plate actually has a tubing collar where the bolt goes through almost like they are trying to keep oil off of the center bolt. I will leave these as they are but when I remove the intake manifold again to put the body on if the rear is leaking I will swap it with the MGB one

IMG03765-20140304-0926_zps38bd9a91.jpg
 
it's fighting you....

Perhaps you should post a picture of it when you bought it in front of it as a warning to remind it where it will end up if it fights too much.
 
either that or push it out side over night.....

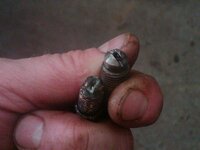
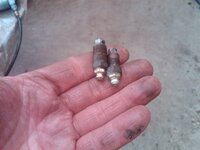
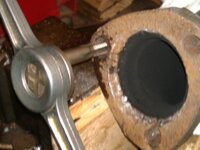
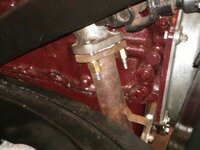
lets play around with cleaning up the PCV and see what I can do with the broken exhaust studs

so this is the hand I was dealt, I had used nuts and bolts before for the test runs of the engines but lets see if I can get some studs in there

IMG03770-20140305-1941_zps7d171e29.jpg


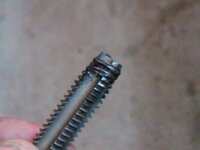
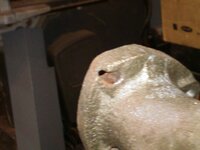
while tapping the threads you know the hole is in the right space when you get this

IMG03771-20140305-1944_zps78fb4055.jpg

IMG03772-20140305-1946_zps5443624d.jpg

now to move on to the next one

IMG03773-20140305-2005_zpsebe05e6a.jpg

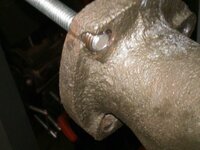
looks like they burned the old studs out but I need the holes to be straight so I am using a file to clean it up

IMG03774-20140305-2005_zpsed4ec129.jpg


this will get a helicoil if this were a stressed part this repair is awfully close to the out side

IMG03776-20140305-2015_zpse9a39aee.jpg

IMG03775-20140305-2010_zps1070e937.jpg


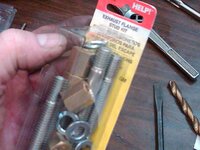
I am using 3/8x 16 GM style exhaust studs, I really like the double long brass nuts


IMG03777-20140305-2015_zps03eea64a.jpg

finished repair

IMG03778-20140305-2017_zps74ff00c2.jpg

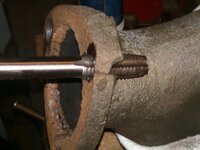
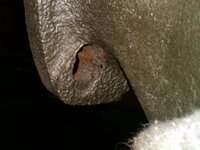
next one .....now this will be a challenge but at least I can straighten up the hole for the nut and bolt

IMG03779-20140305-2023_zpsea687112.jpg

IMG03782-20140305-2023_zps93e6e995.jpg

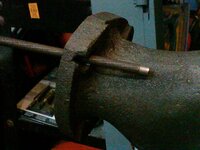
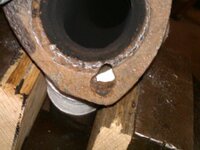
a broken file chucked in the drill
IMG03783-20140305-2031_zps7da49071.jpg

cleaned up but too big for a heli coil so I am just using a nut and bolt I could plug it and drill it but its just not that critical to me.

IMG03784-20140305-2031_zps8a4ac841.jpg

finished
IMG03787-20140305-2158_zpsd1f9905a.jpg

cleaned up the PCV from the MGB

IMG03788-20140305-2214_zps9dd73194.jpg

and the cap gets some stainless steel paint to cover the rust stains

IMG03790-20140305-2214_zps4103fda5.jpg
 
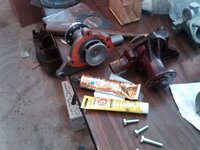
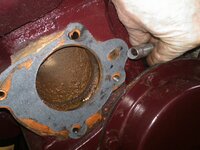
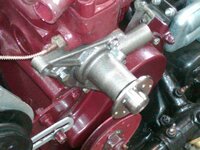
in with the new water pump..... I use some RTV sealent on both sides of the gasket

IMG03791-20140307-1119_zpse39bc5bb.jpg

I don't know why we could expect the holes to line up

IMG03793-20140307-1129_zpsc66eaac5.jpg

I sprayed the water pump with some clear

IMG03795-20140307-1158_zps0d4c3c55.jpg

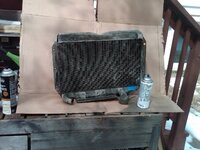
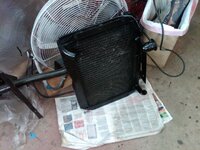
cleaned up the good radiator and painted it, I used black lacquer since it is so thin I thought it would look more like radiator paint

IMG03796-20140307-1222_zps1ce63298.jpg

IMG03798-20140307-1237_zpse074e6c3.jpg

todays work

IMG03800-20140307-1408_zps4a9d6a1c.jpg
 
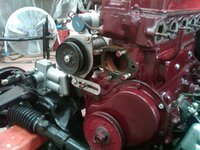
PCV valve set up installed

IMG03805-20140308-1313_zpsc3da4ee9.jpg

this little handy bracket actually keeps everything together pretty nicely

IMG03808-20140308-1320_zpsb114e0f9.jpg

I figured out I could make the choke work in the MGA over the filter style by reversing the abutment and changing the cable stop style on the HS4

IMG03810-20140308-1434_zps25f7e108.jpg

the good radiator does not leak, we back flushed it extensively this morning

IMG03811-20140308-1516_zpsae85293e.jpg

and we figured out how to drive the tublar rivets to mount the valve cover labels using punches, not very pretty but effective

IMG03812-20140308-1516_zpsab50df93.jpg

the engine runs great and the PCV set up works as it should
 
lets try this again...

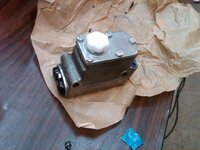
clear coated the MC

IMG03813-20140312-1731_zpsaac11e7e.jpg

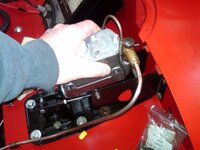
let the MC sit on top of the bolts and install the fittings

IMG03814-20140312-1744_zps7fc52029.jpg

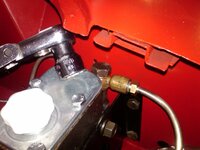
I could tighten the brake line before it was installed but the clutch banjo got tightened after it was installed

IMG03815-20140312-1809_zps39e84261.jpg

filled up the clutch slave circuit from the bottom so there are no air pockets

IMG03816-20140312-1847_zpsb60b093d.jpg

the brake circuit got bled from the top

IMG03821-20140312-2012_zps0c37bea6.jpg

I only did one wheel tonight just enough to get the air out of the MC.


done

IMG03817-20140312-1920_zps8fba180a.jpg
IMG03818-20140312-2005_zps8022d628.jpg

so I dont have any bone headed moments

IMG03820-20140312-2012_zps856e439a.jpg


AND IT WORKS!!!!!!!!!!!!!!!!!!!!!!!!!!!!!!!!!!!!
 
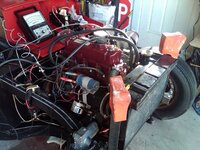
well I finished bleeding the brakes with the Motive power bleeder and then cleaned up a little and put a wheel back on and then took her off the jack stands and looked at the car and said what the hell......I opened the garage door in the 22* weather at 11:15 pm and I drove it in and out of the garage under its own power......the first time the car has moved under its own power in over 40 yrs. I cant wait until the 60* days coming up. the car has so little weight in the back I have tire spin marks from backing it in the garage.....its first burn out in 4 decades. it felt pretty good!!!!
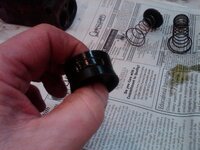
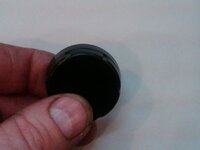
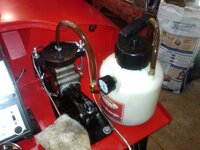
any body need 2 qts of clean, strained and recycled silicone brake fluid that was used only on all new parts. I just don't see a need to hold on to this until the next build. it would be perfect for any one who wants to switch from regular fluid to silicone and wants to use a sacrificial fluid as a first flush. pm me if you are interested
 
Back
Top