1958 MGA Coupe

VetteMod - Corvette Restoration, Modding & Performance Forum

Help Support VetteMod Forum:

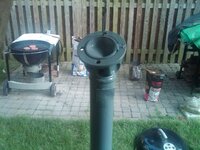
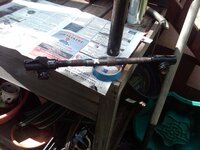
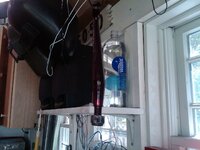
i think it was the duplicolor 500* engine paint in cast iron grey. most of the car originally was black but that makes way too much black for my taste. i like the contrast of different colors. i think the drave shaft is going to get battle ship grey or is it gray?
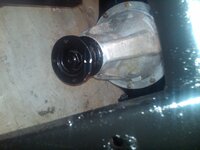
 
i did check the paint it was the duplicolor engine paint

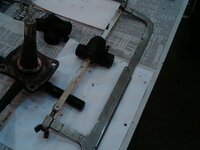
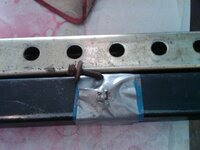
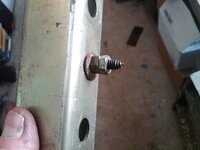
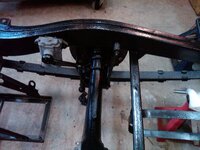
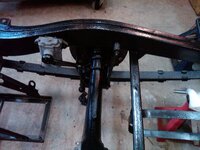
i had marked the flange on the axle housing so the drive shaft goes back like it came off but actually i am not sure why you need to do this on the drive shafts that have the yoke attached, since they are a balanced unit, but any way heres the easy mark to see. i actualy used a chisel and put ahash mark on it when they were assembled

IMG02292-20130709-1856_zps8dec43ac.jpg

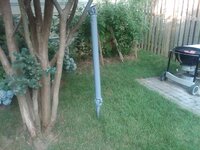
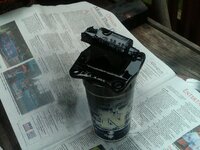
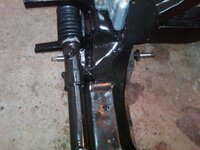
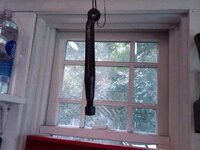
more fruit of the drying tree, again way too much black on this car for my preference

IMG02289-20130709-1855_zpscc00492e.jpg

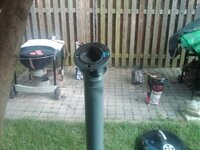
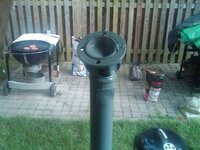
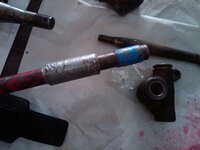
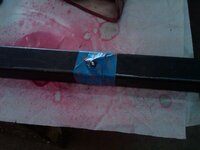
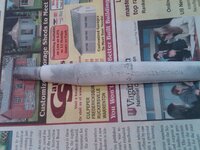
heres the corresponding white paint covered with blue tape

IMG02290-20130709-1855_zpsea2ebe5e.jpg

IMG02291-20130709-1856_zpsb385cb43.jpg
 
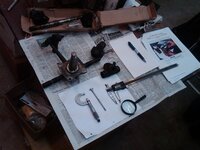
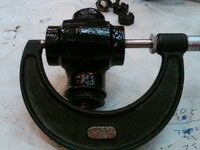
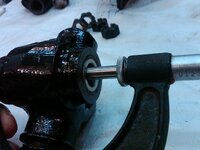
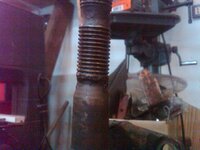
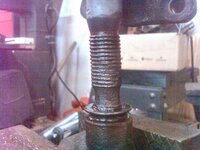
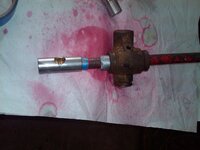
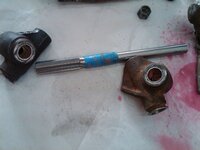
basically lets see how the swivel pin thread areas measure up for OD compared to each other. my RH side swivel pin one was just too worn for me to use and i sourced a really nice one with the bushings already done. and i confirmed the measurements today

lets measure everything and write it down to make sure its with in specs and lets get the old bushings taken out.

IMG02295-20130712-1150_zps21fa9676.jpg

IMG02299-20130712-1259_zpsf6336406.jpg

IMG02296-20130712-1227_zps729a6ec2.jpg

IMG02297-20130712-1232_zpsa22b03b4.jpg
 
time to play with the torch....lets remove the steering arm and the swivel pin....

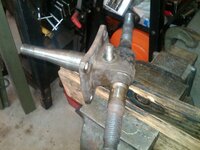
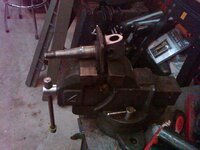
lets get the steering knuckle nice and warm and hit the threaded end (with the nut on)with a hammer..

IMG02302-20130713-1109_zps94dc5ebb.jpg


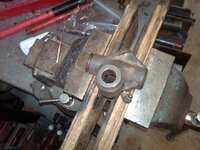
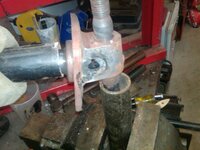
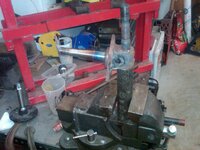
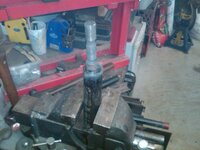
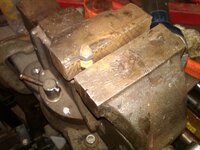
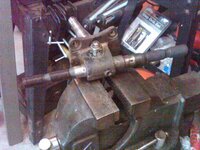
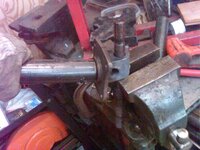
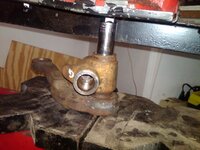
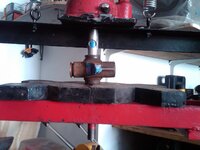
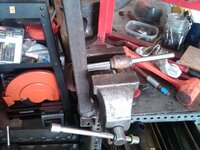
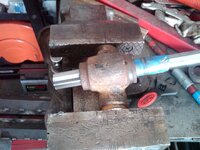
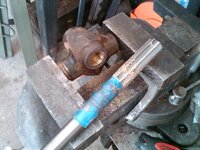
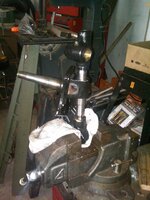
now lets step it up a notch....see i am holding this assembly with a pipe since it is very warm, i could not get a good blocking set up on press, probably since my blocking plates are AWOL in the garage some where....so we are going to use a piece of pipe clamped in the vise and BFH, since the swivel pin is trash i dont need to worry about protecting the threads.....so let get everything really hot

IMG02303-20130713-1239_zps4ea56392.jpg

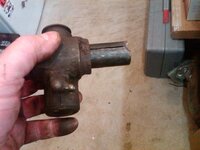
IMG02304-20130713-1239_zps18763909.jpg

and i win

IMG02305-20130713-1253_zps09a0ceec.jpg


THE BEST THING YOU CAN DO AT THIS MOMENT IS TO GO TAKE A SHOWER AND RESIST ALL TEMPTATION TO TOUCH THOSE PARTS
 
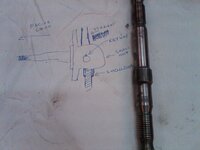
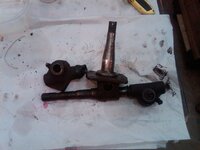
now that everything is cooled off i have cleaned them and polished the shafts. its also important in the assembly area to diagram exactly how it goes together so you dont have any oh crap moments.....
heres the diagram on the paper on the table and the photo proof....this is why i photograph everything it stops me from having to remember

IMG02311-20130713-1750_zps59dd2451.jpg


IMG02302-20130713-1109_zps94dc5ebb.jpg

IMG02309-20130713-1721_zpsfff79a39.jpg

IMG02310-20130713-1721_zpse3169408.jpg
 
swivel pin goes in freezer..... steering knuckle goes in the hot sun on a black plastic bag. the pin gets a light coat of instrument oil


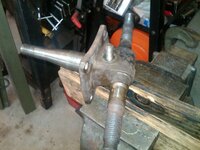
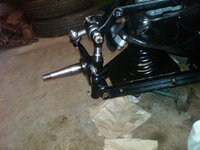
an hour later bingo......it went about half way in by itself then a light hammer tap and it went all the way home, then steering arm goes in while everything still has a temperature differential. if i hadnt painted it i could have put the steering knuckle inthe oven and them I bet it would have slipped right in

IMG02313-20130714-1146_zpsa67cecfd.jpg
 
As an Amazon Associate we earn from qualifying purchases. Product prices and availability are accurate as of the date/time indicated and are subject to change.
i did check the paint it was the duplicolor engine paint

i had marked the flange on the axle housing so the drive shaft goes back like it came off but actually i am not sure why you need to do this on the drive shafts that have the yoke attached, since they are a balanced unit, but any way heres the easy mark to see. i actualy used a chisel and put ahash mark on it when they were assembled

IMG02292-20130709-1856_zps8dec43ac.jpg

more fruit of the drying tree, again way too much black on this car for my preference

IMG02289-20130709-1855_zpscc00492e.jpg

heres the corresponding white paint covered with blue tape

IMG02290-20130709-1855_zpsea2ebe5e.jpg

IMG02291-20130709-1856_zpsb385cb43.jpg
Mmmmm! Burgers!
 
they were particuarly tasty that day i might add

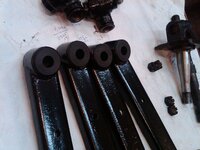
cleaned and examined the pivot arm and polished the shafts

IMG02318-20130715-2225_zpsecfa4c4d.jpg

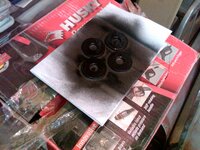
wire brushed the compression washers and painted them

IMG02319-20130715-2228_zps6aab6751.jpg

poly urethane bushings

IMG02321-20130715-2229_zps0710a585.jpg

half of the spring pans get assembled with me standing

IMG02322-20130715-2243_zpsb86dfbeb.jpg

the threads for the ones that i have to put on kneeling get the threads chased with a cleaning die. this is different then a cutting die it only chases (cleans) the threads and doesnt cut anything
IMG02323-20130715-2255_zpsa2599629.jpg

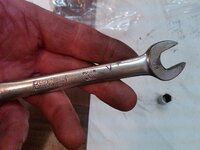
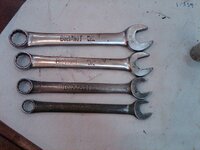
on a side note this was my grandfathers wrench the V was his initial i was given these last summer at a family reunion since the relatives knew i like working on cars, i have about 6 or 7 wrenches that were his. he had a large garage on long island in the 30s and passed away in the early 40s. these are my go to wrenches every chance i can use them.

IMG02324-20130715-2304_zps2392d0a4.jpg

IMG02325-20130715-2305_zps5be6b74a.jpg

this is one way to measure to make sure the distance tube has the proper clearances so it will doesn bind on the trunnion bushing

IMG02326-20130715-2307_zps68fba337.jpg

the mic slipped a little when i was juggling the camera but you get the idea

IMG02327-20130715-2308_zpsfd222084.jpg

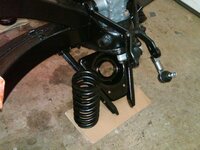
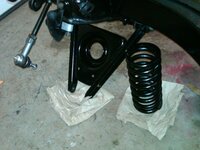
and the lower A arms and spring pans are in

IMG02330-20130715-2318_zps131f1b7e.jpg

IMG02329-20130715-2318_zpsf50872e6.jpg
 
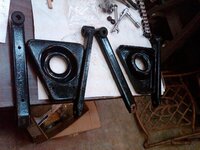
busy day today....checked the steering arm and swivel pin for cracks and repainted it, if you ever need to get fresh paint off of something just spray brake clean on it....

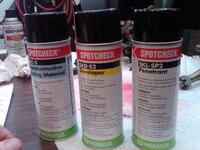
heres the dye penetrant, developer and cleaner from magnaflux. basically clean the part, spray the dye wait 20 mins clean it off and then spray the developer and wait 20 mins and then look for any cracks.that was $57 from grainger no need for the kit just get the cans

IMG02332-20130717-1924_zps465eb71c.jpg

IMG02331-20130717-1840_zps0bb84241.jpg

cleaned up the grease fitting and pumped new grease through them

IMG02334-20130717-1937_zps06ee054a.jpg

you can see the old brown grease then the new stuff, no sense in contaminating all new stuff with old grease

IMG02333-20130717-1937_zps4f2f488f.jpg

I put the trunnions and distance tubes together following Barneys instructions. on these trunnions the bearings were just about brand new and had no measeurable wear on them, in fact I am not sure my hand reaming will be as tight as these are. and heres where i had to wait for some extra weight

IMG02335-20130717-2128_zps6e8b4379.jpg

200 lbs didnt do it.....300 lbs did the trick

nothing is tightend yet so please eye ball these things and make sure i didnt put anything on back wards....the thrust washers are inside the flanged washer facing the distance tubes

IMG02341-20130717-2204_zps166c6eed.jpg

IMG02342-20130717-2204_zpse27439ad.jpg
 
vacation and taking little joe back to college has slowed me down a little bit. i just got word that my replacement driverside swivel pin and trunnions are going to get shipped out soon. this will let me finish the front end rebuild.
 
slow parts for MGs.... seems like there's a joke in there, somewhere :crutches:

i cant bitch about this on the MG forum since i am getting the parts from a member but this guy is just screwing me with the shipping of them ....hes just an old guy with just other things that are more important then selling the parts he advertised he wanted to sell. i finally linked him to the USPS site where they will send you the box at home and you can print the label and then a schedule a pickup with out ever having to leave the house so finally yesterday i got a shipping notification for a scheduled pickup today.

i just hope the parts are the right ones and in good shape or i will have wasted what seems like 2 months
 
slow parts for MGs.... seems like there's a joke in there, somewhere :crutches:

i cant bitch about this on the MG forum since i am getting the parts from a member but this guy is just screwing me with the shipping of them ....hes just an old guy with just other things that are more important then selling the parts he advertised he wanted to sell. i finally linked him to the USPS site where they will send you the box at home and you can print the label and then a schedule a pickup with out ever having to leave the house so finally yesterday i got a shipping notification for a scheduled pickup today.

i just hope the parts are the right ones and in good shape or i will have wasted what seems like 2 months

been there on that one - it roundly sucks
 
it sucks even worse now that i got the parts

well the MG Gods are screwing with me just for fun I think


I got the part today and the top trunnion and the threads on the top of the swivel pin are good but the rest is disappointing. I removed the distance tube and bolt from the bottom but the trunnion still didn't move and when I examined it closely I could see the swivel pin was bent preventing the trunnion from turning, but sometimes the swivel pin can be straightened so I went through the effort to straighten it enough to remove the bottom trunnion and then I discovered that the bottom swivel pin threads were badly corroded so its not even worth the effort to try and straighten the swivel pin . time for me to have a beer (which incidently i bought to celebrate tonights accomplishments) and drown out the sorrows and start looking all over again. I badly need a good drivers side swivel pin and trunnions...does anybody have one that I can buy if you do please PM me, thks bob

IMG02370-20130822-1734_zps013148e2.jpg

IMG02373-20130822-1901_zps9ec8b4a7.jpg

IMG02372-20130822-1900_zps477a9f13.jpg
 
ok i have determined my origianl trunnions have no play on the good threads so it will be a new swivel pin

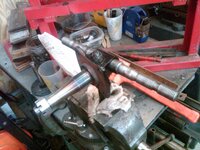
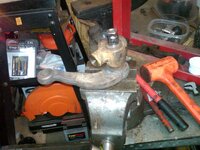
clamp steering knuckle in vise and remove nut on the steering arm and then replace it with one of the old castel nuts from the trunnion bolts to protect the treads and give it a good wrap with a hammer

IMG02375-20130823-1720_zps46b38e1f.jpg

put about 4 mins of O/A heat on the steering knuckle and some good wraps on top of the swivel pin

IMG02377-20130823-1735_zpsb17cfd25.jpg


figure out your movements ahead of time that steering knuckle is really hot.....i am holding it with a pipe over the axle stub

i win

IMG02378-20130823-1736_zpscaed896d.jpg

IMG02379-20130823-1736_zps7aeff0b5.jpg


now immediately walk away and go post your success or else you will be touching those damn things and seeing your fingers turn white, so now i think its safe to go back out there
 
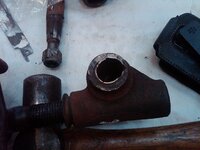
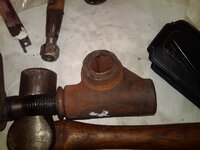
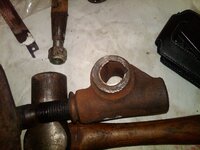
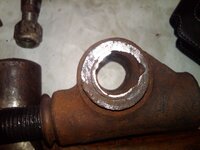
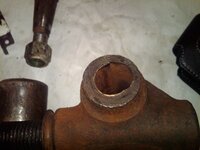
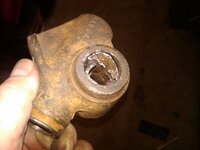
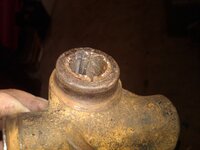
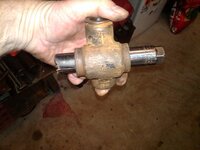
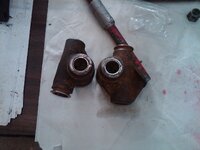
i thought you might find this interesting thisis the trunnion off the bad swivel pin look closely and you can see the bushing is worn right through

IMG02381-20130823-1821_zps8fe77418.jpg

IMG02382-20130823-1821_zpsd650a36c.jpg

IMG02383-20130823-1821_zpscae78256.jpg

[IMG02385-20130823-1822_zps576714d8.jpg

IMG02384-20130823-1821_zpsa18d42b3.jpg


and this is taking the bushing out of the one i am going to use

collapsing it on itself

IMG02387-20130823-1845_zps9f3f3024.jpg

IMG02388-20130823-1845_zps07e8e0b3.jpg

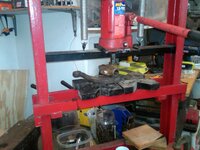
using a press and a socket to get it out

IMG02389-20130823-1848_zps5785585f.jpg

i found my big plates on the bottom of the body work cart

IMG02390-20130823-1848_zpsf63e6a6f.jpg

IMG02392-20130823-1849_zps44886c69.jpg

and for the rest of the way i just used the vise and ead blow hammer

IMG02393-20130823-1850_zps443d144d.jpg
 
Do they still sell these bushings or is this something you press in place and then final ream the inner diameter once it's in place ?
 
i dont use screwdrivers as chisels but other then that any is fair game for use if its in the garage. the bushings are a clsoe fit and then reamed to size. see below


well I have done something I never did before, I followed Barneys instructions and once again they made the job doable for a home shop. Barney is an MGA guru


I improvised a little since i wasnt sure how it make it all come togehter.

i decided to press the steel bushing in using my press and i made a guide so the bushing would go in straight

IMG02396-20130824-1036_zpse11ee01c.jpg

IMG02394-20130824-1008_zps3a1d0c9d.jpg


i made some reference lines just to make sure the hole didnt get side ways on me.

IMG02395-20130824-1012_zpsfb863019.jpg


it worked very well , make sure if you chisel out the bushings to ream the edge if you made any gouges

i then dressed the ends so they were flush with the trunnions

IMG02398-20130824-1046_zps08d64ad5.jpg


next we follow Barneys instructions and use some tape as a guide

IMG02399-20130824-1053_zpsc6ae805d.jpg


heres the mock up

IMG02400-20130824-1058_zps37a53971.jpg


heres my way to try and not chase a ball bearing around the shop

IMG02401-20130824-1106_zpsb2482d26.jpg

and it works

IMG02402-20130824-1106_zpse8bb9d6a.jpg


so for number 2 i am going to try somethng different with the ball bearing

IMG02404-20130824-1120_zpsc5e6bcee.jpg

IMG02405-20130824-1139_zpse9efc3e6.jpg

and i used this the two nuts were tightend to tegether and the bolt would spin. you can see the end that mated to the recess of the reamer


and sucess about 2 hrs of work and the distance tubes fit very nicely.

IMG02403-20130824-1113_zpsb87a04af.jpg
 
Last edited:
and to finish the days work....paint the parts and look for cracks in steering arm with dye penetrant and then paint it

IMG02406-20130824-1437_zps88acb2d7.jpg

IMG02407-20130824-1438_zps85d4d569.jpg

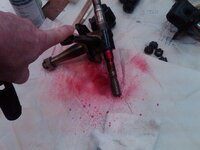
red dye

IMG02408-20130824-1438_zps9b145a54.jpg

if there was a crack it would show up here in the white

IMG02409-20130824-1508_zps73362d4a.jpg


and it gets painted

IMG02410-20130824-1513_zps400225bc.jpg
 

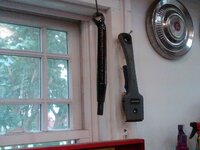
Lever action shocks in 1958? Wow. I'm pretty sure the last American use of those was in the late 40s.

Despite having several large trucks at my parents' property waiting for restorations, this thread makes me want to restore something little. I'd love to get my hands on a Willys Aero to build a small, practical hot rod. Although, the desire to restore something non-gigantic might explain why I bought a '76 Honda CB550. I've never rebuilt a bike before...
 

Lever action shocks in 1958? Wow. I'm pretty sure the last American use of those was in the late 40s.

Despite having several large trucks at my parents' property waiting for restorations, this thread makes me want to restore something little. I'd love to get my hands on a Willys Aero to build a small, practical hot rod. Although, the desire to restore something non-gigantic might explain why I bought a '76 Honda CB550. I've never rebuilt a bike before...

not true, my 50 Buick Sedanette had those on it.
 
small cars are relatively easy projects in all respects

not saying I'm a skeptic, however, as one who's putting just a little V6 with a couple power adders in a Fiat; I beg to differ

well what can i say...i will rephrase my comments....small cars can be relatively easy projects in all respects unless you put "a little V6 with a couple power adders in a Fiat" :beer:
 
small cars are relatively easy projects in all respects

not saying I'm a skeptic, however, as one who's putting just a little V6 with a couple power adders in a Fiat; I beg to differ

well what can i say...i will rephrase my comments....small cars can be relatively easy projects in all respects unless you put "a little V6 with a couple power adders in a Fiat" :beer:

it all starts with "why don't you just...." :crutches::suspicious:
 
why nots and what if"s are scary......

back at and glad to wrap up the front end well almost

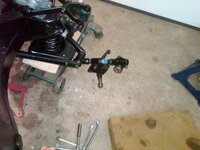
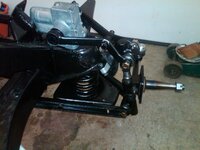
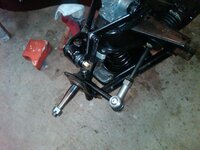
got the new swivel pin and installed it

5d040f61-9d8f-4c15-b0af-222ca7f3fb24_zps940a832d.jpg

feels good to have this wrapped up

IMG02439-20130908-2107_zpsf551a95f.jpg


then I noticed the rubber water seal popped off...oh well that and the rear axle rebound strap are getting returned for new ones...

IMG02441-20130908-2108_zpsfd79a675.jpg
 
replacement parts arrived and are installed, I have to stain the deck this week but after that its back to the car each night. next project will be reinstalling the brake backing plate and the front hubs.

IMG02445-20130922-1406_zpsbf66a5b6.jpg

IMG02448-20130922-1406_zps22bb237c.jpg
 
Back
Top