You are using an out of date browser. It may not display this or other websites correctly.
You should upgrade or use an alternative browser.
You should upgrade or use an alternative browser.
Plastic Fantastic 2
- Thread starter SuperBuickGuy
- Start date
bobs77vet
Well-known member
(Though not related to your effort...)
I've had a spool and spool gun for a long time.
Never even considered using it - until now.
Oh boy more online research required!
And, yeah, another bottle of Gas...
Thanks Guys!
Cheers - Jim
i would load that up with aluminum wire and go to town!
SuperBuickGuy
Well-known member
onward now that paint is applied
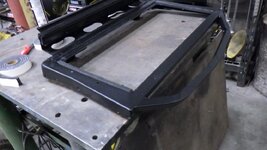
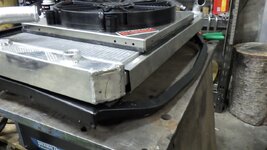
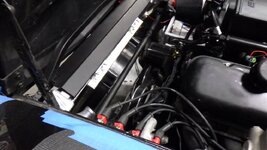
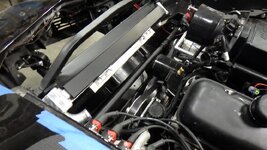
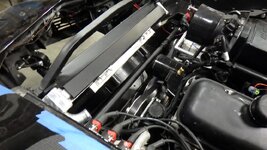
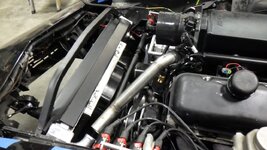
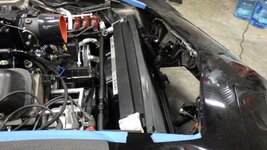
fit up the radiator holder
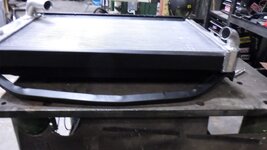
to attach the fan, nutserts
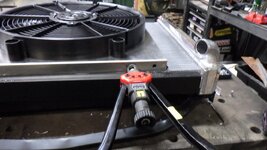
next step
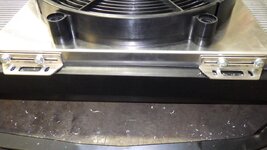
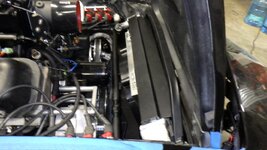
then bend an angle to hold the bottom in place
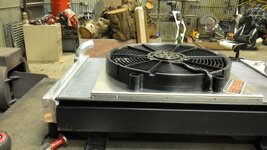
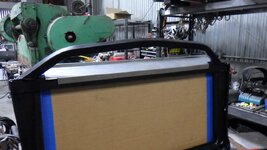
the benefit is I can lift the fan out without the radiator attached
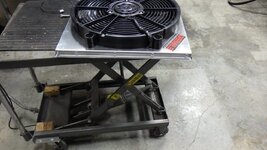
then time to weld the frame extensions in place - the problem is I never really had a good place to put tow hooks - you know, the required things to be on the track....
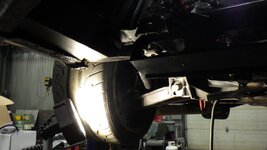
fit up the radiator holder

to attach the fan, nutserts

next step

then bend an angle to hold the bottom in place

the benefit is I can lift the fan out without the radiator attached

then time to weld the frame extensions in place - the problem is I never really had a good place to put tow hooks - you know, the required things to be on the track....

SuperBuickGuy
Well-known member
SuperBuickGuy
Well-known member
SuperBuickGuy
Well-known member
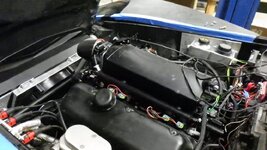
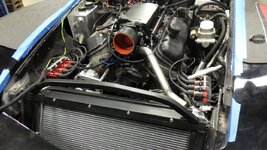
time to finish up the cooling system
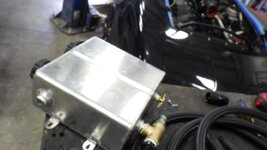
plumb the tank
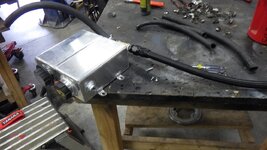
first, paint the mount
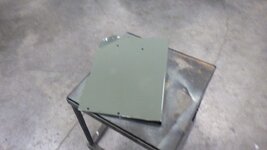
then the layout
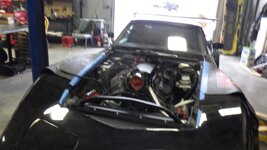
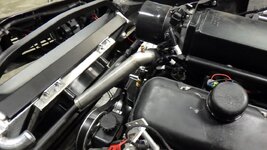
Thursday, the stainless upper hose was in progress. Needed a bleeder as this is the highest point
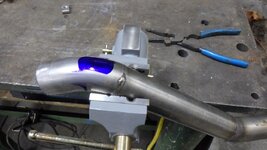
because the metal is only 16 ga, I put a plug in the top then tapped it for the bleeder
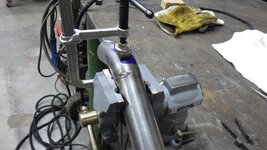
finished here
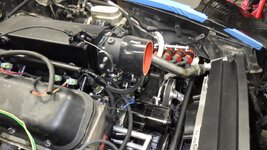
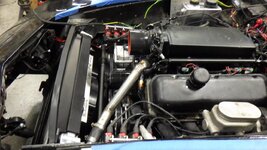
you know, I could have finished this all pretty, but f*** that - gotta give the haters something to hate on
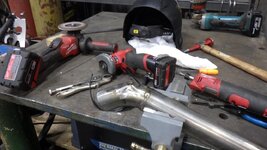
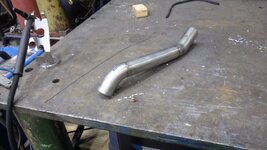
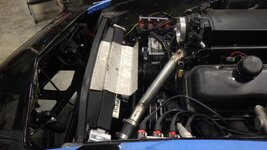
then a solid aluminum tube for the lower hose
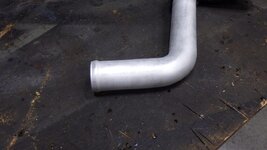
once mounted
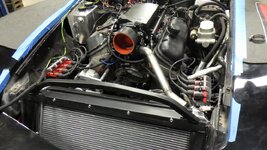
time to connect the AN side
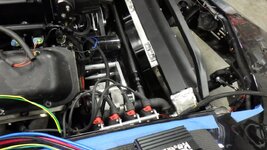
on unfinished tasks.... painted the lower valence
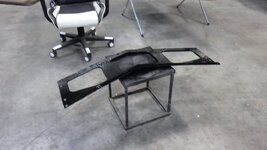
we end on my favorite task... wiring... it was comforting to read that my plan will void the warranty
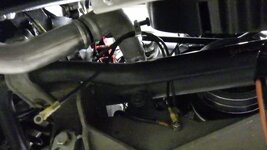
this isn't the void part... but I can't imagine putting the controller on the bumper support is a recommended procedure
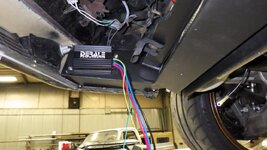
grounding done (now we're voiding)
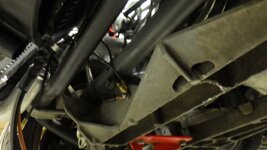
and the cooling system is holding fluid just fine...

plumb the tank

first, paint the mount

then the layout

Thursday, the stainless upper hose was in progress. Needed a bleeder as this is the highest point

because the metal is only 16 ga, I put a plug in the top then tapped it for the bleeder

finished here


you know, I could have finished this all pretty, but f*** that - gotta give the haters something to hate on

then a solid aluminum tube for the lower hose

once mounted
time to connect the AN side

on unfinished tasks.... painted the lower valence

we end on my favorite task... wiring... it was comforting to read that my plan will void the warranty

this isn't the void part... but I can't imagine putting the controller on the bumper support is a recommended procedure

grounding done (now we're voiding)

and the cooling system is holding fluid just fine...
SuperBuickGuy
Well-known member
List to finish this round
1) finish fan system - that includes a switch to power the fan and the water pump while I'm sitting between rounds
2) attach the side pipes
3) wrap the sidepipes
4) make it so the gas tank can't slide in its straps (yeah, really)
5) tow hooks
6) reinstall interior
7) build air cleaner
8) tune....
9) build rear cover/defuser
10) install front spoiler
*eventually build an exhaust system that's side pipe but actually doesn't kill power and is tunable
*put dual adjustable coilovers
phantomjock
Well-known member
SBG ...you know, I could have finished this all pretty, but f*** that - gotta give the haters something to hate on
Le mieux est l'ennemi du bien, Voltaire
The better/best/perfect is the enemy of the good.
Also reported as displayed on the factory wall of the MiG plant in Soviet Union as
Better is the enemy of Good Enough
Cheers - Jim
SuperBuickGuy
Well-known member
It works, send it.Also reported as displayed on the factory wall of the MiG plant in Soviet Union as
Better is the enemy of Good Enough
Cheers - Jim
~me
SuperBuickGuy
Well-known member
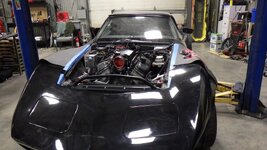
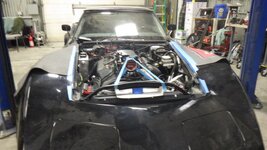
lower valence installed
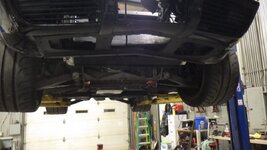
this removed. I don't need it. Called Derale today, we talked about what I was doing and cleared up a misconception..... that they are computer controlled motors. They're not in this case, it's a 2 speed motor thus I can control it with my Holley computer. Key here, if you're copying, is you MUST start the fan on low speed then double the speed by adding power to the high side of the motor.
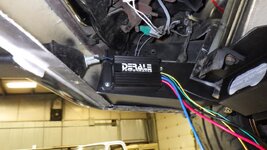
and wired
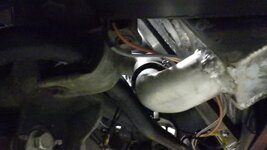
With substantially tuning, it's drivable now
but
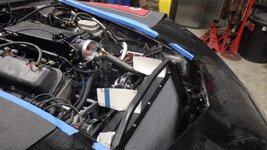
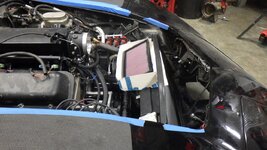
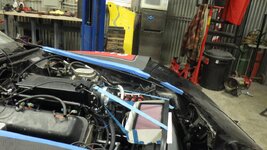
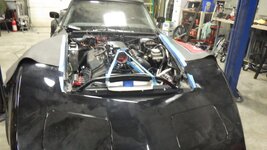
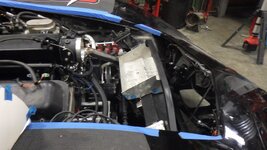
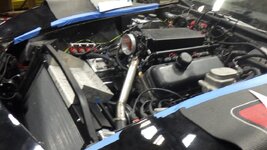
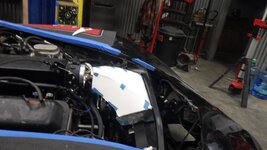
I still need an air cleaner
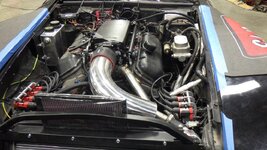
hmm
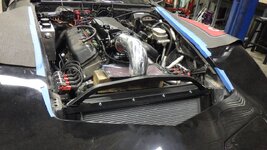
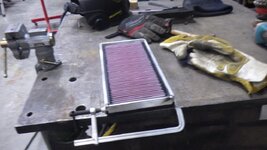
probably this
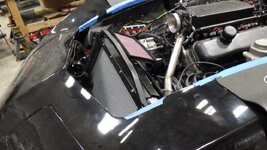
all i have to do now is build it
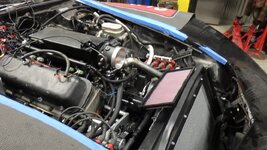

this removed. I don't need it. Called Derale today, we talked about what I was doing and cleared up a misconception..... that they are computer controlled motors. They're not in this case, it's a 2 speed motor thus I can control it with my Holley computer. Key here, if you're copying, is you MUST start the fan on low speed then double the speed by adding power to the high side of the motor.

and wired

With substantially tuning, it's drivable now
but
I still need an air cleaner

hmm

probably this

all i have to do now is build it

bobs77vet
Well-known member
its coming together quite nicely, good job!
SuperBuickGuy
Well-known member
phantomjock
Well-known member
You have that skill. I have 'glass....now just to make it out of metal
Like the layout. Would be interesting to work the sides.
I found an outfit that does that for conical filters:
Technology | Eventuri
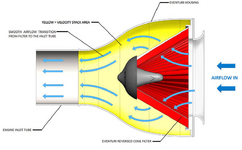
My quick impression in CAD (for your rectangular filter):
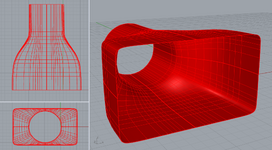
You know me; I would build it out of foam, cut, shape, file and cover with a foam-safe sealer. Then I'd lay up the 'glass and then melt out the foam. I don't weld like you do, but take this approach.
I havent measured the Eventuri setup, but the contraction ratios on windtunnels is typically 4 or 6:1. [Its been a few years so I had to look it up!]
The one I've sketched is pretty close @ narly 3:1. Just looking at your plan - it looks close to almost 6:1.
Recall, the intake area to a radiator is 1/6 the radiator area, but that is a different issue. Here, I think you want enough flow and then constrict it to get max input to the engine. I'd say it is a good choice you'r making.
On the campre van, I've removed all the "standard intake gear" and went to a Cold Air Intake. May follow your work here and make a mod to its LS engine as you are doing here. But first - gotta' get wheels on the ground!
Cheers - Jim
Last edited:
SuperBuickGuy
Well-known member
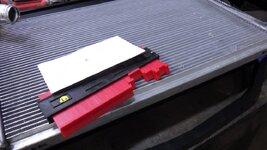
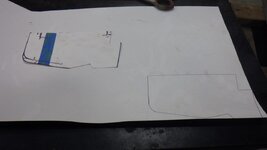
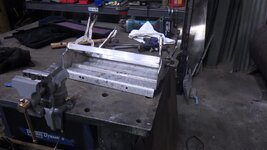
first... trim the tray to make more sense then do a first piece
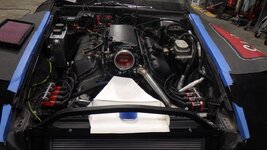
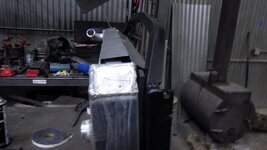
then a top piece
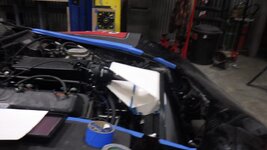
next side panels
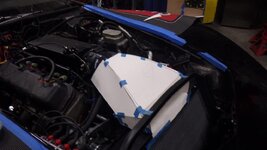
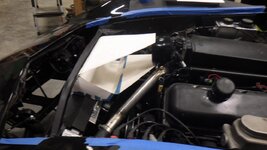
other side.... keep in mind the motor is off-centered from GM so steering and brakes can be in the engine compartment... not as noticeable until you do something like this
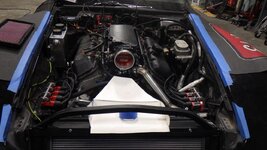
finished product.... well, finished CAD
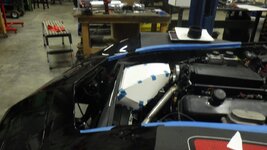
tomorrow, make this out of aluminum

then a top piece

next side panels


other side.... keep in mind the motor is off-centered from GM so steering and brakes can be in the engine compartment... not as noticeable until you do something like this

finished product.... well, finished CAD

tomorrow, make this out of aluminum
SuperBuickGuy
Well-known member
4" x 13 1/2 is the opening size, the throttle body is 4 1/2 diameter.... all that math, repeat after me. I couldn't be a doctor because I failed A&P, I couldn't be an engineer because I suck at math, so the only profession left was the practice of law.... which it does make sense as I draw lines to envision where I'm going.... it's what I do all day.You have that skill. I have 'glass.
Like the layout. Would be interesting to work the sides.
I found an outfit that does that for conical filters:
Here is a quick pull from their page:Technology | Eventuri
www.eventuri.net
View attachment 56587
My quick impression in CAD (for your rectangular filter):
View attachment 56588
You know me; I would build it out of foam, cut, shape, file and cover with a foam-safe sealer. Then I'd lay up the 'glass and then melt out the foam. I don't weld like you do, but take this approach.
I havent measured the Eventuri setup, but the contraction ratios on windtunnels is typically 4 or 6:1. [Its been a few years so I had to look it up!]
The one I've sketched is pretty close @ narly 3:1. Just looking at your plan - it looks close to almost 6:1.
Recall, the intake area to a radiator is 1/6 the radiator area, but that is a different issue. Here, I think you want enough flow and then constrict it to get max input to the engine. I'd say it is a good choice you'r making.
On the campre van, I've removed all the "standard intake gear" and went to a Cold Air Intake. May follow your work here and make a mod to its LS engine as you are doing here. But first - gotta' get wheels on the ground!
Cheers - Jim
I want to learn carbon fiber lay up so I can make new covers for the sidepipes... but that's 'on the list' and that list is pretty long and behind getting my plasma table reliably operational
phantomjock
Well-known member
That is going to have so much cool-factor when they check under the hood.
And, it is in a great place to avoid the radiator-heated air. Look forward to the install.
Cheers - Jim
And, it is in a great place to avoid the radiator-heated air. Look forward to the install.
Cheers - Jim
SuperBuickGuy
Well-known member
oh no, I'm sure I'll continue to be dead last in the Design and Engineering section of Optima challenge. That said, this year I may pull the filter off in the speaking portion of that....That is going to have so much cool-factor when they check under the hood.
And, it is in a great place to avoid the radiator-heated air. Look forward to the install.
Cheers - Jim

