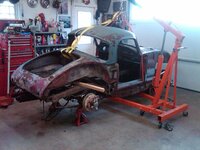
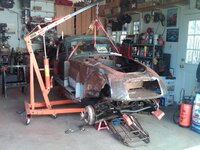
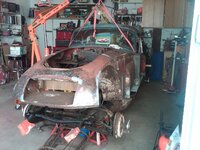
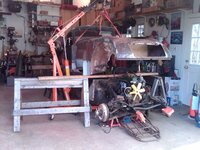
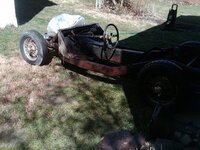
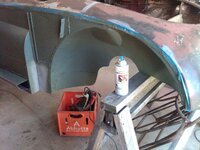
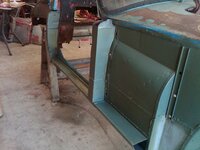
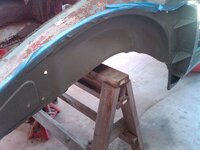
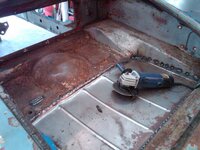
1958 MGA Coupe

VetteMod - Corvette Restoration, Modding & Performance Forum

Help Support VetteMod Forum:

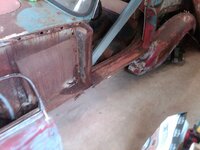
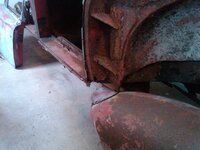
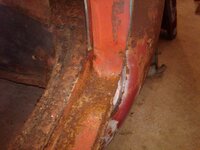
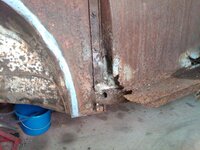
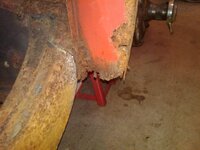
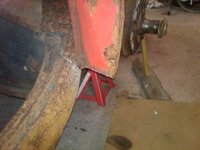
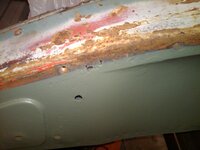
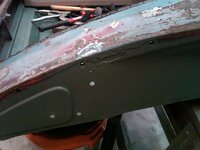
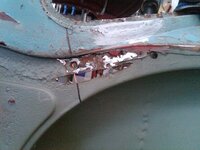
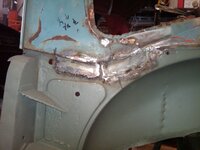
its hard to imagine it wasnt rusting fast enough....

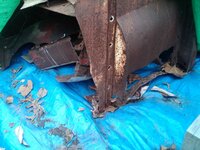
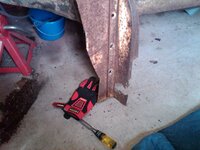
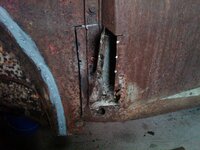
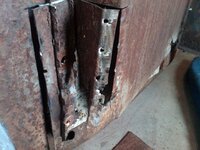
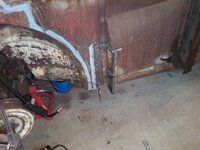
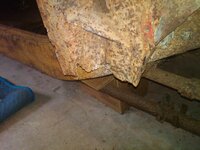
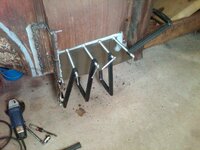
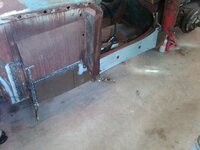
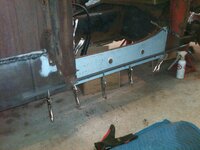
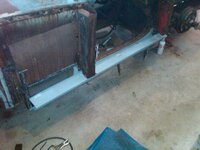
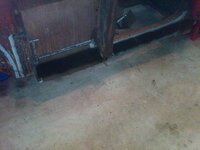
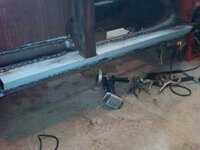
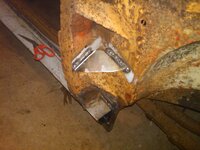
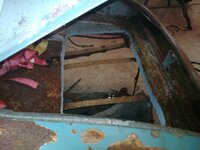
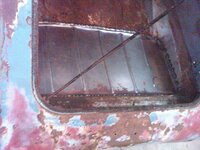
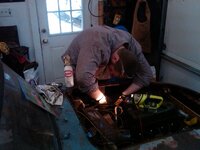
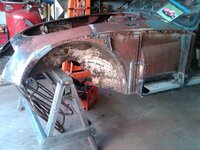
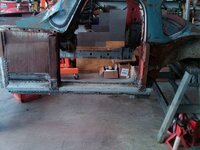
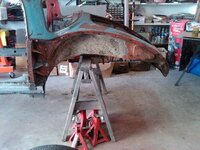
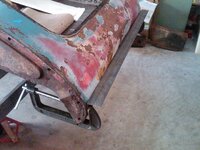
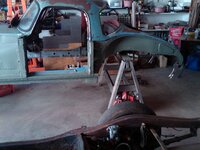
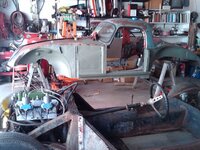
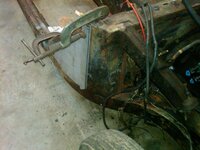
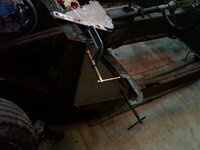
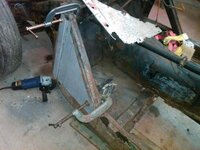
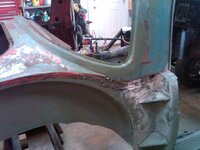
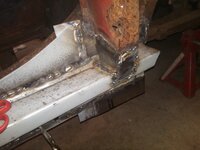
picked up my youngest son from college to day for spring break .....my goal is to have the body pulled off before he goes back to school. 4hrs working on the drivers side sill repair. i decided to start at the front and work my way back.

IMG01300-20130302-1245_zps3ab6fbdd.jpg

IMG01301-20130302-1246_zps251dc7dd.jpg

IMG01302-20130302-1246_zps5fe102b1.jpg

IMG01304-20130302-1254_zpsb85a94ae.jpg

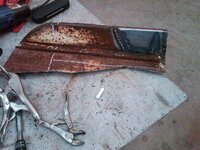
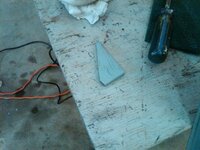
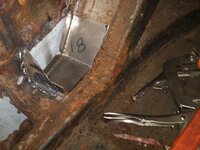
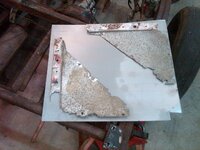
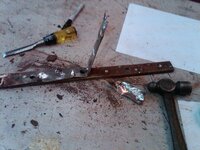
heres the donor panel

IMG01305-20130302-1254_zps226d6aa0.jpg

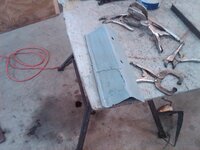
the salvaged repair piece

IMG01307-20130302-1357_zpsc92a03ef.jpg

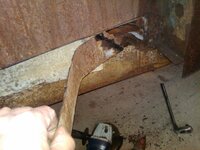
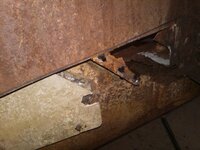
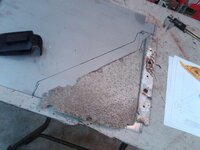
same method of grinding off the spot welds and peeling off the metal

IMG01308-20130302-1401_zps27c7d255.jpg

IMG01309-20130302-1401_zps14452d7a.jpg

the repaired repair panel

IMG01310-20130302-1512_zps7bb16038.jpg

trimmed and primed

IMG01311-20130302-1532_zpsa7929319.jpg

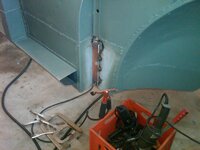
rough welded in place, grinding will come on another day

IMG01312-20130302-1558_zps7eab937e.jpg
 
4 hrs today kicking some butt.....

IMG01313-20130303-0906_zps8b23d59a.jpg

IMG01314-20130303-0906_zps04928449.jpg

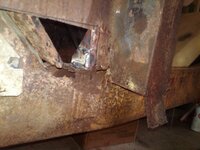
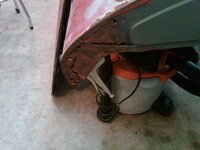
cut away the rust

IMG01315-20130303-0916_zps7a23aff8.jpg

IMG01316-20130303-0917_zpsc5fbd334.jpg

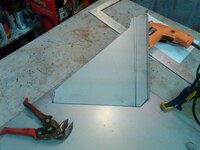
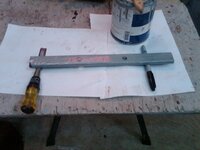
the template to make the part, i am not sweating the bottom length and i am making to too long on purpose and will trim it later

IMG01317-20130303-0941_zpsd2d3d308.jpg

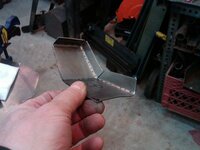
this is the offset flange

IMG01318-20130303-1014_zps7cf9c946.jpg

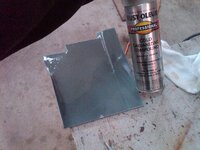
here is the back side primed with cold galvanizing compound you can weld through this but it really sparks alot

IMG01320-20130303-1017_zpsa3c66317.jpg


while the paint is drying i removed all the body bolts and was surprised how easily they came out and the rear body mount is in great shape

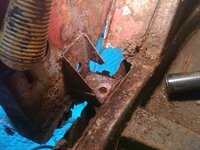
the front needs some work though

IMG01321-20130303-1107_zps5f5c9f8e.jpg

made up new piece and primed it with weld through primer

IMG01322-20130303-1129_zps01384923.jpg

while thats drying i went ahead and removed the rusted out section

IMG01323-20130303-1129_zpsa23548fa.jpg

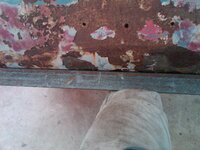
same trick i ground off the old spot welds. what looks like holes is actually shiney metal

IMG01324-20130303-1130_zpsb6a8db0d.jpg

IMG01326-20130303-1224_zpsd4598ca5.jpg

after everything is cut away the new piece is made and flanged and primed

IMG01327-20130303-1304_zps20155251.jpg

and welded in place one step closer to being done...

IMG01328-20130303-1315_zps9739d4db.jpg
 
1 more hr needed to wrap things up

i used a piece of angle iron to make sure that i had a nice straight and tight seam

IMG01329-20130303-1950_zps4f8f202c.jpg

that thin line is the middle piece nice and straight

IMG01330-20130303-2001_zpsdcced376.jpg

and of course you need to have a mock set up admittedly this was for my satisfaction

IMG01332-20130303-2011_zps14a65a32.jpg

so i paint the inside of the inner sill

IMG01333-20130303-2050_zps9fc84065.jpg

IMG01334-20130303-2050_zpscb912040.jpg

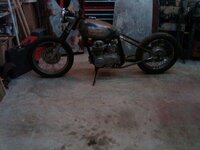
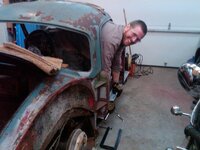
i had to move some stuff around to get the welding cart over behind the MGA where this use to taking up residence... what would a garage be with out a sons custom motorcycle project??

IMG01335-20130303-2050_zps88f702a5.jpg
 
First a MG, now a Honda on a site dedicated to America's sports car? :banghead:

while that leaves me scratching my head, I wonder if you weighed your MG - how much weight you'll actually add to it from the time you bought it in both replaced metal and MIG wire :)
 
all I can say is the workers and shop is pure USA, I suspect we all have many different interests in our cars......the entire body only weighs about 220 lbs once all the doors and fenders are taken off....
 
As an Amazon Associate we earn from qualifying purchases. Product prices and availability are accurate as of the date/time indicated and are subject to change.
3 more hrs of work..had my son helping me..I welded up the inner sill, while he removed the rear bumper horns and the 6 inner boot body/frame attaching bolts.one of the rear bumper horn extension bolts was a major PITA and we wound up cutting it off. i drilled two 1/8 aligning holes in the bonnet hinge mounting plate. cant believe so little work took so much time


IMG01337-20130304-2139_zps137d5d99.jpg
 
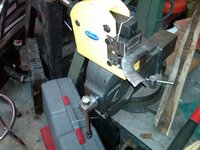
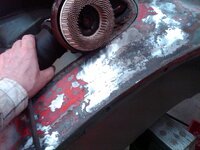
I will say it has its place with out question, it has a horizontal wire wheel on it now. its great for cutting stuff and doing stuff especially out side of the shop. it is not my "go to " grinder in the shop but I am glad that i have it. it does eat up batteries when heavy grinding. it has the wheel removal tool stowed in the handle which makes alot of sense and i am surprised others dont do this. you can see the zinc colored top if you look close. its real usefulness is in its portability for "quick jobs". i would buy it again
 
I will say it has its place with out question, it has a horizontal wire wheel on it now. its great for cutting stuff and doing stuff especially out side of the shop. it is not my "go to " grinder in the shop but I am glad that i have it. it does eat up batteries when heavy grinding. it has the wheel removal tool stowed in the handle which makes alot of sense and i am surprised others dont do this. you can see the zinc colored top if you look close. its real usefulness is in its portability for "quick jobs". i would buy it again

I keep thinking they don't have the battery life to be really effective... can't say that you've convinced me to change my mind. To me they'd be useful, but my truck has a 2500 watt inverter on it, so I can run corded tools when in the field - I'd love to abandon that, but I keep coming back to the problem that almost-cut is exactly the same as not-at-all-cut when it comes to cutting things apart.
 
these Ryobi tools are very good, too bad their batteries are not all that great. the newer lithium batteries are better and you can run the old style 18v tools on the newer batteries.
A buddy just bought a 18v sawzall, he takes it to junkyards to cut parts (like front frame rails to get a front clip)...... works fine..... they don't run power to the yard and they also don't allow cutting wheels because of fire hazard.... so that 18v sawzall has taken some abuse LOL

only complaint I have about these are the batteries, I have six that take a charge but last only an hour or so, I also have two lithium batteries that seem to be fine.... I guess after a year or so all these batteries turn into garbage.....
 
I keep thinking they don't have the battery life to be really effective... can't say that you've convinced me to change my mind. To me they'd be useful, but my truck has a 2500 watt inverter on it, so I can run corded tools when in the field - I'd love to abandon that, but I keep coming back to the problem that almost-cut is exactly the same as not-at-all-cut when it comes to cutting things apart.

if your expectations are a "go to everyday use tool " then pass on it for sure.

the lithium batteries are certainly the way to go. and the saw blade switching mechanism on the reciprocating saw is really very convienent. as i said overall i like the tools on a home shop basis, and taking them to junk yard is a great example

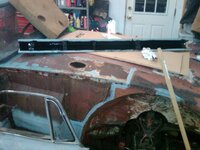
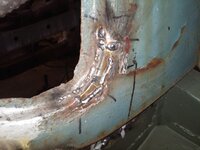
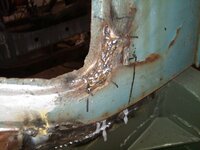
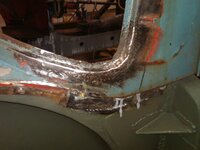
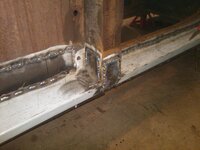
2 more hours tonight wrapping up the door posts, all of the grinding and making the welds look pretty will happen after the bodys off the car


IMG01338-20130305-2048_zps8ac5ac77.jpg


IMG01339-20130305-2048_zps58966e27.jpg

and i added an extra support brace for good measure

IMG01340-20130305-2049_zpsad39306b.jpg
 
Last edited:
are you planning on sandblasting once you're done welding and grinding? Just wondering how much they will charge, maybe $500 ?? I just bought a $400 ALC blaster from Northerntools, sure better to spend $400 on a tool that you can keep for future jobs than $500 or more for labor.... I just sprayed epoxy on my VW rims that I blasted and I have to say, best surface prep ever :1st:
 
the DC area sucks for vendors that do stuff like that...i have a car trailer so i could create a wheeled dolly and take it some where but i was planning on using a funny looking sanding wheel from eastwood that has little fingers sticking out of it for the outside and then a wire wheel for the inside areas ...if that doesnt do the job i may see about other options. its really not a very big car and i could do it an hour at a time.

hooray for a snow day!!!!

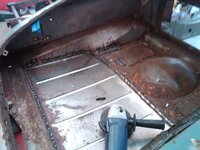
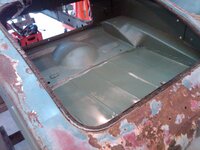
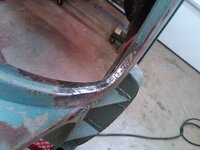
wrapped up some loose ends on the body so all the welding that has to be done before we take the body off the frame is now done. added some corner braces to the bottom of the rear door post, welded the trunk pan in place and welded the inner foot well area piece to the body mount. i am taking an hour or so break then will go out and start on the mechanical aspects of the body removal


IMG01341-20130306-1027_zps0d687380.jpg


IMG01345-20130306-1119_zpsbaa09ba7.jpg

test fit of piece


IMG01346-20130306-1214_zps75671440.jpg

IMG01347-20130306-1215_zps6af8d9b9.jpg
 
I AM WORN OUT.... little Joe and i spent another 3 hrs tackling the mechanical items that need to be taken care to remove the engine
it helps having a worker...

IMG01348-20130306-1555_zpsf4730892.jpg

we are not sure hes going to fit into when its done...

IMG01350-20130306-1649_zps2414f6ff.jpg


not to hard removing the master cylinder

IMG01351-20130306-1709_zpsb651c855.jpg

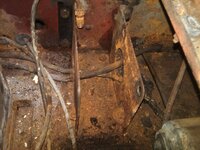
however the car gots its pound of blood from the bolt that attaches the pedal assembly to the top bracketry....the pedals swiveled on the bushings but the bolt siezed in the steel sleeve

IMG01352-20130306-1800_zpsa934e431.jpg

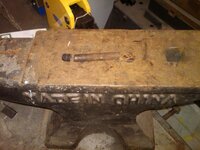
what a PITA....i was able to manhandle it through the opening once the ends were cut off. i could only get the bolt out the sleeve when it was in the vise.

IMG01353-20130306-1801_zps73725137.jpg
 
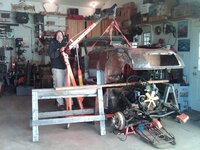
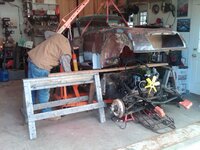
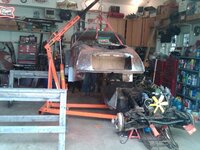
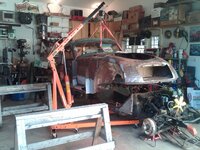
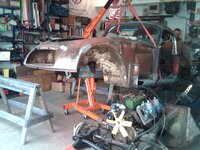
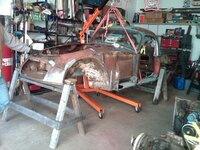
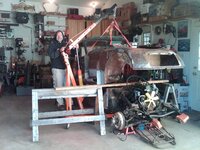
well we were getting set up to for the saturday body removal and then it happened....about 1 hours worth of work...

IMG01357-20130308-1018_zps0edd7830.jpg

IMG01358-20130308-1024_zps69765d43.jpg


IMG01359-20130308-1025_zpsdc222ac7.jpg

IMG01360-20130308-1025_zps29c5d2fd.jpg

and this is where we realized we were almost there

IMG01361-20130308-1034_zps69b71486.jpg

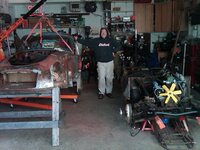
yours truly

IMG01362-20130308-1034_zps213cdebf.jpg

i accomplish so much more with helpers

IMG01363-20130308-1039_zpsc417f660.jpg

IMG01364-20130308-1041_zps22363af4.jpg

IMG01365-20130308-1041_zps8a4cce69.jpg

IMG01366-20130308-1041_zpsb20c3e6f.jpg

and whamo its done

IMG01367-20130308-1047_zpse5cd7710.jpg

final resting spot

IMG01370-20130308-1048_zps4ba0c638.jpg

look dad i do fit

IMG01390-20130308-1119_zpsc6199f87.jpg


and yes I hate trailing arms and those freaking parking brakes....
 
whos says little kids have to grow up?

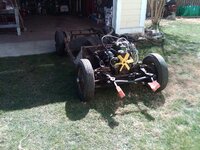
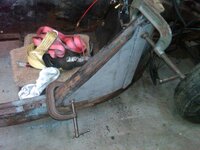
well it was too warm out side so i rolled the chassis out and powerwashed it. I had a hot water added to my outside faucet just for moments like this

IMG01427-20130309-1257_zps32364c6b.jpg

IMG01428-20130309-1336_zps90dc36b6.jpg

IMG01430-20130309-1345_zpsf3876f70.jpg

IMG01431-20130309-1345_zpsbc899b80.jpg

IMG01432-20130309-1345_zps18f93a91.jpg

IMG01434-20130309-1346_zpsd7038548.jpg

IMG01433-20130309-1345_zps60fdc8eb.jpg
 
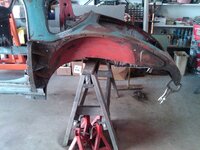
took the wire brush ,grinder and degreaser to inner fender panels

IMG01440-20130310-0930_zpsa607125c.jpg

IMG01441-20130310-0931_zpsc5d8c626.jpg

IMG01442-20130310-0931_zps0ff01966.jpg

straighetned out a little bump in the back

IMG01443-20130310-1013_zps448219b1.jpg

and a few clamps and hammering

IMG01445-20130310-1050_zps75230798.jpg

back to cleaning

IMG01448-20130310-1110_zps0fcba4fc.jpg

and some self etching primer

IMG01449-20130310-1129_zpsb79fd198.jpg

IMG01450-20130310-1219_zpsafb3a88d.jpg
 
the work thats left from this point forward really fits well into my 9pm to 10:30 pm schedule after everyone has gone to bed then i go out and play and no one misses me.....once on the 37 ford i got a real second wind and at 3:30 am the i see the wife coming into the garage with a flashlight and cell phone she said she figured i had a heart attack.... well music to a mans ear happened early today...the Mrs and our two daughters went to the mall.....woohoo that means more garage time on the 65* day

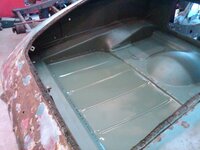
so i did the other side and the boot area....after the primer drys for a day or two all the weld seams will get a brushable seam sealer on them.

IMG01451-20130310-1614_zps421c79d3.jpg

IMG01452-20130310-1614_zps30acffc2.jpg

IMG01453-20130310-1614_zps787992ee.jpg

IMG01454-20130310-1625_zpse40b1c20.jpg

IMG01455-20130310-1626_zps02f8491a.jpg

IMG01458-20130310-1745_zps6932bdae.jpg

IMG01459-20130310-1745_zps7e7bdd5d.jpg


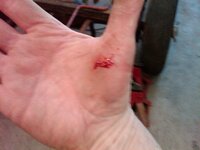
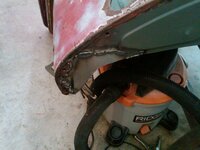
what the F^%$....working all weekend long and i get this from picking up the grinder with the wire wheel to put it away at the end of the day

IMG01456-20130310-1744_zpsc8b2987e.jpg
 
Last edited:
well, at least now you can heal at work.... it's amazing how far you've gotten in such a short (relative to if I'd done it) time period.
truly inspiring :thumbs:
 
work and advil its all a guy needs...

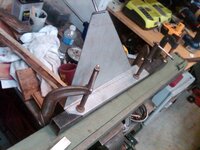
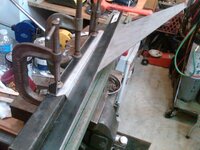
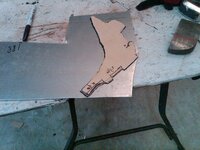
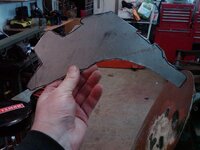
tonight 2.5 hrs were spent on making the aluminum kick panel replacement pieces. i used 22 ga galvanized sheet steel i had laying around this will never deteriorate. as usual Barneys site has all the dimensions to help me piece together the puzzle

IMG01460-20130312-2053_zpsab4a6fca.jpg

Barneys print outs are on the right

IMG01461-20130312-2116_zps8461f2ee.jpg

IMG01462-20130312-2127_zps5a536fb4.jpg

the first bend its hard to see

IMG01463-20130312-2143_zps5af21fd1.jpg

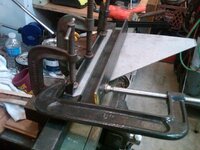
the third bend is what i am working on now and it was the hardest to make for me i had to work onthe jig to set it up

IMG01464-20130312-2203_zps7b5ee467.jpg

finally flipped it around to get it right

IMG01465-20130312-2212_zpsdaca36ba.jpg

IMG01466-20130312-2221_zps26842d4e.jpg

IMG01467-20130312-2226_zps36d47b10.jpg

IMG01468-20130312-2226_zpsa28bb721.jpg

and then the same process on the other side

IMG01471-20130312-2315_zps59c2c9de.jpg

IMG01472-20130312-2315_zps757e9b09.jpg

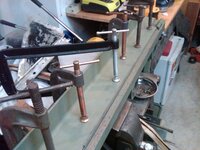
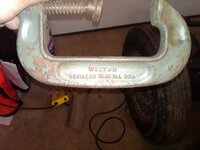
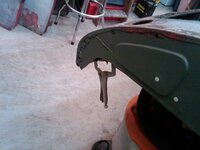
and yes i do have a lot of clamps and this is one of my favorites....the HF ones dont copmpare

IMG01473-20130312-2317_zps76b8dfa2.jpg
 
alright that tears it... you've now convinced me to finish the floors in the fiat so I can finish the car.... gosh darn you - I had a good "it'll take me forever" whine going on... maybe if I add some midol to my advil things will go better
 
Thanks for the attempted intervention, but no, it didn't help. I've been working on the Fiat longer than that.... granted, last night I did get all my transmissions up and into storage so there is light at the end of the tunnel... I can now get the fiat to the lift.
 
i had the day off today so i chased around some loose ends

IMG01496-20130315-0900_zpsf6b60f28.jpg

IMG01497-20130315-0919_zps94c8e690.jpg

IMG01498-20130315-0925_zpse05c1f4e.jpg

IMG01499-20130315-1013_zps34acd4c1.jpg


IMG01500-20130315-1027_zpsebd4a5d1.jpg

IMG]http://img.photobucket.com/albums/v494/bobs77vet/MGA%20Coupe/Body%20work/coupe%20body%20removed%20from%20frame%20on%20saw%20horses/IMG01501-20130315-1028_zps6082cc44.jpg[/IMG]


IMG01502-20130315-1123_zpse6b8f374.jpg

IMG01503-20130315-1139_zps9e613217.jpg

IMG01504-20130315-1215_zps43ac938a.jpg


IMG01507-20130315-1533_zpsa112a379.jpg

IMG01505-20130315-1215_zpse532bf46.jpg

IMG01508-20130315-1533_zpsa75fc1c2.jpg

IMG01509-20130315-1545_zpse747fc39.jpg

IMG01510-20130315-1836_zps8804f02e.jpg

IMG01511-20130315-1838_zpsc14ca1e3.jpg
 
yes its very much the same


some more nibbles today

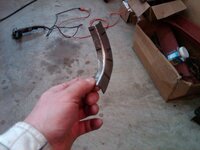
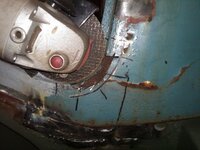
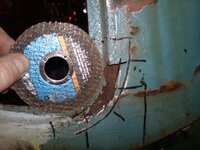
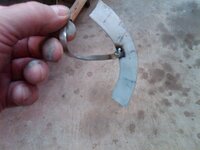
the challenge for the day
IMG01513-20130317-1046_zps59ce0088.jpg

IMG01515-20130317-1113_zpsbcf6c6c6.jpg

IMG01516-20130317-1129_zps7c47ba86.jpg

IMG01517-20130317-1129_zps45fd0906.jpg

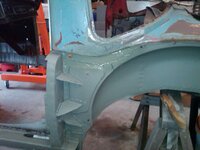
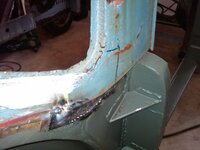
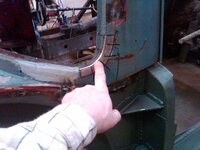
this is the 4.5" wheel the radius os too big
IMG01518-20130317-1131_zpsb35d3816.jpg

a used wheel has a better radius

IMG01519-20130317-1132_zps4bb34553.jpg

a tab so i can put in the cut out area

IMG01520-20130317-1154_zps29a4aca4.jpg

the initial weld

IMG01521-20130317-1213_zps373ce93f.jpg


now i just keep laying beads onthis to build it up to height

IMG01522-20130317-1215_zpsecd58eb4.jpg


IMG01525-20130317-1322_zps56ad20fe.jpg

IMG01526-20130317-1330_zps9298aeee.jpg

IMG01528-20130317-1425_zpsc082d992.jpg


and now i tried new sanding wheel

IMG01527-20130317-1409_zpsb7b769c2.jpg
 
Back
Top