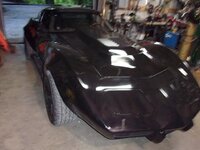
Plastic Fantastic 2

did 2 things today... first, I fixed the horn
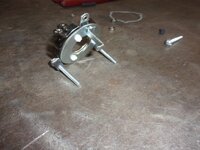
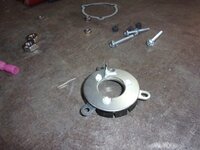
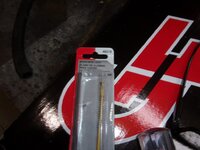
I bought a pigtail for a regular GM column.edited the system in the C3 is maddening because it relies on a pedestal to maintain contact - downside is putting it together, you're more likely to cause the push bit to come apart then you are to actually get it together.... this solves that problem
xesgBYFh.jpg
left is the stock set up, right is the replacing wire
xkEiQeah.jpg
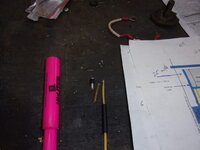
use the spring from the stock set up and lock on the new wire (cut the spade end off to assemble)
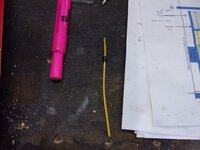
rkid3QVh.jpg
I'm too cheap to buy spacers so some 1/4" vacuum hose became a spacer
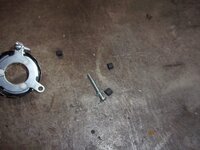
Sfo1hMMh.jpg
the offending stand
PrEmfYPh.jpg
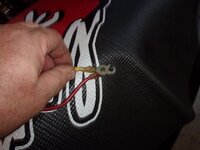
now a spade male end
cDYyeezh.jpg

on to alternators.....
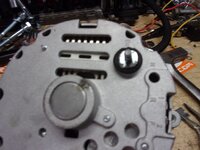
key off, voltage present
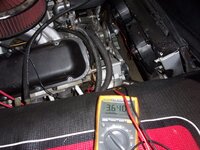
Nb1zXUbh.jpg
key on, full 12v (the brown wire - which should have a resistor in line)
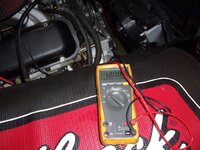
67pSe0zh.jpg
the fix is simple, a one-wire alternator.... and now we know why I kept losing alternators.
 
well, the results but still no idea why.editededited
kWjIWH8h.jpg
burn marks
cGPHlYvh.jpg
so it goes like this... did the shielding melt, causing the short or did the load create the heat that melted the wires?edited I'm going with the 2nd because both were melted but who knows....edited

as far as the noise, it's not from the rotor, nor from the lifters.... with that said, there are some really odd marks on the roller tip but it seems all are basically at the same adjustment...

I dunno, initially I thought it was the alternator and I might loosen the belt tomorrow to just be sure it's not.edited What it does seem is it's dropping a cylinder on the driver's side. the noise isn't really rpm related but rather seems like dropped cylinder related...
 

At first I thought exhaust leak. Sort or random isn't it.

Good luck finding it.

Maybe buy one of those cheap car stethoscopes. They actually work pretty good :)
I'm leaning towards that - I'll check tonight, I've had trouble with the driver's side sealing (and replaced that gasket with a percy's)... who knows, maybe percy's failed me? I about had a heart attack when I first heard that noise, though...
 
kind of sounds like a belt noise, are there any idler pulleys in there? i find exhaust leaks once they get hot to be very regular and consistent and more of a ticking.....what else is turning on the top end the distributor? any wiggly ,wires, cables or brackets, that are hitting the valve covers?
 
kind of sounds like a belt noise, are there any idler pulleys in there? i find exhaust leaks once they get hot to be very regular and consistent and more of a ticking.....what else is turning on the top end the distributor? any wiggly ,wires, cables or brackets, that are hitting the valve covers?

tonight I'll look... what may or may not be related is that slight exhaust dip on the driver's side is immediately after the noise
 
Exhaust
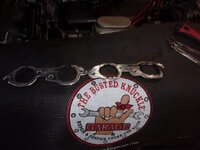
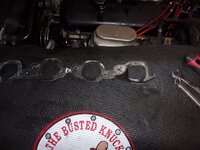
maybe #7 is leaking...
qRju01oh.jpg
xawTLiZh.jpg

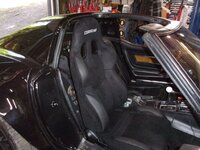
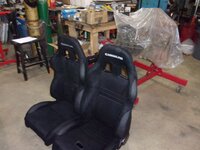
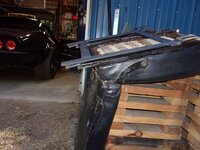
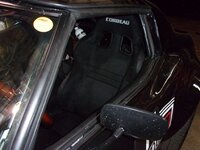
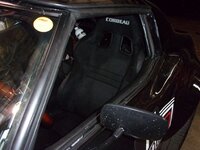
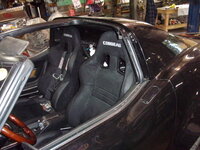
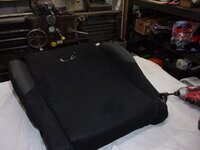
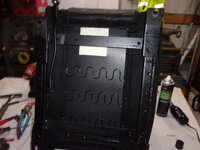
finally, and I mean finally, my Corbeau seats arrived.... and as seems to be normal, their brackets are useless - way too tall
yB4sh1Hh.jpg
so started the rest of my evening....edited
n2mnTBAh.jpg
they look nice
K2h9iGEh.jpg
so I started decreasing the stack under the seat
kkc9DSBh.jpg
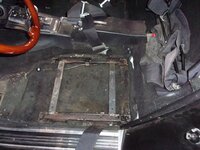
this is as low as you can get (by bolting the seats straight to the floor)
GwnVCrvh.jpg
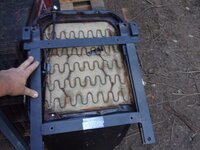
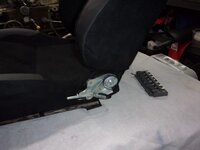
I mentioned the brackets were wrong (again)? they're also incorrect for the C3 (despite claiming to be)
Sbk7hs3h.jpg
thought maybe they were backwards... nope... note that they also lift the back of the seat? good lord why?editededited
YRISDOUh.jpg
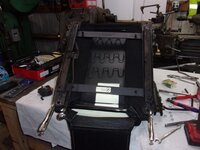
however, solution.... use the GM sliders with adapters to the new seats (bonus is if I put race shells in the car, this is a standard bolt pattern)
AYvdW3qh.jpg
​​​​​​​GlJzjD5h.jpg
Ge6B8qWh.jpg
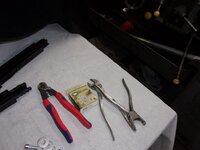
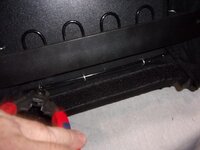
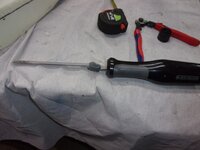
as with all things, it took some special toolsedited
m9Mw2Ech.jpg
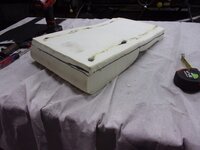
this is much better, I still wish I'd had it shaved 1" but I have the hog ring pliers and I know how to use them...edited
ZHvaUN7h.jpg
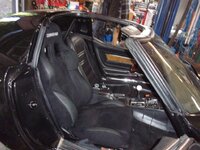
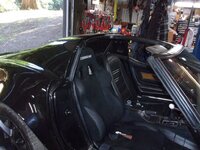
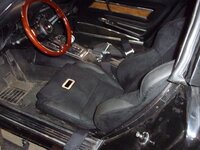
snug fit
s3pnq8Uh.jpg
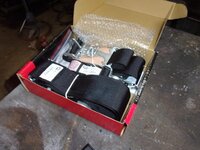
eventually, new harness (in date) for the driver
QZc6ebQh.jpg
gratuitous puppy shot
s3pnq8Uh.jpg
 
time to make the seat, shorter
first, will I get the seat out with the top on?
revohKvh.jpg
yep
A12HpcBh.jpg
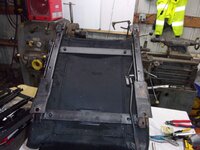
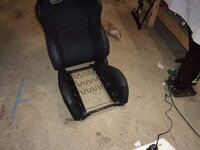
first seat, I did more work then I needed... it doesn't need to come apart
FUqTG06h.jpg
IUlrh1yh.jpg
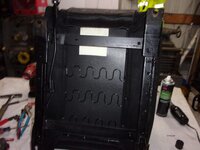
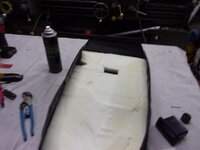
simply take the hog rings off the front and back - and the pad just comes right out
wXg6kpah.jpg
lT9JiPSh.jpg
chop chop
iv2NX4rh.jpg
gently take the cover off - it's glued to the foam but comes apart fairly easily
nwYqoKph.jpg
and mark 1" all around
handy tool for shaping foam
MxAktoAh.jpg
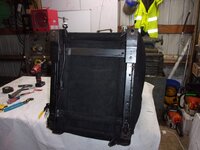
slide the foam back in (this is the driver's seat)
SLSJakah.jpg
clip back into place with hog rings then close the bottom cover
K8ww414h.jpg

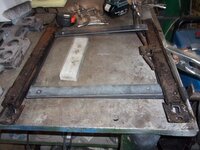
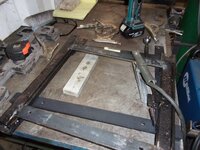
and voila, you have another 1". If you don't use the Corbeau brackets and simply weld in 1" 1/8" strips between the rails - you can save both money and gain another 1/2"
tip is pay attention to what you're welding to
wXg6kpa.jpg

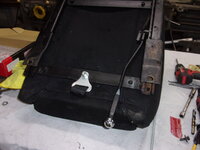
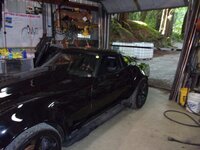
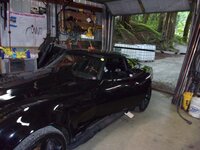
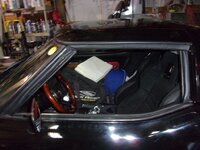
you may want to eliminate the bolt where the lever is - otherwise it holds the lever over and the seat won't lock.... and the best of all, is I now fit with my helmet (though in most cases, I'll leave the top off and run it without the rear window like a targa.... cooler and I'm not hitting the roof.... but if I have to, I can fit with the top on.

In other news, the heater line mods (changed the block to vacuum to open rather then open unless vacuum) has done wonders about keeping the interior more comfortable...
 
I'ts weird how a C3 has no headroom with aftermarket seats. I couldn't even use low profile seat adjusters with my C5 seats. Its bolted to the floor in the back with risers in the front.
 
I'ts weird how a C3 has no headroom with aftermarket seats. I couldn't even use low profile seat adjusters with my C5 seats. Its bolted to the floor in the back with risers in the front.

if I ever build another C3, I'm lowering the floor (but to be clear, that will be after the 2 Buicks, a Blazer build, a motorhome build, and the Fiat build)

With that said, if you do everything I did - use the stock sliders, shave 1" - you'll be sitting in the same level as the stock seat, only now you won't slide about. I cannot comment about height, though, because I removed the rear firewall (moved it back), I can lean the seat further back and gain a bit of space above my head. I drove the car tonight, and it felt good - so I'll check the angle, normal is 22* - I'm going to guess that it's a bit back from that but I don't know how much (not a lot) and the top of the seat is against the belt bar.

For those following along, you need these dimensions. I'm 6-1, 225 lbs, 38" waist (which means I barely fit in these seats - I feel like the Al Bundy customer who swears they will fit in the shoe size)... my inseam is 31", so if you're doing the math, my torso is roughly 42" from seat to head.... as I said, my biggest problem isn't leg room but torso room. With my helmet on, I'm at the Astro top (which is the final cheat so that I can actually fit)
 
next problem to solve. Not sure I have my head wrapped around the how/why... so here it goes.

The problem is tight-turn understeer. (on the entry). Slalom, the car is quite nimble; but if I have to go around the end of the slalom and head the other direction, understeer city.. tires are a Toyo, 320 tread wear (though the magazines put them with 200 tread wear tires).... I run 32 psi (have changed up and down to no real change). I can resolve 50% of the issue by a tap of the brakes....

thoughts? suggestions? things to look at?


I'm adding this for my reference - but criticism of it is welcome

Corner Entry
The first question to ask now you have identified the understeer as occurring in corner entry is, are you entering the corner after being hard on the brakes? If the answer is yes then you have two options to solve the understeer:
1) Increase front damper rebound stiffness. If you have high or low speed damper adjustment then increase the low speed rebound stiffness only.
2) Reduce the front brake bias.

If the answer is no then you must ask yourself another question, are you entering the corner at high speed or mid to low speed? If the answer is high speed then one of the following options can be used to solve the understeer:
1) Reduce front ride height
2) Increase front aerodynamic downforce. If only the rear is adjustable then reduce rear downforce.
3) Check tyre pressures with a gauge to ensure that the tyres are operating within recommended hot temperatures. Increase or decrease pressures accordingly.
4) Check tyre temperatures with a tyre pyrometer and make sure that the temperatures are distributed by between 10 and 15 degrees Celsius between edges with the inside being the hottest. If the inside is too hot then increase positive camber. If the outside is too hot then increase negative camber.

If the answer was mid to low speed then one of the following options can be used to solve the understeer:
1) Increase caster angle
2) Increase front toe out
3) Reduce front ride height
4) Check tyre pressures with a gauge to ensure that the tyres are operating within recommended hot temperatures. Increase or decrease pressures accordingly.
5) Check tyre temperatures with a tyre pyrometer and make sure that the temperatures are distributed by between 10 and 15 degrees Celsius between edges with the inside being the hottest. If the inside is too hot then increase positive camber. If the outside is too hot then increase negative camber.

Mid Corner
The first question to ask now that you have identified the understeer as occurring at the mid corner section is, does the car bottom out? If the answer is yes then the below answers can solve the understeer:
1) Increase front coil spring rate. This can be achieved by installing stiffer springs or increasing pre-load.
If the answer is no then the next question to ask yourself is, does the front of the car roll excessively? If the answer is no then the following solutions can be applied:
1) Soften front coil spring rate
2) Increase front damper rebound stiffness. Front compression stiffness can also be reduced slightly.
3) Reduce front ride height.
4) Soften front anti-roll bar stiffness.
5) Increase negative camber on the front wheels.
6) Lower front roll centre or raise the rear roll centre.
7) Check tyre pressures with a gauge to ensure that the tyres are operating within recommended hot temperatures. Increase or decrease pressures accordingly.
8) Check tyre temperatures with a tyre pyrometer and make sure that the temperatures are distributed by between 10 and 15 degrees Celsius between edges with the inside being the hottest. If the inside is too hot then increase positive camber. If the outside is too hot then increase negative camber.

If the answer was yes then the following solutions can be applied:
1) Soften front anti-roll bar stiffness
2) Increase front damper compression stiffness. Increase low speed if you have a high or low speed option.
3) Increase front coil spring rate.
4) Make sure there is no excessive droop in the front suspension causing the inside front to lose traction.
5) Raise the front roll centre.

Corner Exit
For corner exit understeer there are no more questions to ask. One of the following solutions can be applied:
1) Increase front damper rebound stiffness
2) Check tyre pressures with a gauge to ensure that the tyres are operating within recommended hot temperatures. Increase or decrease pressures accordingly.
3) Check tyre temperatures with a tyre pyrometer and make sure that the temperatures are distributed by between 10 and 15 degrees Celsius between edges with the inside being the hottest. If the inside is too hot then increase positive camber. If the outside is too hot then increase negative camber.
 
Last edited:
This is the answer I like best:

If the answer was mid to low speed then one of the following options can be used to solve the understeer:
1) Increase caster angle
2) Increase front toe out
3) Reduce front ride height
4) Check tyre pressures with a gauge to ensure that the tyres are operating within recommended hot temperatures. Increase or decrease pressures accordingly.
5) Check tyre temperatures with a tyre pyrometer and make sure that the temperatures are distributed by between 10 and 15 degrees Celsius between edges with the inside being the hottest. If the inside is too hot then increase positive camber. If the outside is too hot then increase negative camber.

From your description, it sounds like the problem is more acute when the wheels are turned fairly sharply (low speed 180 at the end of a slalom) which would cause me to look at Ackermann. Do you have a situation where you have drastically increasing or decreasing Ackermann as the wheels are turned? This can be partially solved by increasing or decreasing static toe, but may hurt in other areas. I would try to duplicate the turn-in (set the wheel turn angle and ride compression/height) and check the total toe between the front wheels.

Pappy

I'll check all of these ... a couple questions. 1) what does resetting to toe out do in this situations? and 2) would increasing the weight-shift to the front tires help? I can adjust the shocks and also put the 450 lb springs back in the front.... (IIRC, it's set to stock, C5 specs)
 
ackerman is whatever GM put into the C5 Corvette... after much googling, I still have no idea what it is.... time for tape measures, I guess...
 
Top