Story of the Polished Turd
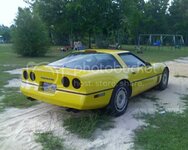
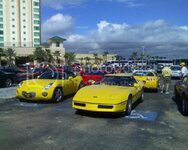
i bought it like 3 years ago.
it looks like a good lil car, but all the service on it was poorly done.
i thought it would be easy to get worked on... boy was I wrong. Most mechanics wont touch it. Only ones that want to fix it are young and break shit or make bad installs.
January 7 2012 i sent it to a shop and asked they replace all the bushings. They suggested using an energy suspension urethane kit... it started to fail after 800 miles.

and to make matters worse, no one could get the car to align/alignment because there were serious problems like a beat up K member, and a bent upper arm.
January 27 2012 I left the car with a corvette mechanic in Miami that was supposed to be the best around. This car sat at his shop for 7 months. never got worked on and even had cobwebs to prove it.
... sometimes you gotta do it yoself.
it means staying far away from home... but at least its gettin done. I did the jobs as needed even if it meant getting it done over and over again till it was done right.

Angel (the corvette mechanic) wouldn't work on it because he is going through "burn out".
I talked him into allowing me to work in his shop. I also asked if he would inspect my work and it worked out for the better. He has great knowledge about these cars and his advice made all the difference.
To get started... I couldnt find a decent replacement used corvette for parts anywhere.
Fortunately, Angel said a newer stronger 1993 z51 corvette setup was a direct fit.
I found a complete front and rear suspension off a flooded vehicle from Dino's corvette salvage in Mississippi. for 2400 shipped to miami, it included front K member, springs, brackets, big brakes, rack and pinion, sway bars, thicker upper and lower arms, Dana 36 diff, newer style bushings.
all of the parts are aluminum (even the diff case), and also 1 inch wider than the 86 setup!
so... off came the old tired 1986 suspension.
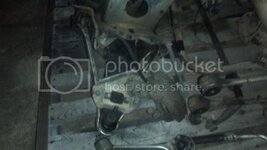
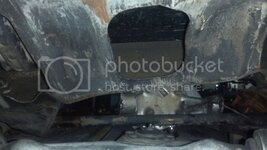
For starters dropping in a front K member is a beeoch!
we had to squeeze it in between the frame rails and not drop the motor that was held high by a floor jack. Angel had to help me. I tried so many times! it needed two people to get it aligned right.
Here it is on the car held by 6 frame rail screws. notice the motor is really high up on the car lol.
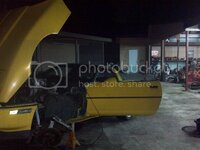
after connecting the new engine mounts, its was srt8 forward.
I had to connect the steering, brakes, shocks, sway bar, I did away with ABS for now.
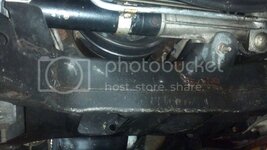
Connecting the shocks was harder than it seems. I had to wait 2 days for the front spring to compress, then i had to jack up one side, and using 6 brake rotors under the tire, i lowered the car on it. it only allowed a few teeth on the bolts... just enough to get it started. I had to repeat this on the other side
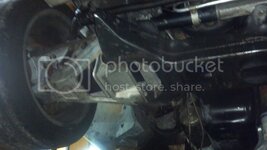
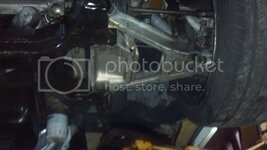
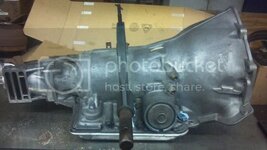
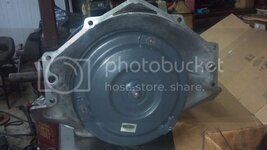
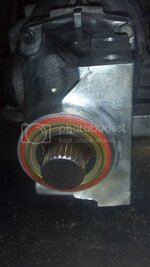
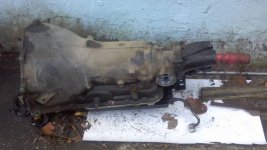
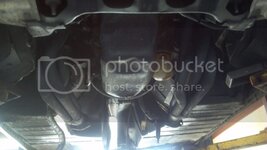
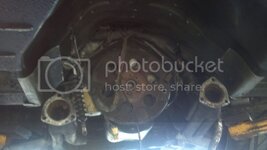
i went ahead and replaced the old tranny fluid pan, fluid and filter changed, and a new flywheel cover for good measure. I saw too much debris in the old pan. This means I will be making a tranny swap in the near future.

I also removed the condensor, dryer, and evaporator core for some newer A/C components.
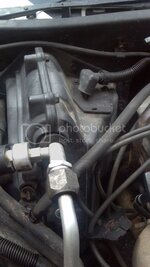
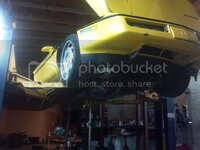
After removing the rear assembly, we have a pile of old parts
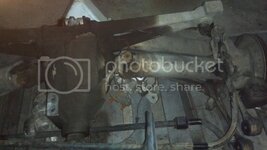
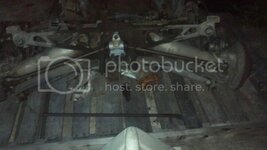
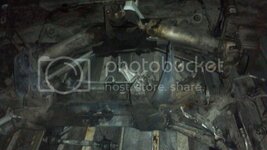
Next i began to clean and prep. i steel brushed and painted anything rusty or ugly.

i also removed and rebuilt the driveshaft by installing new u-joints. The rear tranny seal was replaced, and the Yoke was made smooth again using emory cloth.
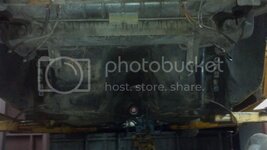
Here it is with some duct tape on the u-joint to hold the caps in place for now.
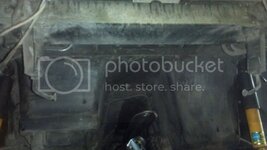
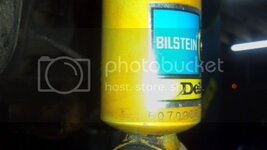
I added some bilstein shocks to the mix.
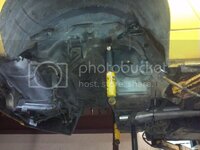
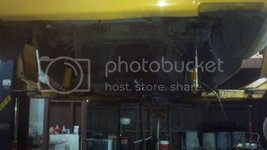
Next,
I decided to drain and fill the diff with new fluid. Only to find water was inside... a lot of water!
I talked it over with angel, and he said we need to open it. I knew it was going to be a nightmare because we will probably find other problems along the way... sure enough there were.
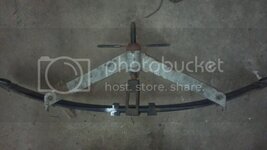
the first step was a spring compressor.
it was hell dis-assembling the rear assembly. but off came the sway bar, half shafts, hubs, brakes... until i had the outer cover on the floor.
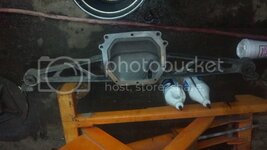
i replaced the rear tie rod ends and painted the sway bar.
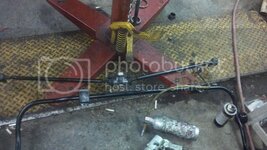
During that time Hurricane Issac was already in cuba, which meant I will be getting wind and rain for the next few days!
Early next morning, Hurricane Issac was still in Cuba, but the ill effects were being felt already in south florida. In spite of all the rain and wind Angel and I worked and worked till we got it apart.
I needed a full rebuild on the diff. it began with the ordering of bearings, races, seals, clutches, and shims.
Angel removed all the old bearings. He actually cut out, then chiseled off the pinion bearing which took what seemed forever.
Thats when i began to clean the case and remove any traces of debris and gunk. Next, I fired up the wire wheel and began to clean the pinion and ring gear assembly.
The next day there was so much rain and wind. Issac was at our doorstep. Before everything was shut down, i picked up the parts from the dealer.
I hurried back and installed the new pieces like the clutch pack, bearings to the ring carrier, and inner axle bearings.
I needed a conical shaped cup/disc for the last two pieces in the diff case... those were the outer plus inner bearing race for the pinion.
To install the new bearings for the pinion, we needed a press.
here are the results.
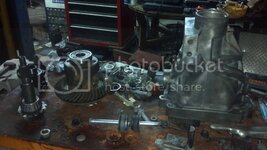
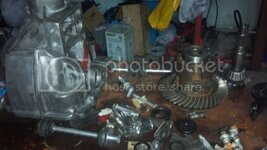
Next, i replaced the u-joints in the half-shafts.

I replaced the wheel bearings. the brakes and caliper were wire wheeled and painted leaving a cleaner looking hub assembly.

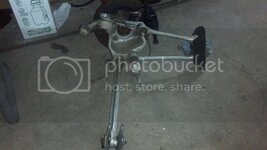
Angel began to assemble the differential. We started with the seal and pinion gear, it was shimmed till we had 35 in/pds of drag.
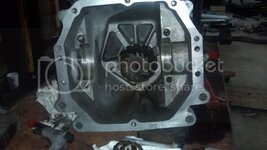
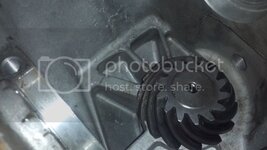
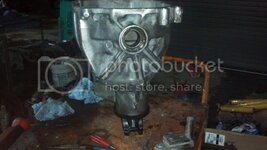
Then the carrier was installed and shimmed till he got a perfect run down the center of the ring gear and play was .006
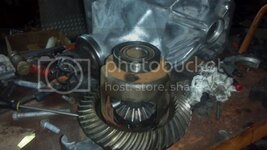
Then we installed the axle shaft and seals.
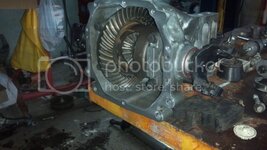
Angel was done for the day, he prepped and sealed the outer cover. it was time for bed.
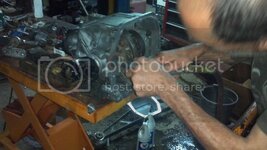

I only went to bed long enough to let the rtf dry on the rear diff.
The rain and wind began to pass, by the time morning came around, i had the entire rear assembly complete and ready for install.
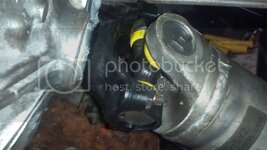
The hubs are heavy, so i needed a chair to hold up a side or the it was going to fall to the ground. i only had one chair available so the second side was a bitch! i finally figured out strapping on the U-joint to help me balance the assembly. then i fought and twisted the final side together.
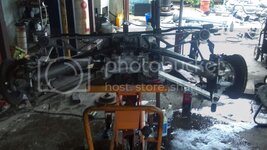
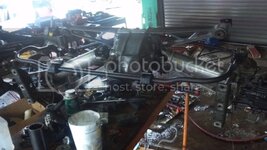
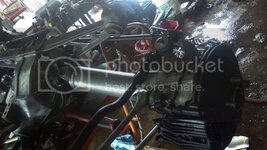
Angel came out to check my work. everything was fine and we were ready for the install. I went to bed again and came out about 3pm to begin the install. I couldn't get it in, so I asked Angel to help hang the assembly.
It took him about three hours to get out of bed... and only needed 30 minutes to hang the assembly. The first 2 bolts were for the diff bracket, and there were only 2 bolts needed to hang the back of the assembly but it was a beeoch!
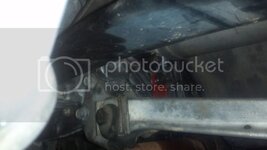
I began to connect/bleed the brakes, shocks, control arms, drive shaft, and drive shaft U-joint strap. I started the spring install last because it was going to make shock install too much trouble.
then i connected the exhaust.
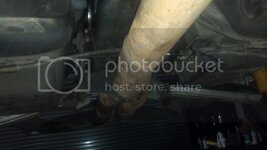
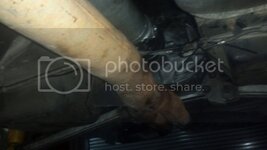
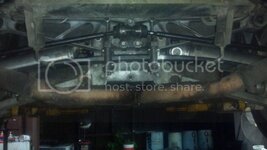
I put the rims on to see it together
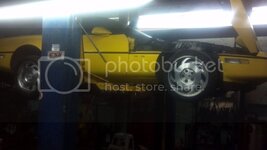
Then I lowered it off the lift to see it stand on its own.
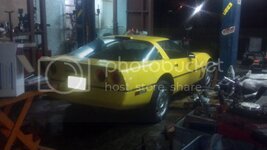
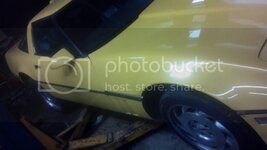
I decided to stop there and let the springs compress for a while before i test drove it.
Complete and tired of working on the car, it was morning and now time for payoff.
Angel wanted to test drive it first, so i asked him to back it out of the shop.
http://www.youtube.com/watch?v=NZs7vElojQk
The car was in need of alignment so the first drive was nerve racking!
http://www.youtube.com/watch?v=CWmZJfpy0MU
all was fine, so i went to the alignment shop.
http://www.youtube.com/watch?v=zVje8yDb9jc
After the car was done, it was time to test drive the car...
I chose a 100 mile trip to key largo as needed.

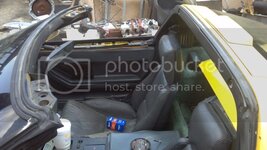
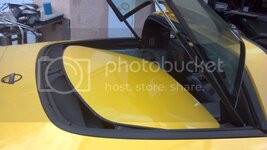 http://www.youtube.com/watch?v=z9M70wN_MPA
and ... the payoff!
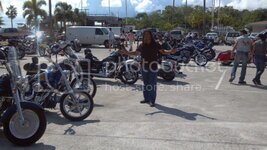

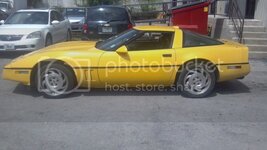
Well I made it back to the shop and got some new tires and used rims for the car.
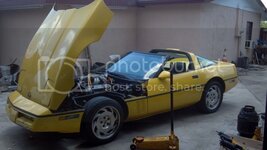
I needed 1" spacers for the rear (305/30/19)
the front bolted right on (275/35/18)
It is a little bit taller than before.
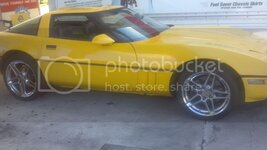
Its time for paint, I called my friend cleve...
I chose yellow with gold flake and a 2 clear coats. this is what it looked like in the warehouse.
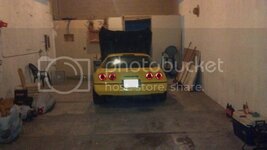
I'll stop here till i get it back next week. It will need some interior pieces and cleaning.
i got a picture of it in prep today.
hurry ya ass up cleve!
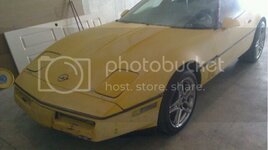
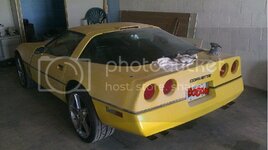
I snuck in a few days later to get these shots
Fumes getting me high as a mofo.... daaayyamm!



I wanted be home that Sunday as planned.
He is going to need more time. I wanted to get it to alignment shop for final tweeks friday. Those nitto tires are spensive and the front right will be ruined after an 800 mile trip. I was scheduled to come back after the spring settled. It pulls to the right.
All the other three settings seemed good last week, but im sure they aren't now that it planted itself.
Bugs were bad this year. I cleaned off the nose/hood/mirrors of bug off the car every tankful... but after a 12 hour/900 mile trip, i made it home Sunday. I could smell the fumes of the fresh paint till about 700 miles
I left all the old parts, old rims, left my spare tire too!
I didnt get it re-aligned but the tires are fine, and...
I didnt get to wet sand the paint.
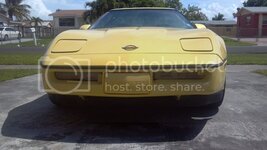
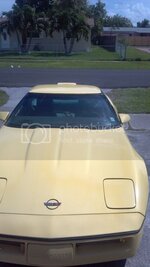

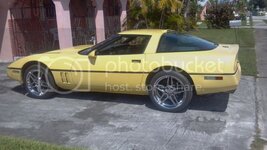
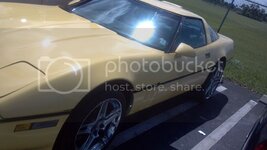
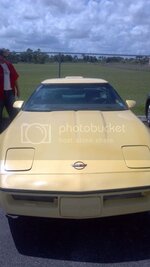
Wet sanding is very important. its what make the paint shine like glass, removes the over-spray.
Like filing fingernails, the paint is somewhat stronger/resistant to dirt since there aren't any small cavities to hold the dirt, just smooth.

After 8000 miles, the tranny gave out, so off to Miami again for more repairs.


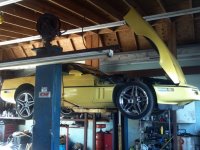
:beer:
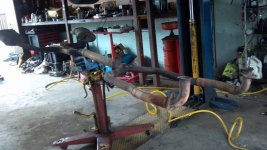
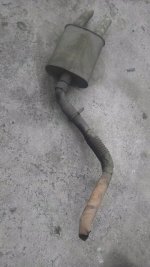
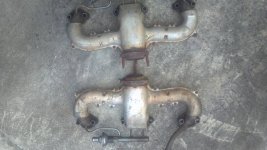
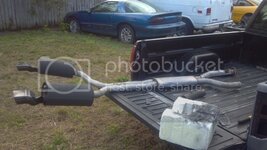
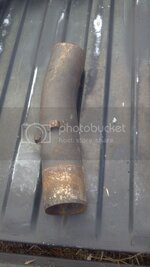
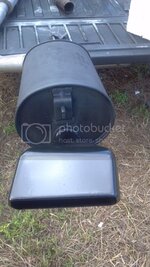 and a slip joint was dug up.
:beer:
