Plastic Fantastic 2

time to fix on the to-do list
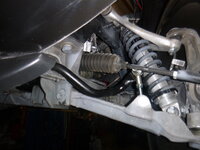
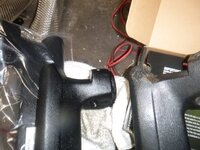
anti-roll bar touches the coilovers...
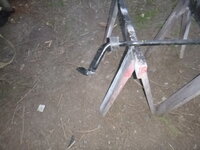
qDtPZrJ.jpg
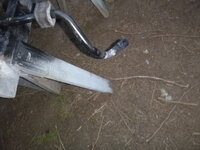
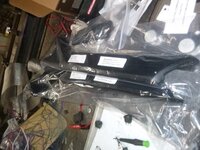
there is a kit that I hoped would fix the problem... it did but it also required bending the sway bar
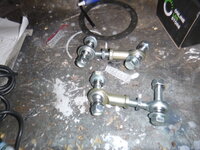
kMdEquL.jpg
pGFwteC.jpg
heating
6JXKx2X.jpg

and before people get persnickety, I know - I don't care, eventually I'll replace with race pieces, but keep in mind that I heated the rear sway bar in the '40 and it's still working just fine

next up, dash lights went out and cooling fan didn't come on.... separated those circuits with this
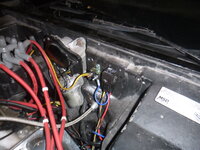
c4F5fZa.jpg

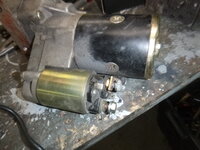
new starter, let the smoke out.edited Time for a call to Summit tomorrow because that isn't 6 months old
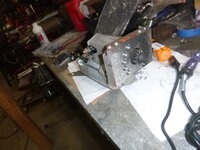
JgEXWpa.jpg

thankfully, I have another that works - just needed the bolt retightened - which is what got it pulled.... I probably loosened the wrong nut ah well, works fine now
yeO24nl.jpg
​​​​​​​
 
and now it's a 1976 Corvette with a 390 hp 427.... the only one... but the badge says so, so, it must be... now it's on the internet so it's doubly true
WY81mSRh.jpg

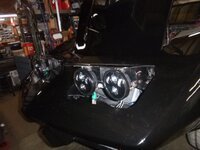
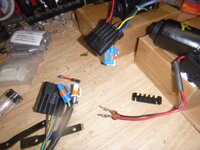
headlight wiring
iK5K1Ueh.jpg
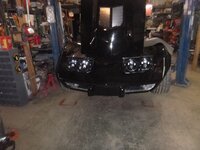
headlight up
6UyFpoOh.jpg
no headlight
b8HudIVh.jpg
low beams
V0SDCCBh.jpg

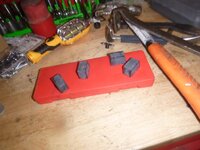
​​​​​​​still working on the bottom stop.edited I'd like it to be adjustable but not quite sure how is the best way to effect that...edited
 
Last edited:
Just want to say, this is one of my favorite builds. You have provided a lot of informative information. Thanks for taking the time to post your updates.
 
so what happens to the sway bar it becomes more rigid? dont they recurve leaf springs, isn't that the same spring steel?

your work is awesome
 
Had a nice chat with Randy Probst, the guy whose comment started the entire Camaro suspension.edited He's supposed to be here this weekend, might go say hi.edited He was very enthusiastic about it - though, I think he's enthusiastic about anything fast-car.
in other news, circling back to finish things.edited In this case, light actuation
the most obvious problem.... actuator goes too far
LFwdMHah.jpg
other problem, they can rattle when closed
DgxFEwrh.jpg
edited
the fix is coming but the start of it was tonight

also the missing door rod showed up
sXmpu5Gh.jpg
it does have locks, just not key locks on the outside
 
so what happens to the sway bar it becomes more rigid? dont they recurve leaf springs, isn't that the same spring steel?

your work is awesome

yes but they also retemper them in huge furnaces. The issue is if it flexes where you got it red, it could crack. Which is why I did it in a bend - odds are good that any force will take the path of least resistance and bend along the long straight that is between the body bushings.... but let me be sure and underscore this... it's not best practice, but in what I do, it works fine.... after all, it will be a cold day in LA before I spend money for either custom bars or aftermarket bars when I don't know, yet, whether or not these are right for this application. Both front and rear are designed for a 4000 lbs and 5000 lb car - while I suspect the rear will be fine, the front will eventually get a fancy, adjustable race bar..... but I'm way too cheap to buy 2 adjustable bars (or more)
 
Last edited:
worked on the headlights tonight... I'm going backwards a bit - I'm going to use the original lift mechanism then add actuators.... think it will work better
aXPPr7Vh.jpg
3RORzi0h.jpg
 
whats the part that aways breaks up there? is it the actuator or the mount? seems to me i had to be really creative with jbweld and rivets on one of those pieces on my headlights where it broke in two
 
usually it's a failure of the vacuum system... in this case, I have no vacuum so it wasn't even an option
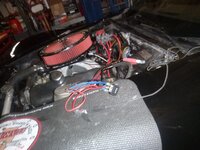
figured out the distributor problem, a wire got caught between the base and the intake....edited
I see a bit lean, late timing....edited
XyzI74Nh.jpg
what is 'stock'edited
aBVBGY8h.jpg
I'm going back to it for the following reasons
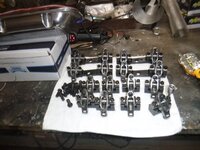
1) there is nothing holding the lower row of rockers in line
VMgmwDwh.jpg
2) note the alignment of the exhaust
SOesXSPh.jpg
3) doesn't fit well
gmEOdewh.jpg
i9Ow0Bvh.jpg

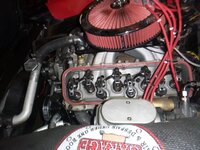
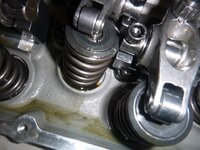
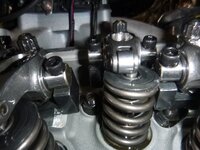
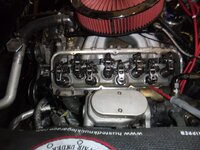
I needed to also adjust the rockers - some were way out, but that's to be expected on a new motor....edited
 
I'm not as technical as a lot of you here, but I do like trying to solve problems. For your actuator limiting, if you can't move the limit switches, could you put the base of the actuator on a floating bracket with a spring. Have 2 pieces of metal, 1 rigid mounted and 1 floating held in place with a guide and a spring to pull when it reaches full bottom. When it goes full up the spring would decompress.

Or use like a drawer slide that will allow enough travel of the actuator "extra travel". For example, if the actuator has 10" travel and you only need 6", have a slide that will travel 4".

good thinking, it's how GM solved the problem - basically, my thought is remove the vacuum actuators and replace the with linear ones. The ratio is even about what you suggestion. the distance to lift the headlight with the pictured parts below is 9 1/2", with these parts, it's 3" and has springs to do what you suggest

aXPPr7V.jpg
 
anyway
tonight was blowing warranties
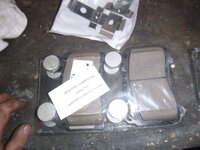
first, I need to start looking at cutting off the anti-chatter from the new pads
JdMfUZV.jpg

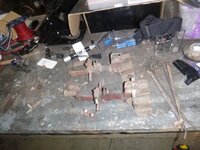
then decide how to mount these
but first, take them apart
​​​​​​​G3zmmgm.jpg
 
onto boring stuff....edited
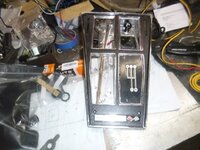
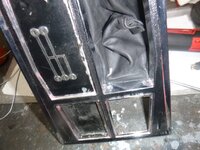
shifter boot
bDeA43kh.jpg
HFcKRbGh.jpg

new post covers
4RBy6L5h.jpg
the problem is the top corner wears out and looks terrible
5fWbVpyh.jpg

no idea how this happened... annoying, but not changing it for now
XuUS1rph.jpg

door panels are coming soon.edited I spent the balance of the evening tuning.... something is off - the IAC is wide open, maybe stuck, dunno... also 10 psi hot oil pressure at idle is not making me happy.... 60 psi at full song, but the low pressure....edited
 
I've said it before, and I'll say it again with illustration.edited The IAC isn't working, so today I called FiTech - they picked up their phone before it rang, answered the question and I have a couple things to do .... and bob's my uncle (well, he was but he died)...

There isn't an aftermarket EFI which works perfect out of the box.I've dealt with all of them now, but that 'doesn't even ring' before their tech line is there to answer my question should be the first thing anyone does when they do EFI.
 
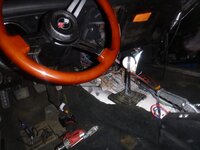
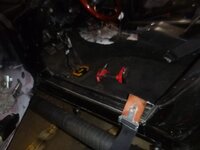
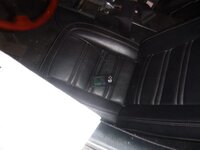
and now, taking it further apart - but with new seat belts
VxSU1F0h.jpg
took a bit of modification to fit

FBTtSoth.jpg


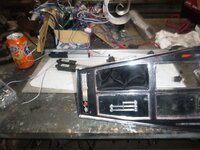
camera battery died, but the next picture would have shown the dash completely removed
Qb580sYh.jpg

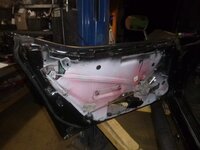
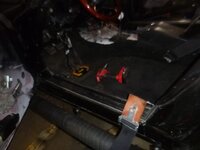
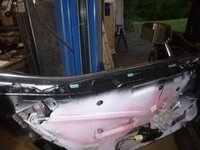
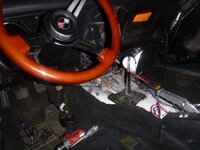
the power windows weren't getting power.edited The short version, I now know where that orange wire with the red plug goes.... of course, I had nicely tucked it up in the dash about the same level as the headlight switch - which meant pulling it all apart.edited Ah well, they work now


I'm putting the footwell carpet in my car right now. Yours looks like it fits a lot better. Any tips? Glue? Heat gun?


.

I reused the front two carpets.... the stuff behind the seats is a cheap carpet that is contact-cemented to the various spaces. The area behind the cage is a carpet made of RV carpet insulation and (again) cheap (low weight) carpet. I love german weave carpets, but there was no chance I was using it here because it is really hard to work with - requiring cutting, gluing and a lot of steam.
 
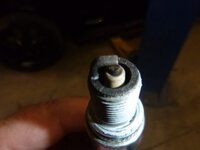
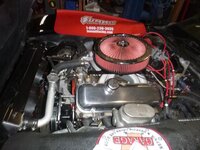
still not 100% on the motor, but the spark plug boots (despite wrap and heat boots) are not surviving well...edited
first replace the IAC valve (it was stuck), then reprogram
y4cnKOMh.jpg
INWDTfRh.jpg
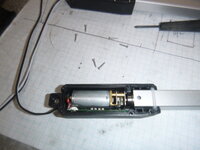
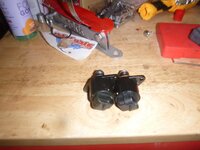
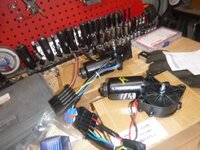
but onto other things. I'm going away from the actuator to C5 headlight motors.edited The biggest issue is opening them if something fails, using the C5 motors makes it possible to open them manually...edited
v1HFDvLh.jpg
still haven't decided if I'll use a C4 controller or Arduino... strangely enough, it would probably be easier to learn Arduino then the wiring for the C4 controller... time will tell
also rebuild the arms
8iilFP5h.jpg
depin the motors
O6CRnoyh.jpg

in other bench-clearing news, rubber bumpers were installed
FSK9HaRh.jpg
O1KpkNlh.jpg
 
Top