82Vettester
Active member
The project is an 82 Corvette. I bought it pretty much stock. It had 160Kmi on it, and the wear to show it. The PO had repainted it himself and again, it showed. The price was reasonable and I wasn't going to feel bad about modifying a pristine Vette.
I like the 82's. My first Vette was an 82. Yes, even the odd Crossfire injection. It has a sort of uniqueness feel about it. But ever since my first Vette I wanted a convertible. I had this notion of doing a conversion with this Vette some time in the future. There were a few other things I wanted to change, like a bit more power under the hood and I've always like manual transmissions. Not sure why, I just do. So that was a possibility.
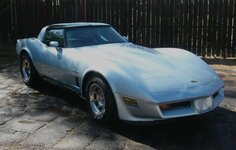
First, I'll go back up a few years where I cleaned up the rear a little.
I wanted to address the mechanicals first, and the diff was leaking out of all the seals and had a bit too much play. I also never liked the factory gear ratio. It was terrible. After a ride in a friends car that he had put 3.73 gears in I decided I'd try that.
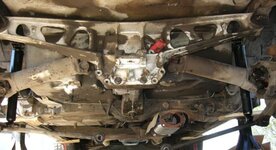
I sent the diff off for a rebuild and gear change. Back then I didn't know of some of the great people on the forums and the work they do. If I had I would have done it differently.
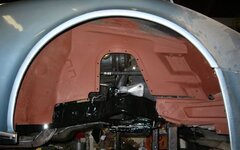
I cleaned up under car area. I used gloss grey for the fiber glass. You'll notice I use a lot of Gloss paint. It cleans up better with a pressure washer after getting road grime all over it.
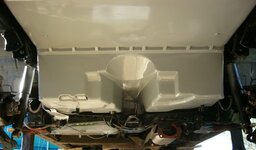
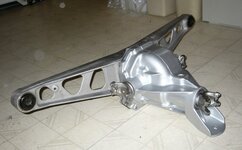
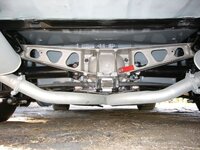
But it all gets covered up with the spare tire installed.
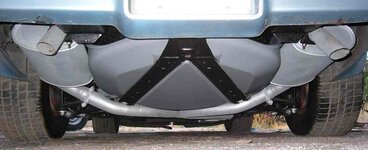
--------------------------
Next item the rear bearings went. When I redid the diff I checked the bearings. The pass side was a bit on the high side, but the drivers side was what worried me. I measured 0.000 play. I tried and tried to get a reading, but it was zero. I suspect the PO (Toyota mechanic) replaced it and set it to zero. I didn't have the time, but planned on redoing them soon.
Well as it was I ended up driving the Vette every day to work for a couple months. One day I went to switch the tires with some others I had and I could tell that drivers side bearing was shot. The play was huge. Something like 0.150. I to tell the bearing was trashed.
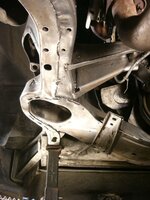
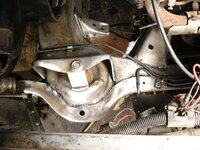
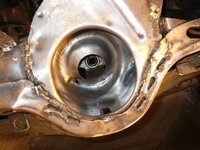
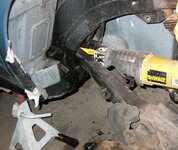
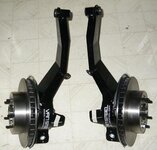
Right then I was rushed for time so I changed out the trailing arms for a set of offset ones from Van Steel. Just a buy and install. I did a little more clean up but not much.
Removing the old TAs the fast way:
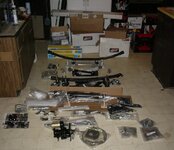
New parts:
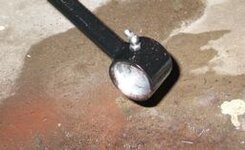
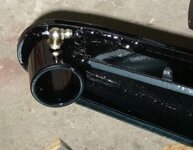
I used poly bushings, but I hate the squeak that occurs after a few years (like 10yrs). So In an attempt to prevent that I installed some grease fittings. I also cut brass shims for the ones that contacts the bushing in the TA. Similar I used thin brass shim in the strut bushings. And greased it up real well.
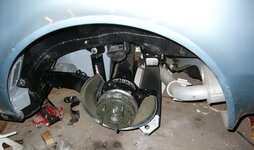
-----------------------------------
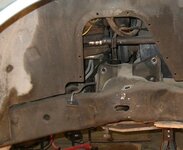
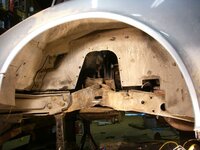
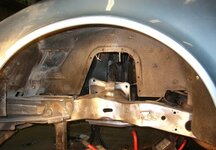
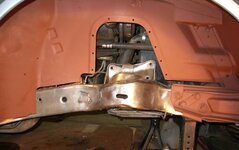
There was a bunch of the typical little stuff that has needed fixing since then. But right now I've got the Vette in my converted carport (like a crowded garage) with the front suspension steering off of it.
This is what it looked like during last year as I started working on it.


The work area became an IR oven in the summer here in Phoenix Arizona, and no ventilation and it has folding doors that the Vette blocks from opening. It baked me out. I had to take a break and install an evaporative cooler just to make it survivable.
I've got some more I just need to post it.
I like the 82's. My first Vette was an 82. Yes, even the odd Crossfire injection. It has a sort of uniqueness feel about it. But ever since my first Vette I wanted a convertible. I had this notion of doing a conversion with this Vette some time in the future. There were a few other things I wanted to change, like a bit more power under the hood and I've always like manual transmissions. Not sure why, I just do. So that was a possibility.

First, I'll go back up a few years where I cleaned up the rear a little.
I wanted to address the mechanicals first, and the diff was leaking out of all the seals and had a bit too much play. I also never liked the factory gear ratio. It was terrible. After a ride in a friends car that he had put 3.73 gears in I decided I'd try that.

I sent the diff off for a rebuild and gear change. Back then I didn't know of some of the great people on the forums and the work they do. If I had I would have done it differently.
I cleaned up under car area. I used gloss grey for the fiber glass. You'll notice I use a lot of Gloss paint. It cleans up better with a pressure washer after getting road grime all over it.


But it all gets covered up with the spare tire installed.

--------------------------
Next item the rear bearings went. When I redid the diff I checked the bearings. The pass side was a bit on the high side, but the drivers side was what worried me. I measured 0.000 play. I tried and tried to get a reading, but it was zero. I suspect the PO (Toyota mechanic) replaced it and set it to zero. I didn't have the time, but planned on redoing them soon.
Well as it was I ended up driving the Vette every day to work for a couple months. One day I went to switch the tires with some others I had and I could tell that drivers side bearing was shot. The play was huge. Something like 0.150. I to tell the bearing was trashed.
Right then I was rushed for time so I changed out the trailing arms for a set of offset ones from Van Steel. Just a buy and install. I did a little more clean up but not much.
Removing the old TAs the fast way:

New parts:

I used poly bushings, but I hate the squeak that occurs after a few years (like 10yrs). So In an attempt to prevent that I installed some grease fittings. I also cut brass shims for the ones that contacts the bushing in the TA. Similar I used thin brass shim in the strut bushings. And greased it up real well.


-----------------------------------
There was a bunch of the typical little stuff that has needed fixing since then. But right now I've got the Vette in my converted carport (like a crowded garage) with the front suspension steering off of it.
This is what it looked like during last year as I started working on it.


The work area became an IR oven in the summer here in Phoenix Arizona, and no ventilation and it has folding doors that the Vette blocks from opening. It baked me out. I had to take a break and install an evaporative cooler just to make it survivable.
I've got some more I just need to post it.
Last edited:

